


 CHAT WITH GODLIKE TEAM


 Sponsorhip
  Our team
  Career
  About Us
  Contact Us
 How to make a private CS:GO server?
- 4 min read
- 7292
- 0
Use CSGO server hosting for dreams of having your own private server. Imagine playing with your friends or hosting exclusive matches with complete control over the game settings. Well, your dream is about to become a reality! In this article, we'll guide you through the process of creating a private CS:GO server using the popular hosting service, Godlike.Host. Let's get started!
Step 1: Sign up for Godlike.Host
Firstly, sign up for Godlike.Host, a reliable and user-friendly hosting provider known for its dedicated game servers. Visit their website and sign up for an account to get started. 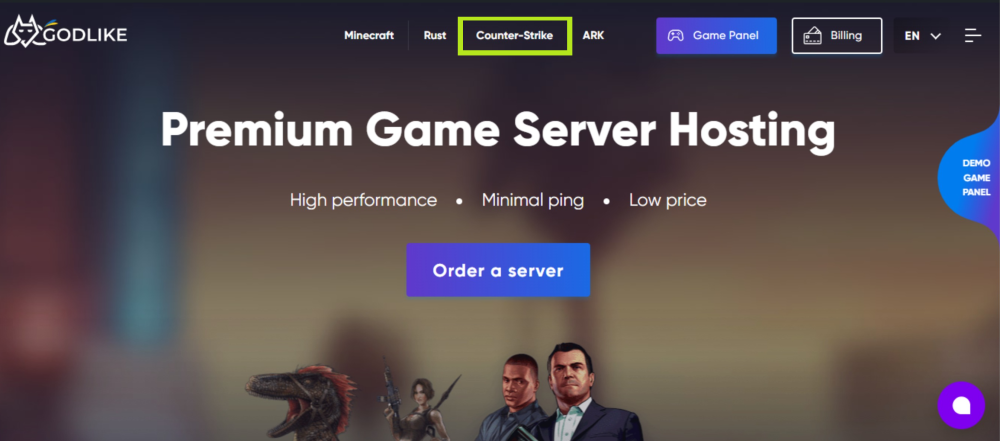
Step 2: Choose Your Server Location and Configuration
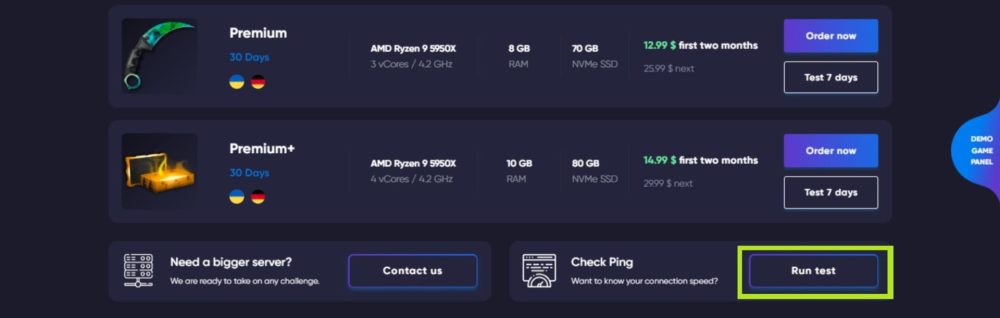
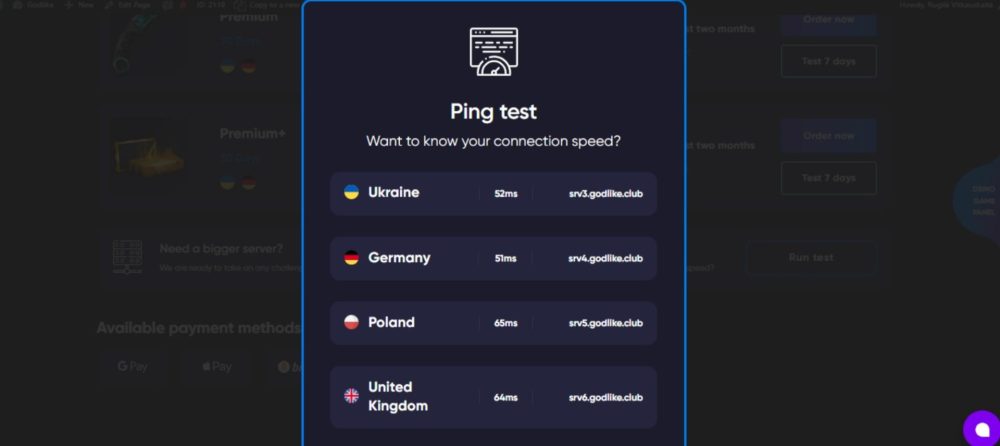
Once you've signed up, it's time to choose the server location that suits your needs. Godlike.Host offers multiple server locations worldwide, so select the one closest to you or your desired player base for optimal performance. Additionally, consider the number of slots (players) you want your server to accommodate and select the appropriate configuration.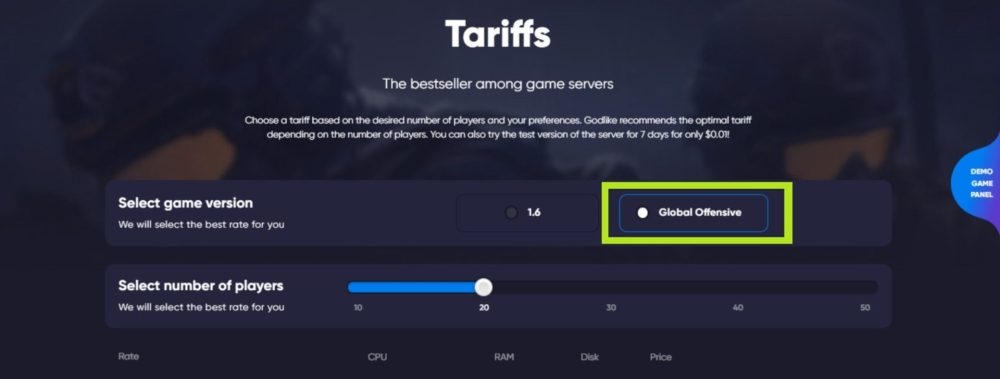
Step 3: Set Up Server Settings
You should now configure your server settings after installing the CS:GO server files. Access the Godlike-provided server configuration files. You may host them and modify them to your liking. You may change a lot of things, like the game mode, the rotation of the map, the player limitations, and much more. Try out various options until you discover your private server's ideal balance. 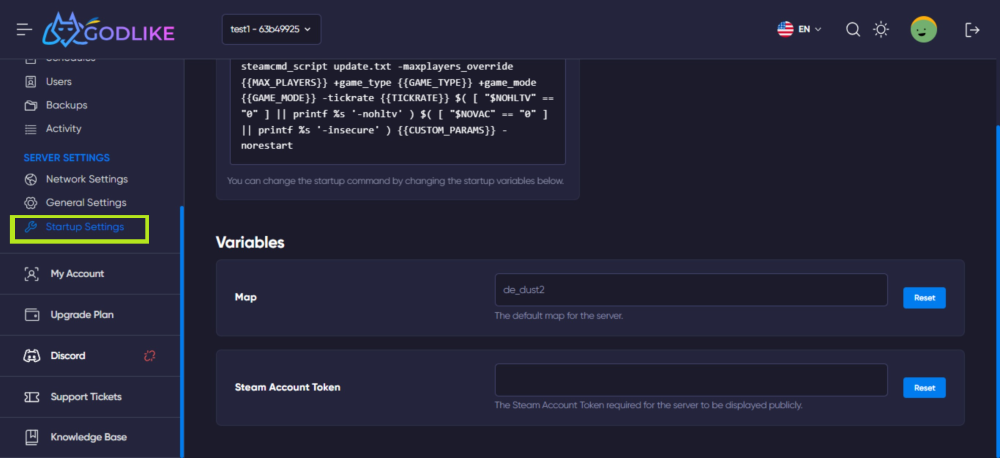
Step 4: Make Your Server Private
In order to make your CS:GO server private, you should follow these few easy steps. Firstly, in Godlike.host panel, go to "File Manager" and choose "csgo".
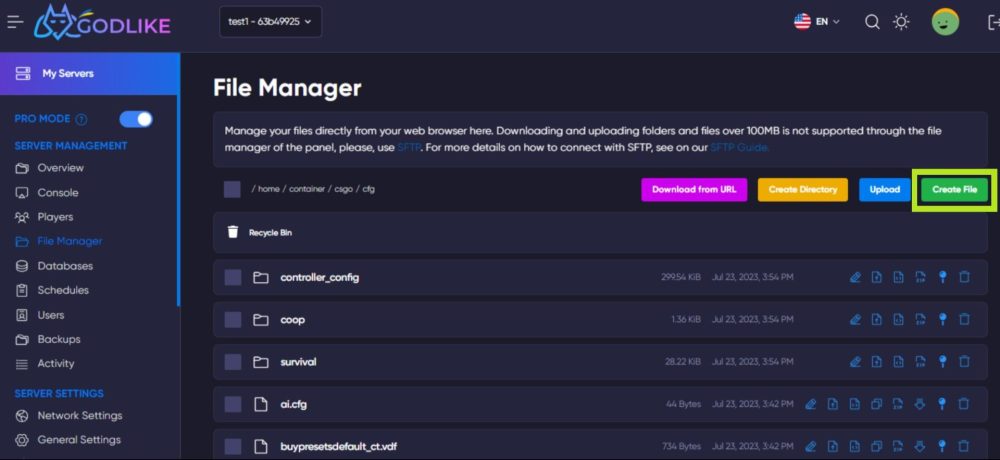
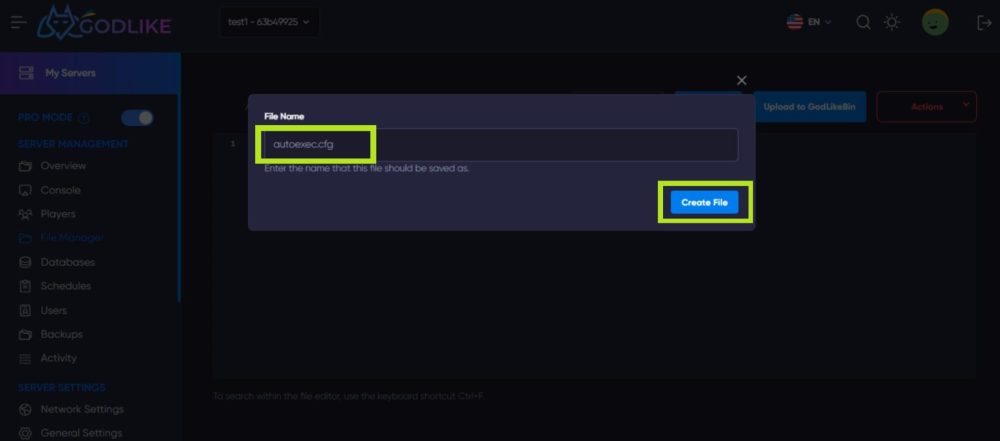
Secondly, when you have opened "csgo", choose "cfg" and then press "Create File".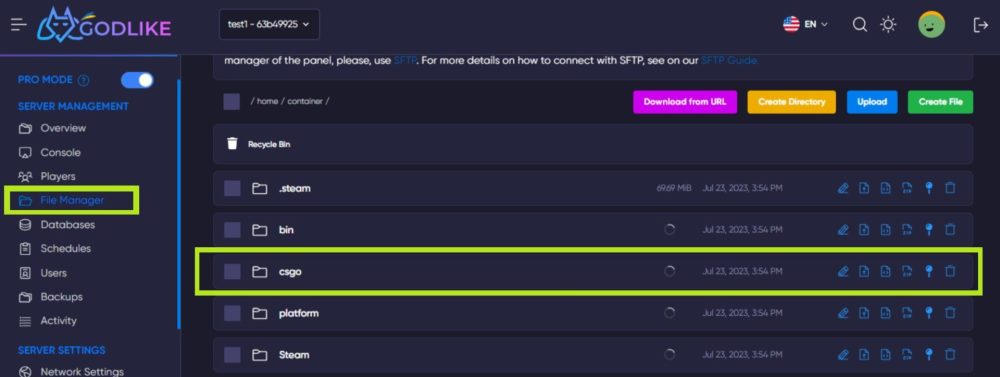

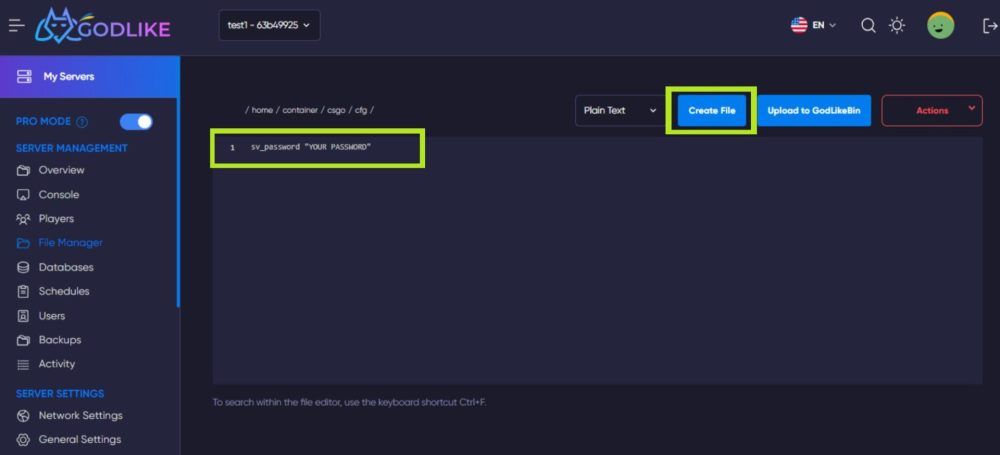
Once you have done that, create a password of your preference and press "Create File". After that, name the file autoexec.cfg and press '"Create File". Once you have done all these steps, you can enjoy a private CS:GO server.
Step 5: Invite Friends and Share Server Details
Now that your server is operational, it's time to ask your friends to join in the fun. Give your friends access to the server information, including the IP address and port. They may use this information to join to your private server directly from the CS:GO game console. To ensure that everyone can quickly join and begin playing, be sure to offer clear directions on how to do so. 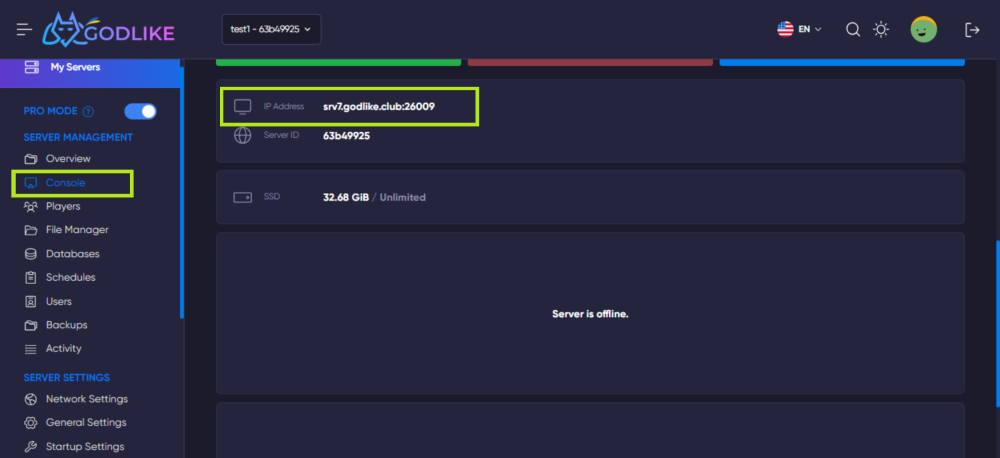
Step 6: Server Administration and Maintenance
You now have access to a personal CS:GO server. Your trip doesn't finish here, though. It's imperative that you, as the server owner, frequently maintain and manage your server. Monitor server performance, install patches and upgrades as required, and take care of any potential technical problems. To improve the gaming experience, you might investigate advanced features like server plugins and modifications. 
Enjoy your private server!
Creating a customized CS:GO server using Godlike.host is a fantastic way to play the game with your friends, customize game parameters, and build a network of individuals who are interested in the same things as you. If you follow the directions in this handbook, setting up your server will be quick and easy. Don't forget to experiment with different configurations, tell your friends about the server, and become involved in server administration. Now put together your squad, polish your skills, and have fun in your very own CS:GO gaming haven.
