


 CHAT WITH GODLIKE TEAM


 Sponsorhip
  Our team
  Career
  About Us
  Contact Us
Setting up your own game server
Use the Rust server host to create and configure your own Rust server on your computer. Not only that, these settings will lay the foundation for further installation of servers for the game, so follow the steps we have described below.
Installing and updating SteamCMD
SteamCMD is a command-line console used to install Steam-related files, as well as the mechanism by which the Rust server is installed and updated.
1) Create a folder for SteamCMD.
2) Create a folder for the future server.
3) Download SteamCMD for Windows
4) Unzip the contents of the zip file to the folder you created for steamcmd.
5) Run the steamcmd.exe program (your computer may ask you to confirm that you want to run it).
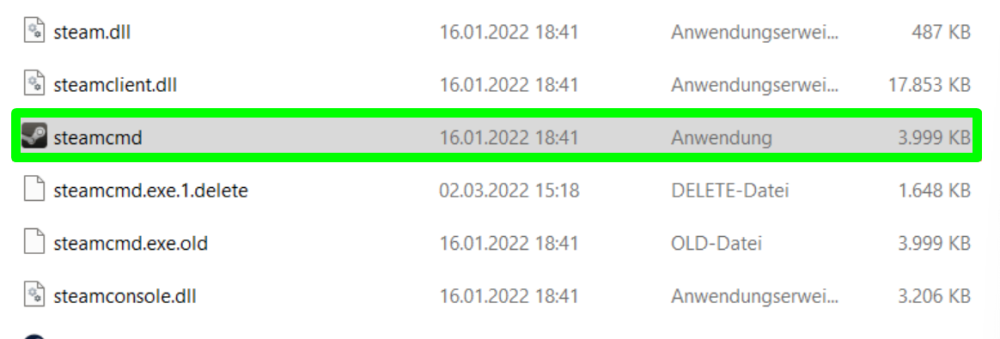
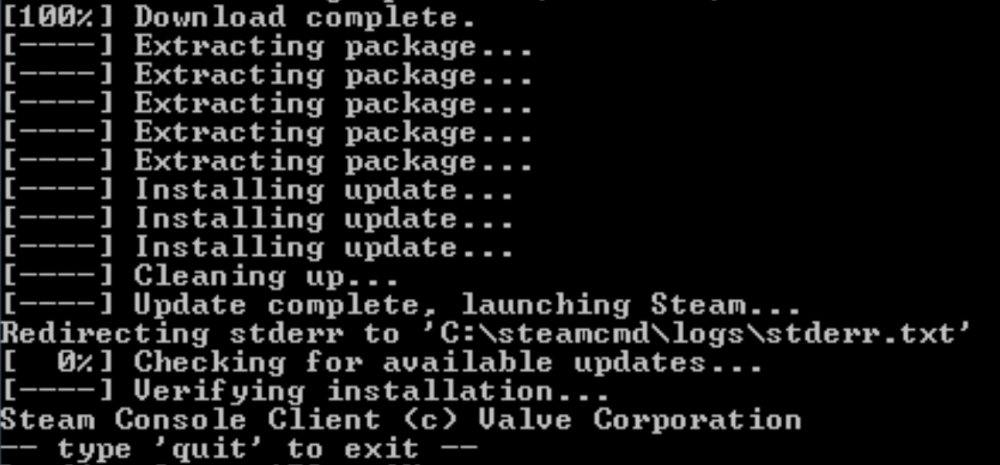
6) Once launched, this file will be downloaded, installed, and updated to the latest version of SteamCMD.
Setting up a dedicated server for the game
1) In the console prompt, enter the following commands one by one (press Enter after each):
- force_install_dir "The path to the folder with your server"
- login "Your Steam login"
- password "password"
- app_update 258550
- quit
NOTE
These are all the necessary files for the server. Modified servers require a little more work with files and the terminal (console)
Updates for the Rust server
If you want to receive the latest updates, modify the app_update command in the console as follows:
app_update 258550 -beta staging

If you want to stay on previous updates, change the command to the following:
app_update 258550 -beta prerelease

Setting up and running the server
To start the server, you need to create at least one command script file (auto-load/script). To start, create a file named RustServer.bat in the server installation directory (the path to your server folder), then right-click and select "Edit File" to switch to txt format and the ability to write commands.
Batch script file
A batch script is a text document that stores a list of commands that are executed in a specific sequence. The main use of a batch script for server hosting is to allow you to make sure that your server is up to date and that it will resume its work in case of a failure. The easiest way to do this is to use the GOTO instruction. GOTO allows you to jump to any other part of the command file in your command script.
You will need to configure all the parameters of your server in this command script. The configuration files for the server are not quite up and running yet, so it is best to explicitly define all of your settings in the command script.
Connecting to your server
Start the Rust client, but do not select a server. Note that your server will not appear on the Local Network tab. Instead, press F1 and go to the client console. If your port (by default) is 28015, then enter the following command:
client.connect localhost:28015

IMPORTANT
If you used a different port, use it
Server owners and moderators
After the server is launched, you can assign an owner to yourself. This is done using the ownerid command in the server terminal. You will need your 17-digit SteamID number. The easiest way to get it is to log in to your Steam browser or client and look at your account link.

Then enter the command. For example:
ownerid 12312312312312312312 "Administrator name"
![]()
You can do the same for moderators using the moderatorid command:
moderatorid 123123123123123123127 "Administrator name"
After that, be sure to run the writecfg command, after which the user must log out and log back in to get the permissions. These two permissions are almost identical. Owners can create, remove, and ban moderators if necessary, but moderators cannot influence owners.

Access to your server on the network
If you want other players to be able to connect to your server, you need to set up port forwarding using the port you used above (when you booted up the server). You will need to forward your server.port as well as rcon.port if it is used. By default, these will be 28015 and 28016.
Even if your server does not appear in the server list, players can still connect to you using the client.connect command if they know your public IP address. Local firewall programs can also affect the ability to connect from the outside world.
Congratulations, you have created your Rust server!
How to buy a server on our website?
It will be much easier to purchase a server hosting and manage it in a convenient panel. Now we will tell you how to get a Rust server.
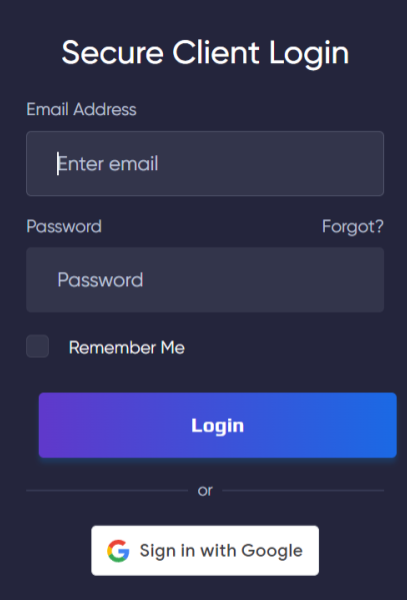
1) Log in to your account or register on the GODLIKE.
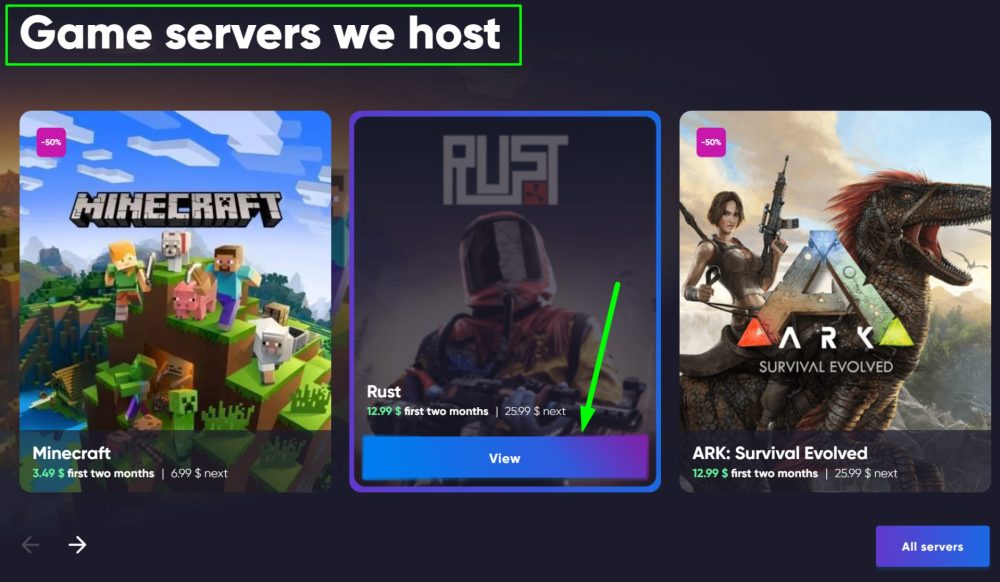
2) From the main page of the site, scroll down. You will see a list of games for ordering servers. Select the game Rust, hover over it, and click the View button.
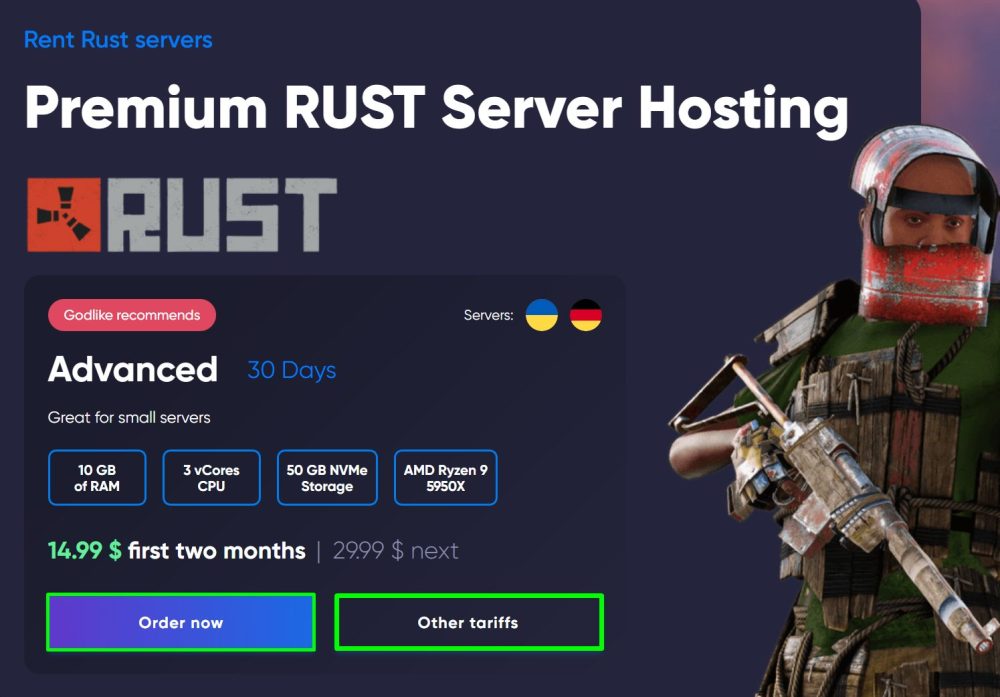
3) After clicking the "View" button, you will be redirected to a new page. On it, you will immediately see the recommended Rust hosting plan from our GODLIKE team and its description.
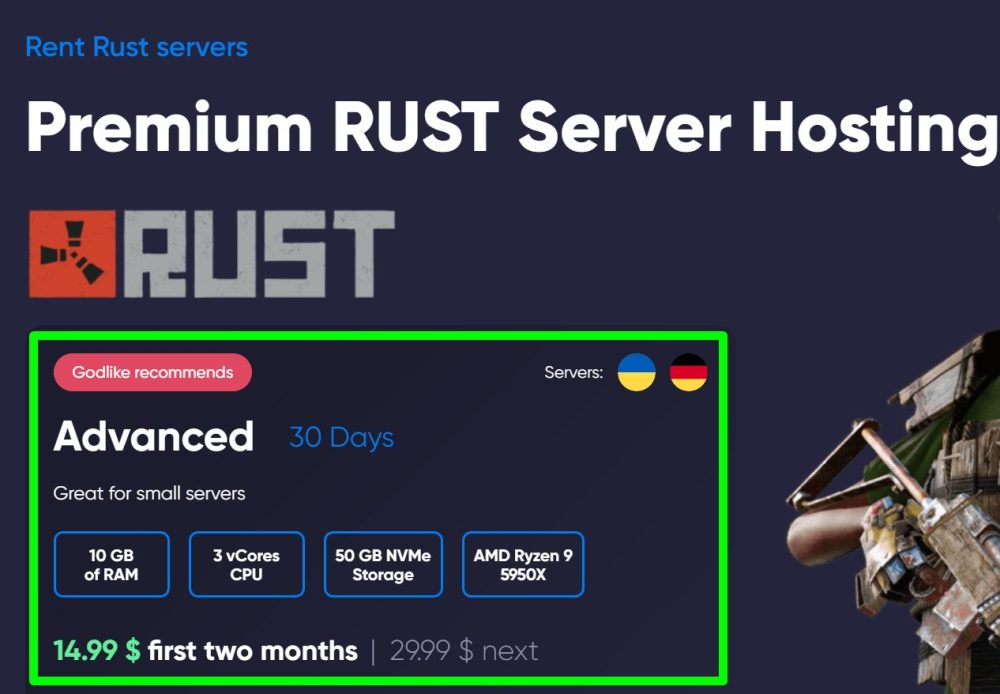
4) If you are interested in this plan, click the "Order now" button to proceed to the payment window and fill in additional information. If you are also interested in other plans, click the "Other plans" button, and you will be taken to a new page with different plans for this game.
TIP
We remind you that we always offer to get free hosting of all kinds of games and different plans for 7 days
Now you know how to create your own Rust server and can invite your friends along with other players for a fun game! Play together with GODLIKE.
