en
en ua
ua es
es de
de pl
pl fr
fr pt
pt it
it nl
nl hu
hu ro
ro sv
sv ja
ja nb
nb sk
sk

 CHAT WITH GODLIKE TEAM


 Sponsorhip
  Our team
  Career
  About Us
  Contact Us
 How to host a Left 4 Dead 2 server?
- 5 min read
- 1958
- 0

Your own game server
Using Left 4 Dead 2 server hosting, you can join the legendary second part of the famous Left 4 Dead game, which still has many players. It's a cult online shooter where you must kill a huge number of zombies to survive and escape from this horrible world. In this article, we will guide you through the process to host your own Left 4 Dead 2 server for multiplayer.

Setting up your Steam console
Create three empty folders:
1) A folder for the console, for example, "SteamCMD".
2) A folder for the server, for example, ...\L4D2Server".
Download steamcmd.exe and save it to the console folder:
1) Download SteamCMD for Windows.
2) Unzip the contents of the zip file to the folder you created for steamcmd.
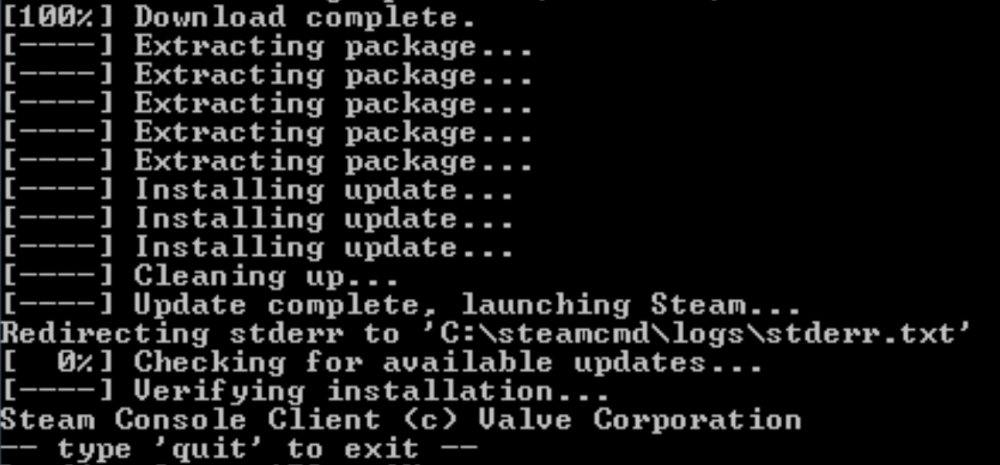
3) Run the steamcmd.exe program (your computer may ask you to confirm that you want to run it).
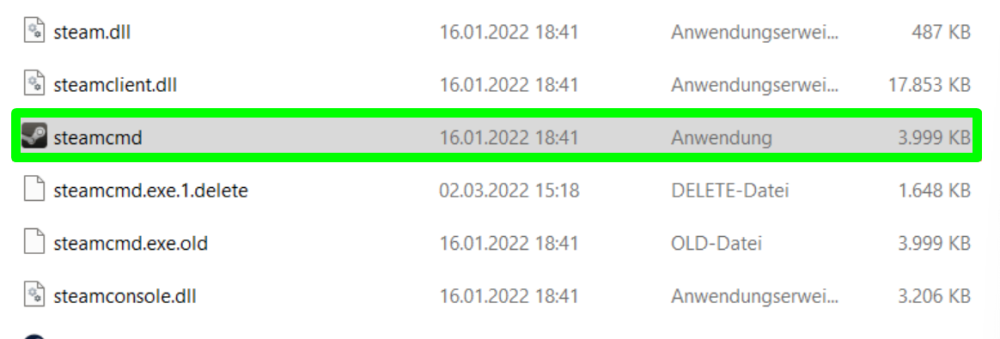
4) Once launched, this file will be downloaded, installed and updated to the latest version of SteamCMD.
Setting up a dedicated server for the game
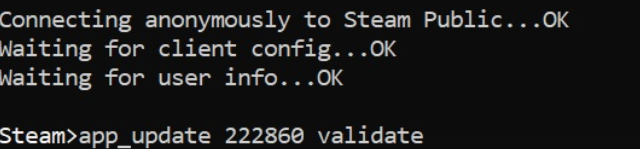
1) At the console prompt, enter the following commands one by one (press Enter after each):
- force_install_dir "The path to the folder with your server"
- login "Your Steam login"
- password "password"
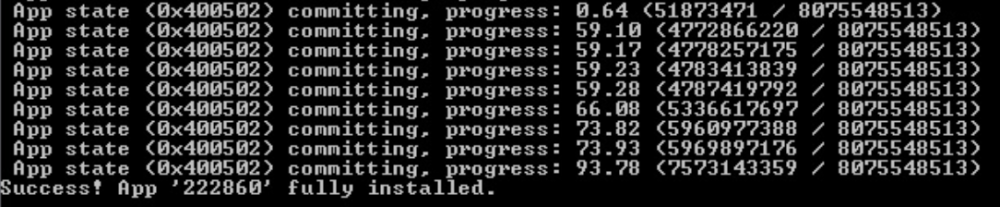
- app_update 222860 validate
- quit
Port forwarding
There are many resources on port forwarding. This guide is for servers that are hosted on a different provider or system than the game client. This guide will work for servers that are hosted on the same computer as the one you are playing the game on.
Those who are setting up a server may encounter port forwarding issues, which if you know how to access your router's control panel, are easy to resolve. For those who are not familiar with this process, please use Google and other well-known resources to help with port forwarding.
Server configuration (server.cfg)
The cfg file contains the settings (in the form of text variables) for your server.
By default, the server.cfg file does not exist after you install and create your server. You will need to create it:
Here you will find a detailed server.cfg;
Here you will find the standard L4D2 server.cfg.
IMPORTANT
After downloading the cfg file, be sure to rename it to "server.cfg"
Here you can see an example of a configured cfg file and copy the variables you need, or select all of them and edit.
NOTE
After successfully creating the server.cfg file, you should not receive an error when running the command "exec server.cfg" in the server console or when starting your server: "could not execute server.cfg"
Adding administrators
Edit the admins_simple.ini file located in: \addons\sourcemod\configs\admins_simple.ini to add an administration. You can use your Steam name, but keep in mind that anyone can change their name to yours and connect to the server with administrator flags, so use your SteamID. To find out your SteamID, log in to your account and in the link to your account, copy the long list of numbers at the end, this is your ID.
![]()
Start the server
Locate the srcds.exe file for HL2:DM, right-click on it, select Properties. Next, in the Shortcut section, in the Target line, type (indent each command, space):
CAUTION
Some parameters you need to change for yourself, this is just an example
-console -game left4dead2 -ip 10.0.0.2 +port 27020 +hostip YOURDEDIIP +maxplayers 8 +exec server.cfg +map c2m1_highway
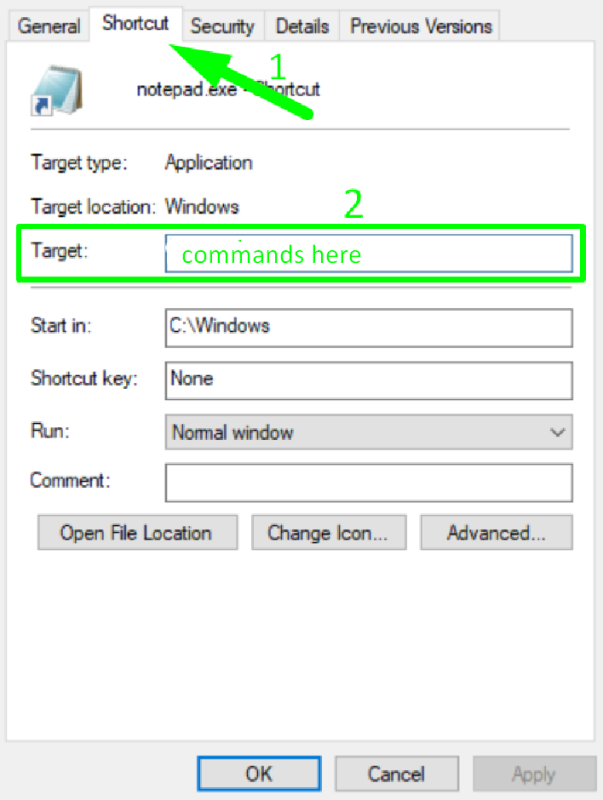
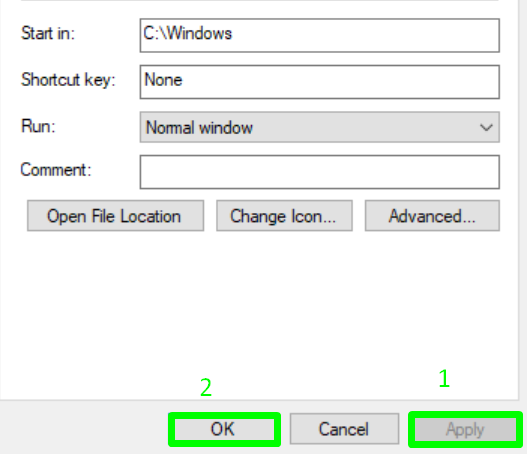
Once you've entered and edited the commands, click Apply at the bottom, then Ok.
Administrating commands
Below, we have made a small list of the main administrative commands:
- addip <minutes> <IP> -- ban player IP for any time.
- banid <minutes> <SteamID> -- ban player SteamID for any time.
- changelevel <map> -- change map.
- dropclient <UserID> -- kick player.
- info <SteamID> -- get info about player by SteamID.
- listid -- show blocked players list.
- listip -- show blocked IP list.
How to buy a server on our website?
It will be much easier to purchase server hosting and manage it in a convenient panel. Now we will tell you how to get a Left 4 Dead 2 server.
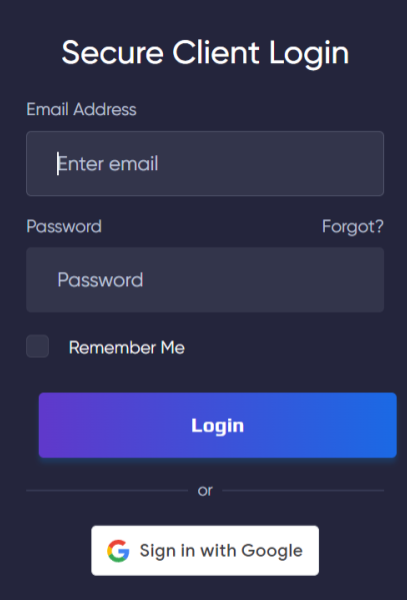
1) Log in to your account or register on the GODLIKE website.
2) From the main page of the site, scroll down. You will see a list of games for ordering servers. Click All servers button.

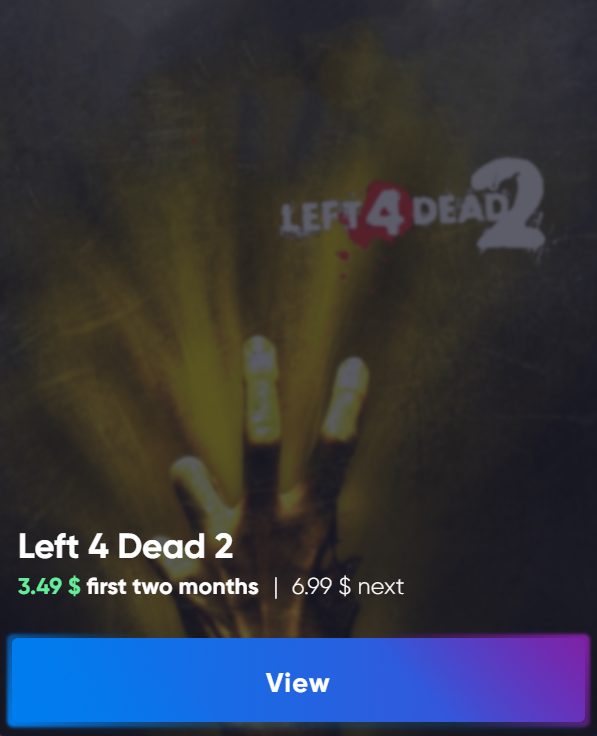
3) Find Left 4 Dead 2 and click "View", you will be taken to a new page. On it you will immediately see the recommended Left 4 Dead 2 hosting plan from our GODLIKE team and its description.
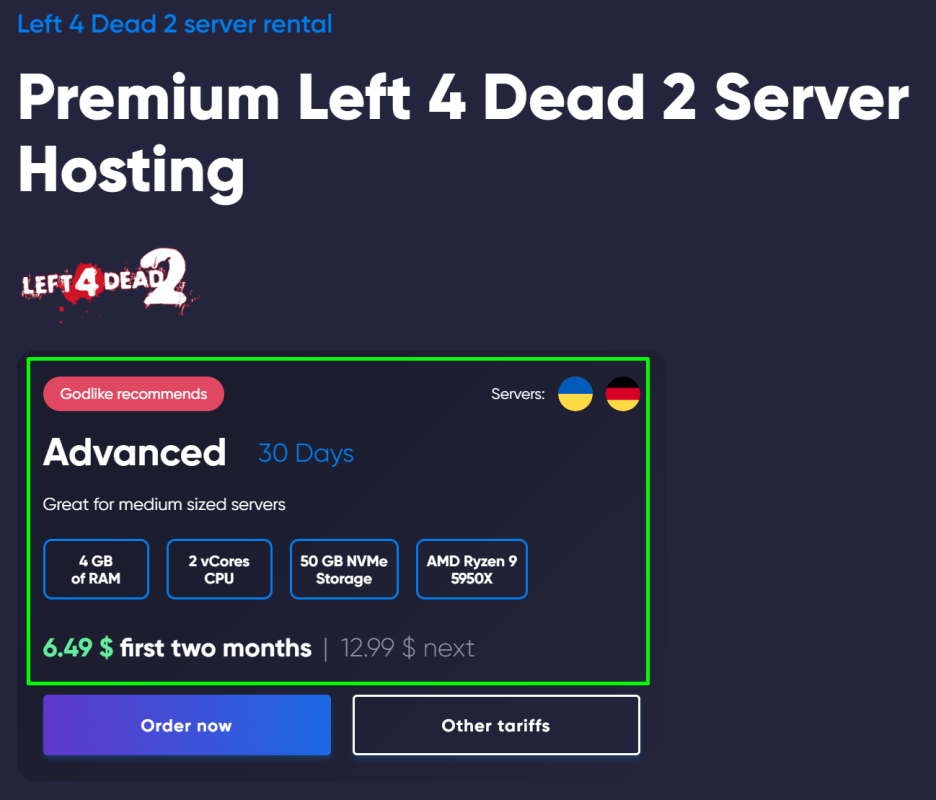
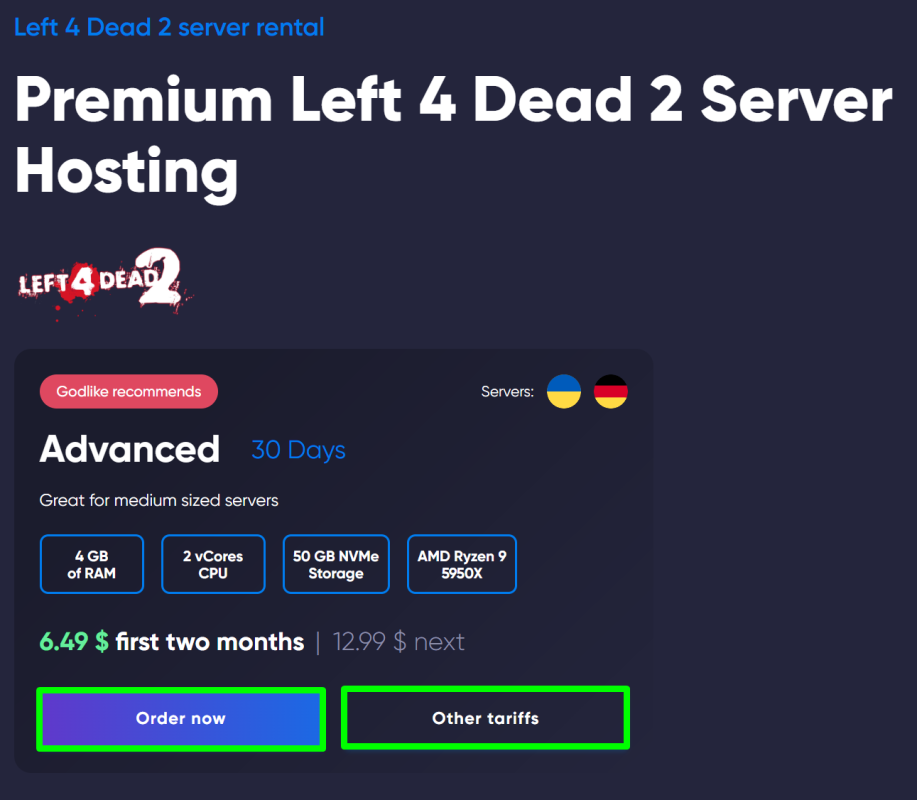
4) If you are interested in this plan, click the "Order now" button to proceed to the payment window and fill in additional information. If you are also interested in other plans, then click the "Other plans" button, you will be taken to a new page with different plans for this game.
Now you are ready to host your own L4D2 server. Slaughter huge waves of zombies with other players! Play along with GODLIKE.