
 en
en ua
ua es
es de
de pl
pl fr
fr pt
pt it
it nl
nl hu
hu ro
ro sv
sv ja
ja nb
nb sk
sk

 CHAT WITH GODLIKE TEAM


 Sponsorhip
  Our team
  Career
  About Us
  Contact Us
 How to create a Project Zomboid server for friends?
- 2 min read
- 2183
- 6

How to play Project Zomboid multiplayer?
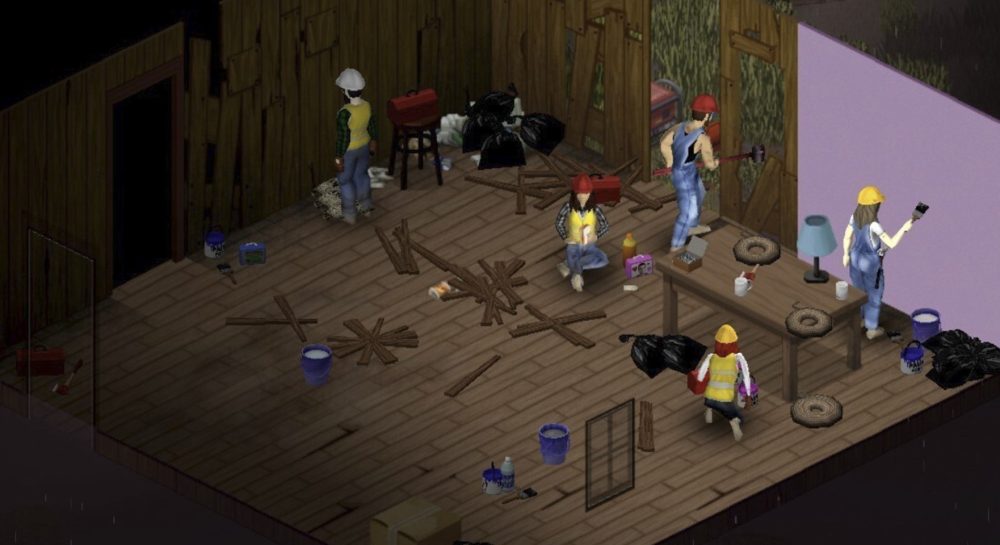
Project Zomboid server hosting can prove to be a pretty hardcore game for beginners and even for experienced players. However, by inviting interested players or friends to join your game server hosting, the experience can become more enjoyable and manageable. In this guide, you will learn how to create a server to play Project Zomboid with your friends.
How to host Project Zomboid server?
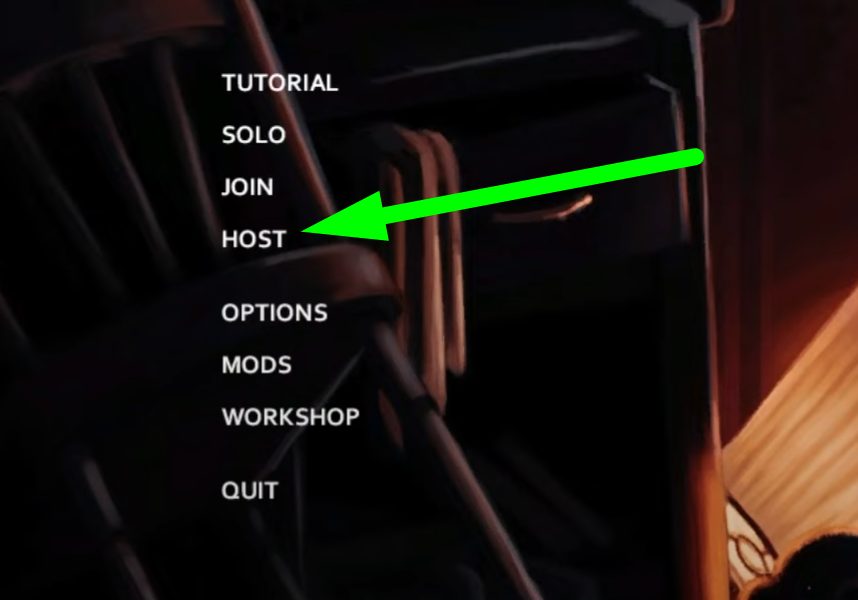
1) Launch the Project Zomboid game.
2) In the main menu, select the HOST button. If you want to know how to host Project Zomboid server check following article.
3) You will see the settings window. In the Server name line you can enter the desired server name, below, in the Server memory line, you can select the amount of memory on your computer that you will allocate for the server.
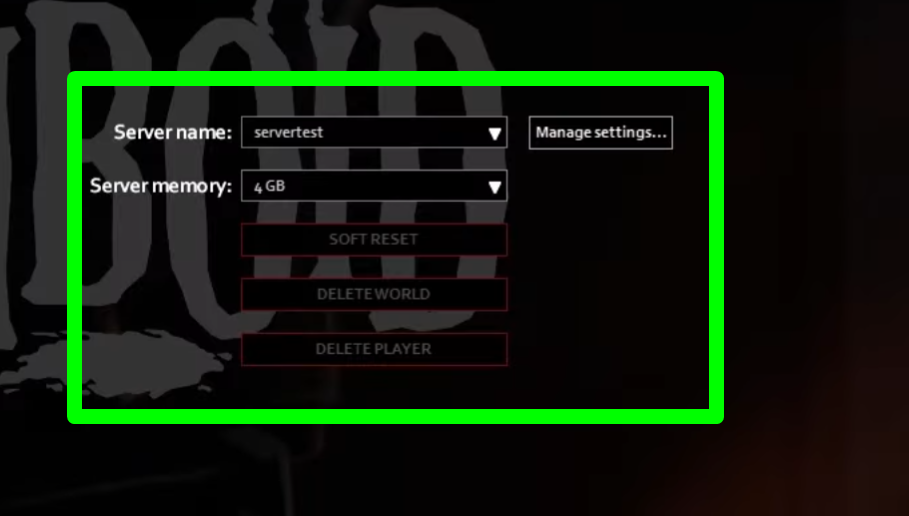
CAUTION
If you have a weak computer, do not set the memory value too high, as there may be problems with the server or device
4) Next to it, you will see Manage Settings, which is the server settings for players who are familiar with the game. In this setting, you can select server files, if you have them, and they are placed on the hosting service.
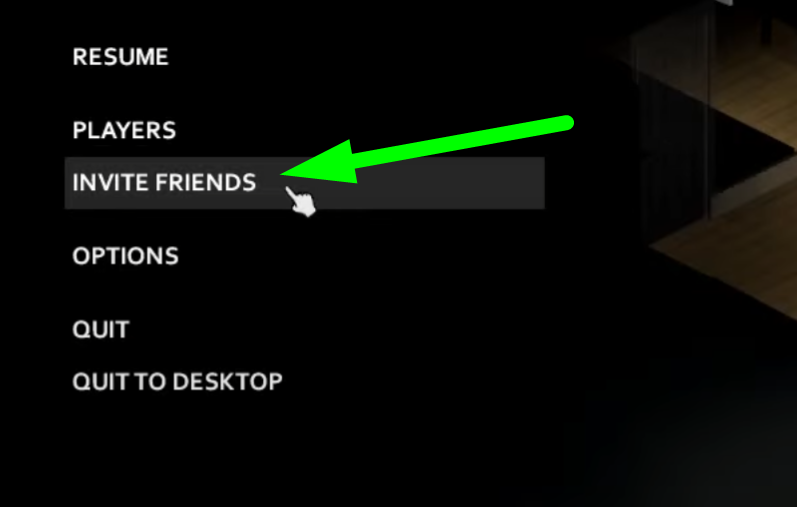
5) When you have created a server, press Esc in the game to enter the menu. After that, select the Invite Friends button and invite your friends to the game.
Now you know how to create a server to play with your friends, and we wish you an interesting experience. Play together with GODLIKE.
