

 en
en
Mods for Project Zomboid
Hosting a Project Zomboid server with mods opens up endless possibilities for a richer, more varied gaming experience. In this guide, you’ll discover how to easily install and manage mods on your Project Zomboid server, bringing fresh content and exciting new features to your gameplay.
TIP
How to Install a Mods on Your Project Zomboid Server?
To download and install mods for your Project Zomboid server, follow these steps:
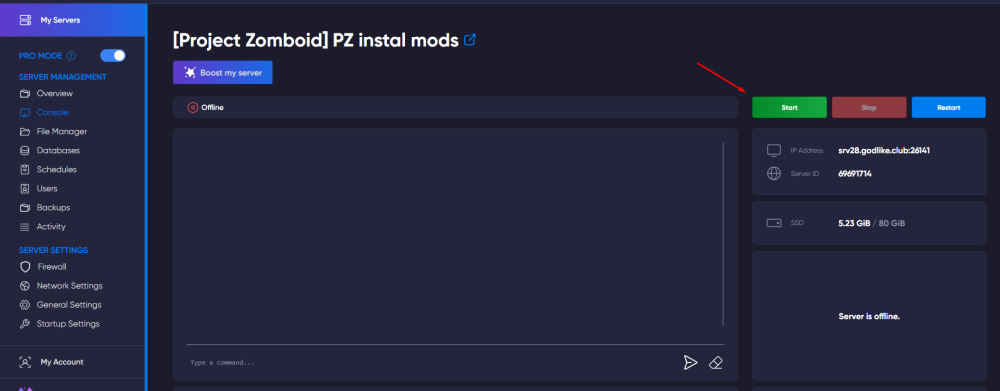
Step 1: Start the server so that the .cache folder is automatically created.
If you have already run the server for the first time, this folder already exists on the server and you do not need to perform this step.
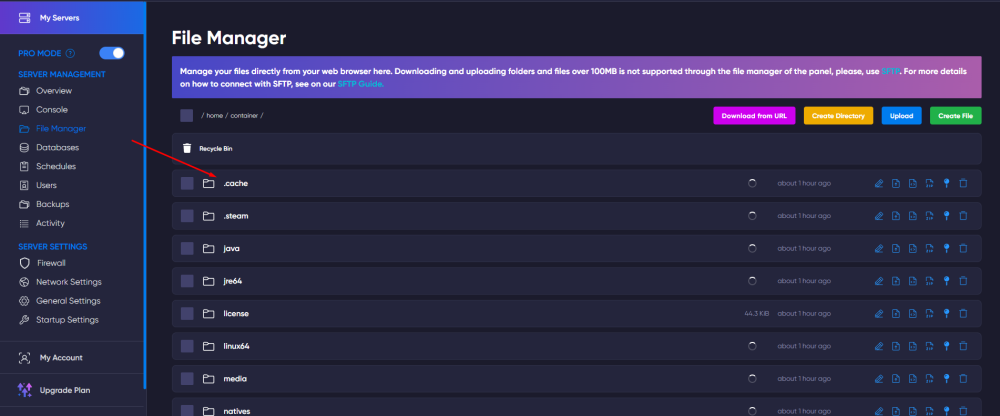
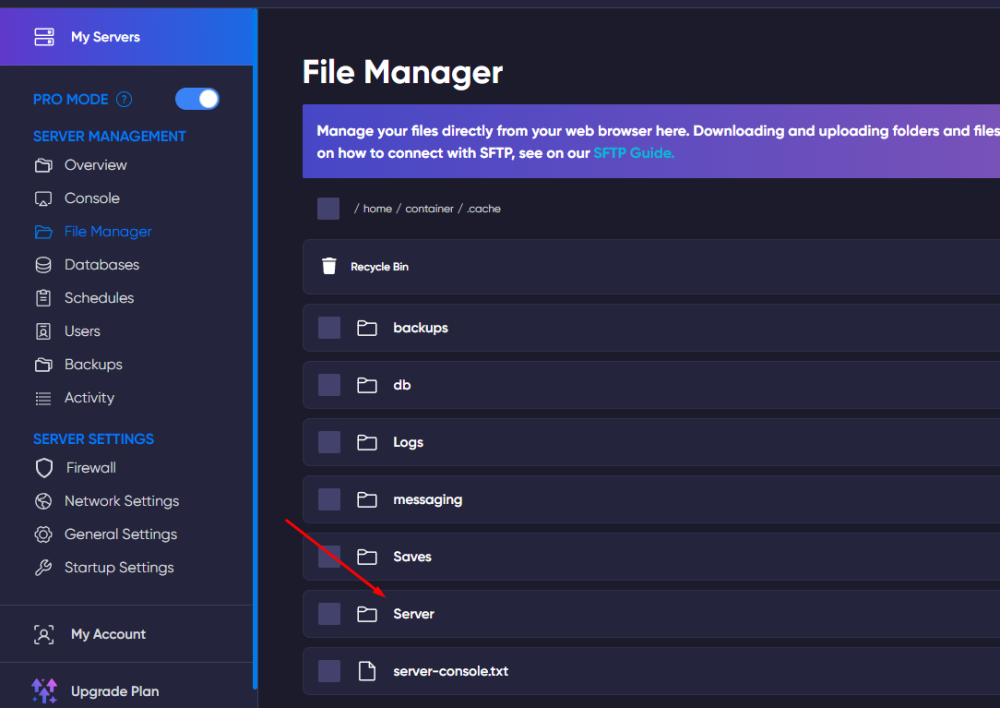
Step 2: Now open the file manager and navigate to the following path /home/container/.cache/Server
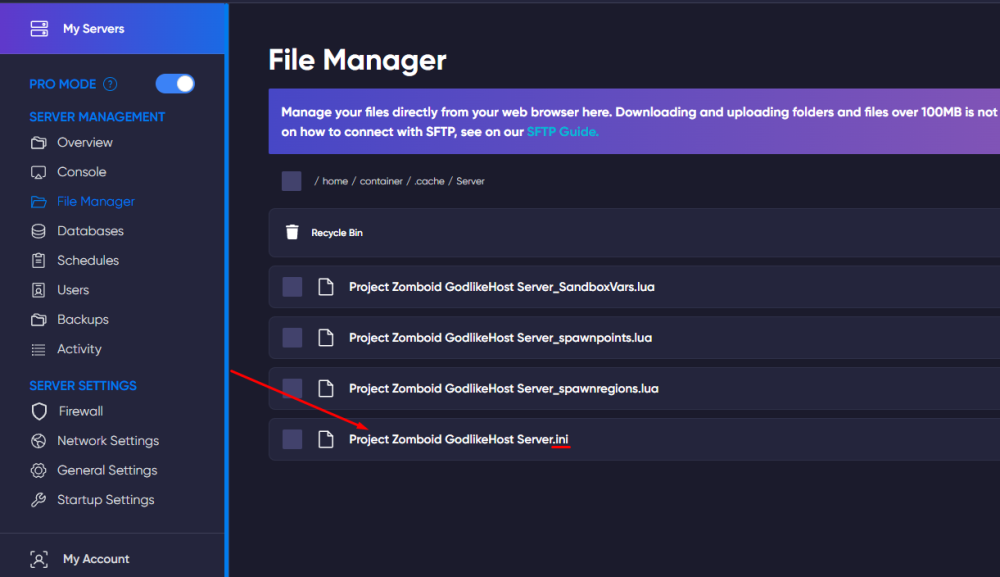
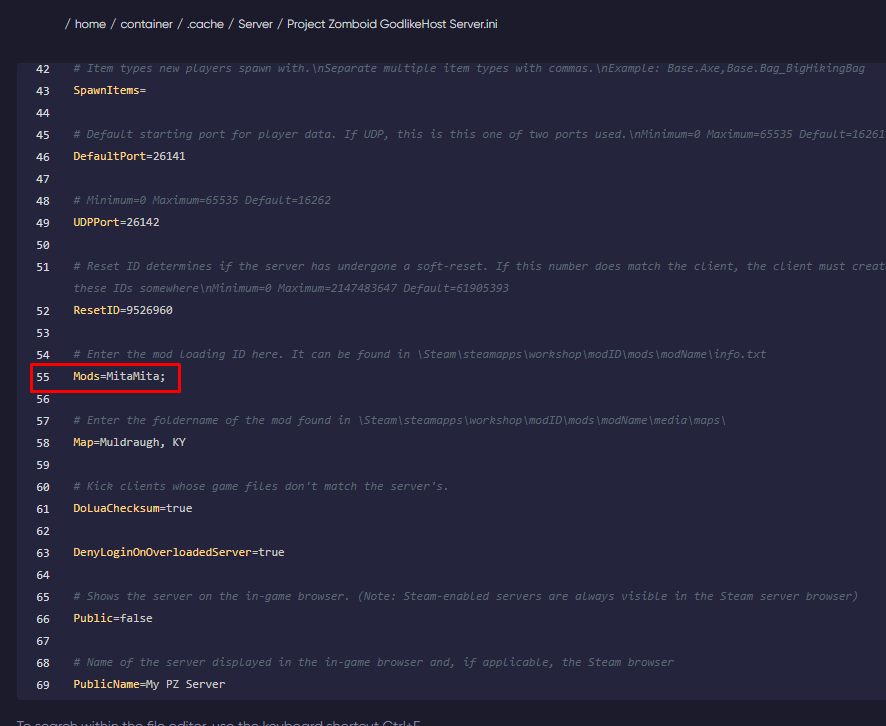
Step 3: Open the Project Zomboid GodlikeHost Server.ini file
Step 4: Navigate to line 55 in the file and enter the Mod IDs separated by semicolons.
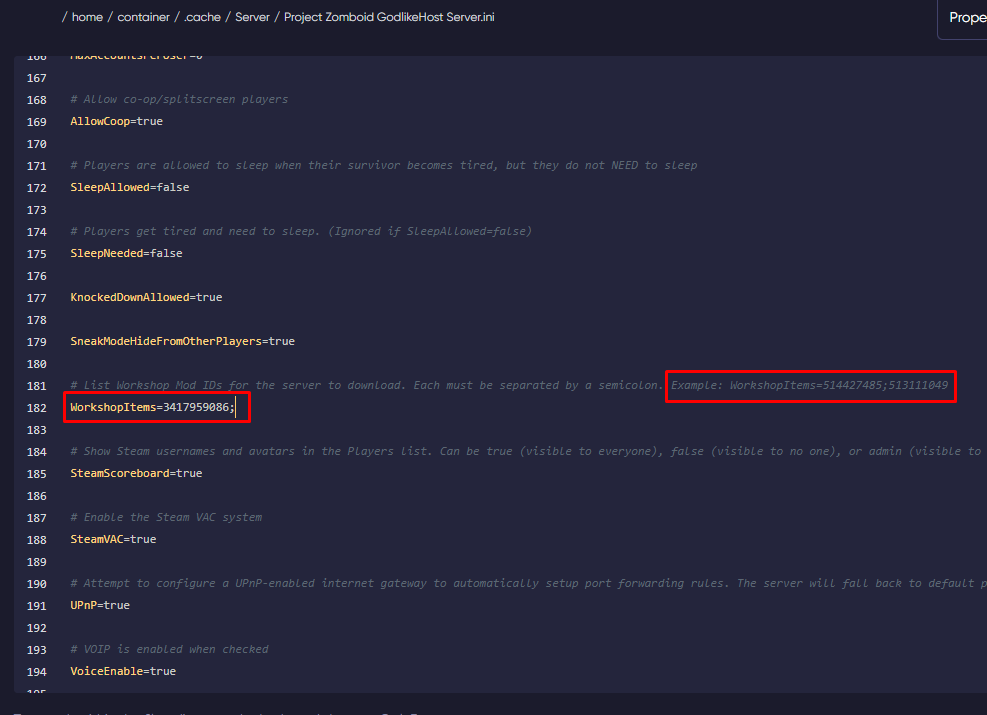
Step 5: Next, find line 182 in the same file, and enter the mod Workshop IDs, separated by semicolons.
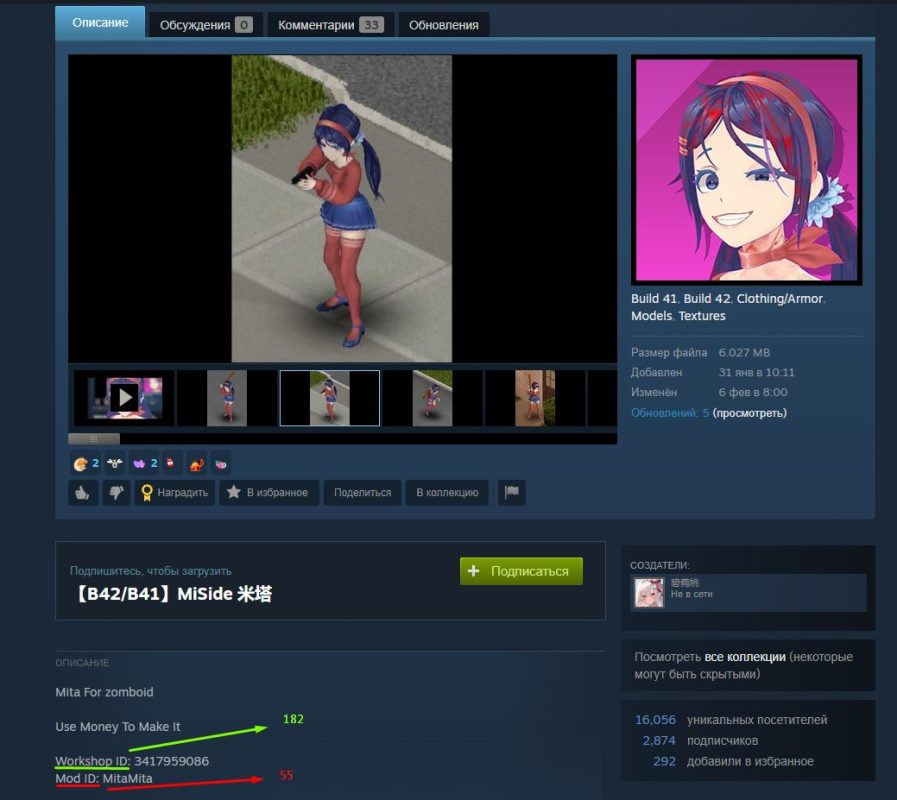
TIP
This information can be found in the Steam workshop description of the mods.
Step 6: After making the changes, save the file to apply the changes and start your server.
If you followed the instructions correctly, modifications will be automatically uploaded to the server once the server is started.

