 en
en
Modifications from the Steam Workshop
Add mods to Arma 3 servers through Steam Workshop. The Steam Workshop is a vast space where players upload modifications for various games, catering to all tastes and preferences. Game maps, player models, game modes, updated textures, and much more are available for your favorite games. In this article, we'll explain how to download modification files and add them to your server.
TIP
Don't have your own Arma 3 server yet? Order it with our hosting service
How to find modification files
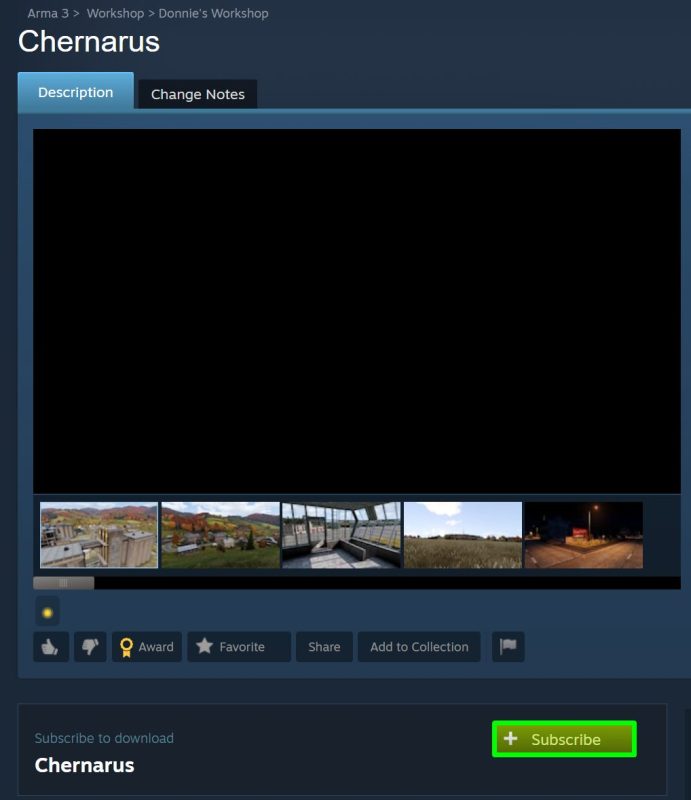
1) Subscribe to the necessary modification in the Steam Workshop, then open the game.
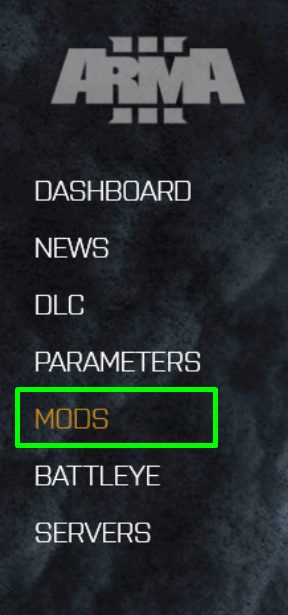
2) In the game's main menu, click on the Mods section.
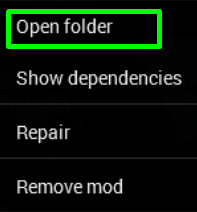
3) Right-click on the desired modification, then click Open Folder. You will see the folder containing the files of this modification, save it.
Uploading modifications to the server
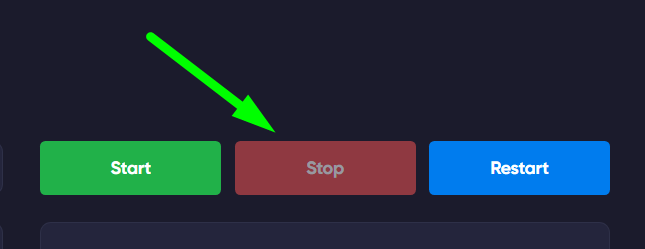
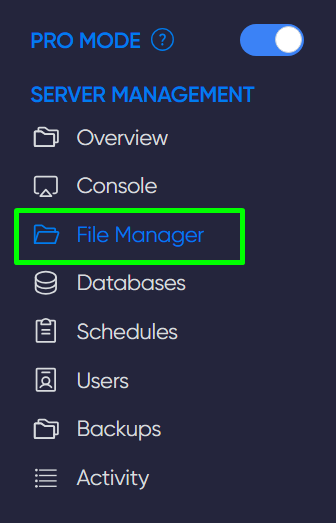
1) Open the game panel and turn off the server in the Console section.
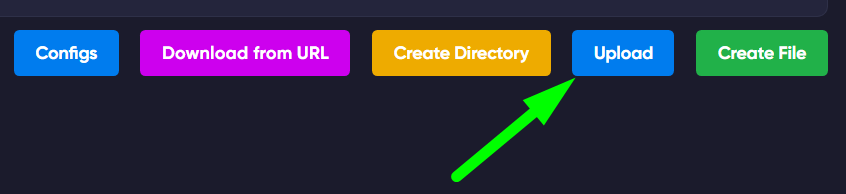
2) Go to the File Manager section and upload the folder with modification files to the mods or servermods folder (whichever is available) using the Upload button.
3) Wait for the upload to complete, then you can start the server.
TIP
Learn how to disable the BattleEye anti-cheat for your Arma 3 server
Now you know how to add modifications to your server and make your game even more diverse. We wish you a fun and exciting experience. Play together with GODLIKE.