
 en
en ua
ua es
es de
de pl
pl fr
fr pt
pt it
it nl
nl hu
hu ro
ro sv
sv ja
ja nb
nb sk
sk

 CHAT WITH GODLIKE TEAM


 Sponsorhip
  Our team
  Career
  About Us
  Contact Us
 How to create your own 7 Days to Die server?
- 3 min read
- 1544
- 0

What are the features of online play in 7 Day to Die?
Using 7 Days to Die server hosting to co-op play has a variety of differences: a simple house building can be exciting if you involve a creative friend or even a gang of friends in a joint passage - the server can accommodate up to 40 players. With this possible number, the role variability increases: some can be engaged in gathering, others in construction, others in exploration - you just need to find a common goal, which is incredibly difficult in 7 Days to Die. If you don't have a goal, you can make a little hell, flash through bloody battles in locations - just play against each other.
The game has some uniqueness, for example, based on the name of the game, your survival will be accompanied by a weekly "shakeout" - a wave of zombies that closes the week, knowing about the player's location and trying to kill him. That's why collecting resources and building fortifications is especially important - without a solid house, moat, and stakes, you risk not surviving longer than a week.

Your own game server
It is much more interesting and fun to play with friends, especially in a game like 7 Days to Die. Together, you can fight off crowds of zombies, look for food, shelter, and develop your character's skills. In this article, you will learn how to create your own 7 Days to Die server for online play.
TIP
If you already have your own server, we suggest that you read our article on deep server configuration - follow article
How to install and update the Steam console
First, you need to prepare the Steam console. SteamCMD is a command-line console (terminal) used to install Steam-related files and is the mechanism by which the 7 Day to Die server is installed and updated.
1) Create a folder for SteamCMD
2) Create a folder for the future server.
3) Download SteamCMD for Windows.
4) Unzip the contents of the zip file to the folder you created for steamcmd.
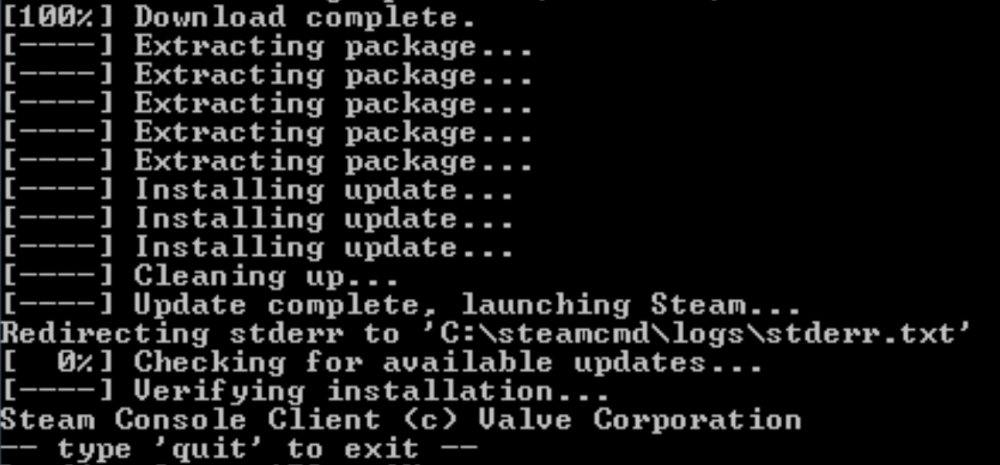
5) Run the steamcmd.exe program (your computer may ask you to confirm that you want to run it).
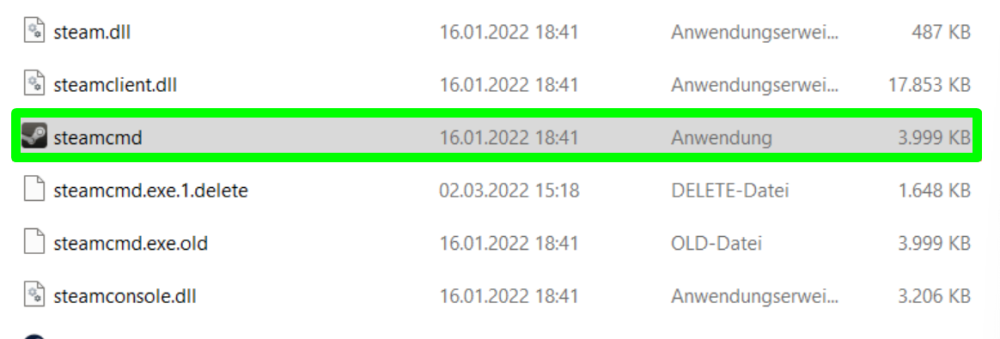
6) Once launched, this file will be downloaded, installed, and updated to the latest version of SteamCMD.
How to set up a dedicated server for the game
1) At the console prompt, enter the following commands one by one (press Enter after each):
force_install_dir "The path to the folder with your server"
login "Your Steam login"
password "password"
app_update 294420
(app_update 294420 -beta latest_experimental - if you want to get the latest experimental build)
quit
Now you know how to create your own server for 7 Days to Die and are ready to defend yourself and your shelter from the zombie hordes with your friends! Play along with GODLIKE.
