
 en
en ua
ua es
es de
de pl
pl fr
fr pt
pt it
it nl
nl hu
hu ro
ro sv
sv ja
ja nb
nb sk
sk

 CHAT WITH GODLIKE TEAM


 Sponsorhip
  Our team
  Career
  About Us
  Contact Us
 How to set up a 7 Days to Die server?
- 3 min read
- 1617
- 0

Your own game server
The 7 Days to Die server creating and configuring on your computer helps this article. In addition, these settings will lay the foundation for further installation of servers for the game, so follow the steps we have described below.
Installing and updating SteamCMD
SteamCMD is a command-line console (terminal) used to install Steam-related files, as well as a mechanism that installs and updates the 7 Day to Die server.
1) Create a folder for SteamCMD.
2) Create a folder for the future server.
3) Download SteamCMD for Windows.
4) Unzip the contents of the zip file to the folder you created for steamcmd.
5) Run the steamcmd.exe program (your computer may ask you to confirm that you want to run it).
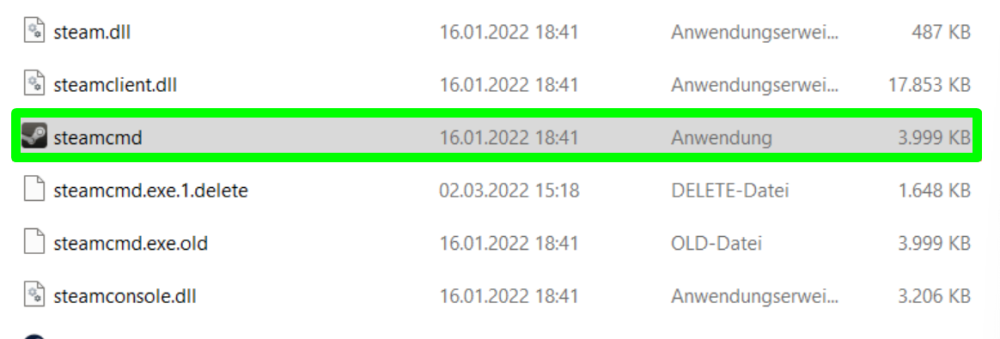
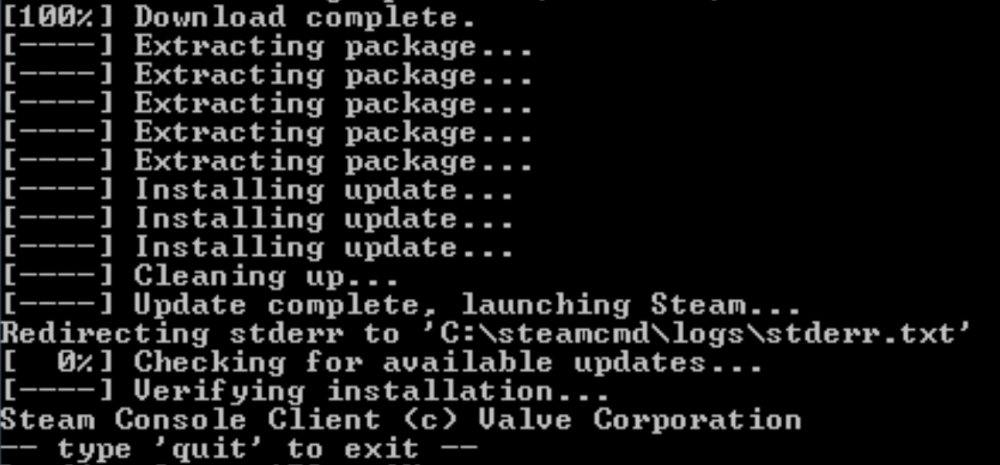
6) Once launched, this file will be downloaded, installed, and updated to the latest version of SteamCMD.
Setting up a dedicated server for the game
1) In the console prompt, enter the following commands one by one (press Enter after each):
- force_install_dir "The path to the folder with your server"
- login "Your Steam login"
- password "password"
- app_update 294420
- (app_update 294420 -beta latest_experimental - if you want to get the latest experimental build)
- quit
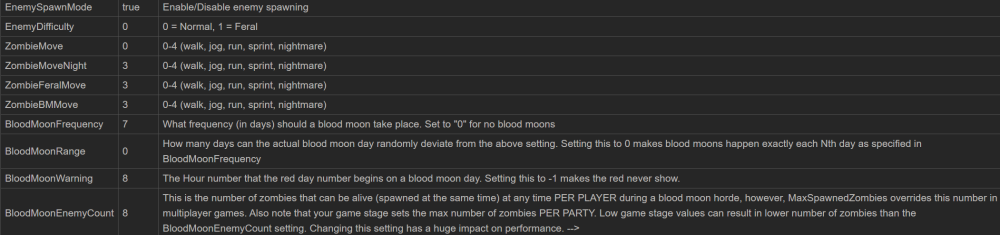
Customizing the serverconfig.xml
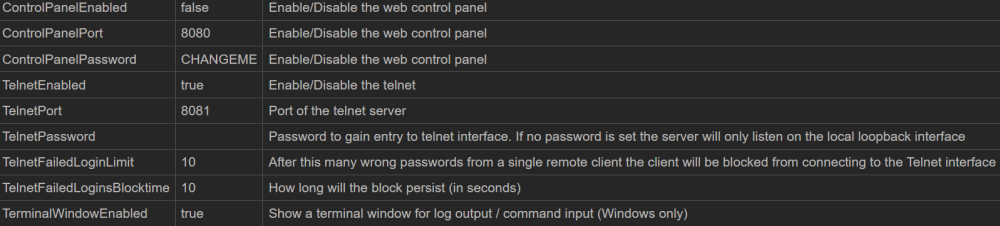
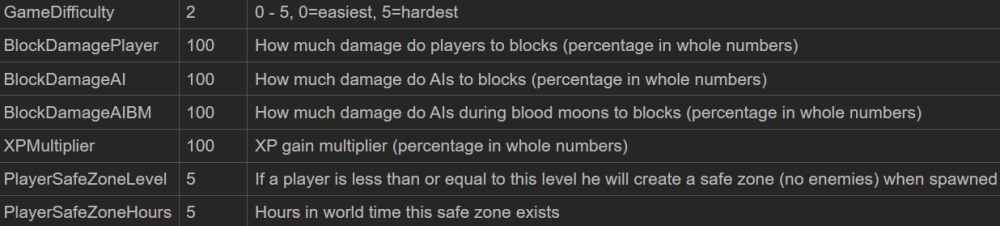
Now you will see a table of the current serverconfig.xml file for the Alpha 19 build that ships with 7 Days to Die:
CAUTION
You can copy these settings, just change the data in the "value=" part of the file, otherwise it will not work
Customize the appearance of the server

Server operation in the network

Setting the number of players

Setting up the admin interface
Setting up folders and files

Setting up the world

Setting the game difficulty
Additional commands for the server

Performance settings

Customize monsters and zombies
Setting up loot (in-game items)

Multiplayer settings

How to buy a server on our website?
It will be much easier to buy a server hosting and manage it in a convenient panel. Now we will tell you how to get a 7 Day to Die server.
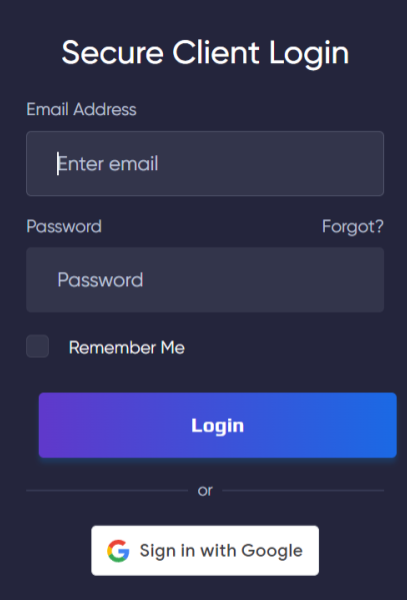
1) Log in to your account or register on the GODLIKE.
2) From the main page of the site, scroll down. You will see a list of games for ordering servers. Click All servers button.

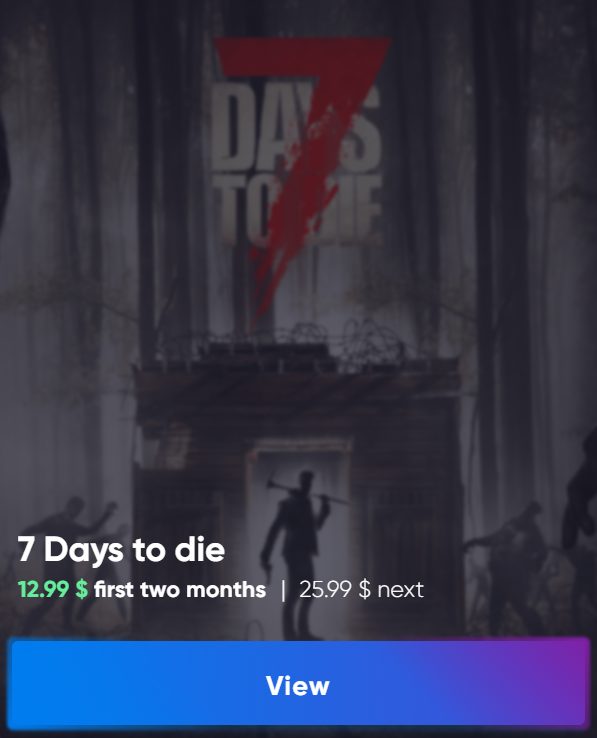
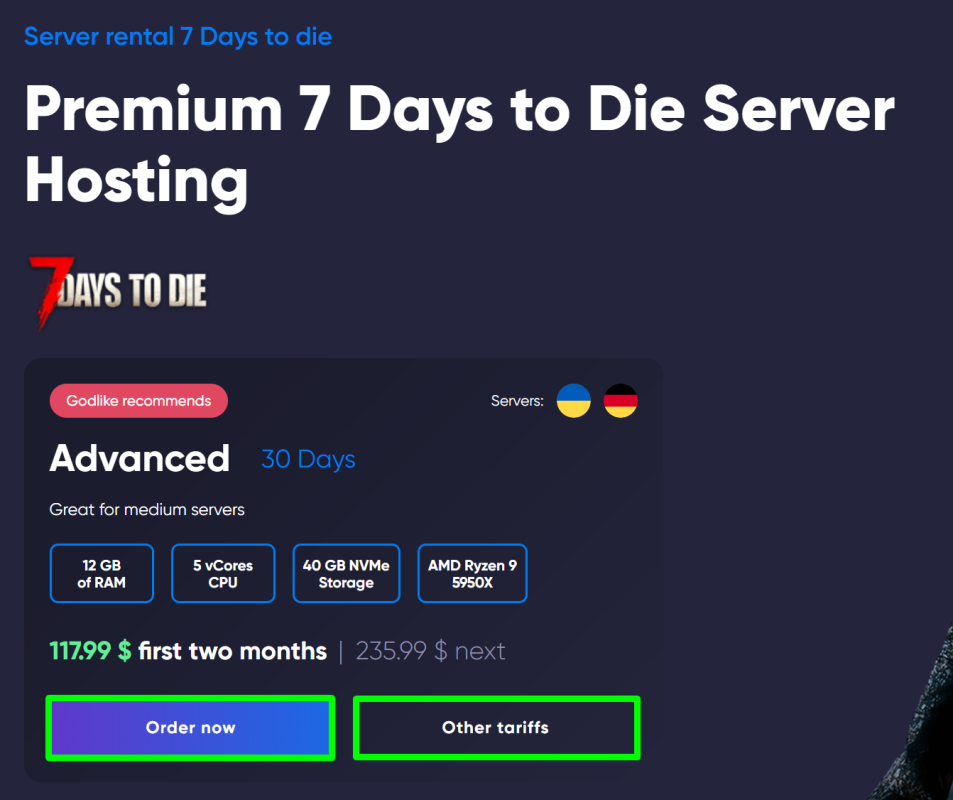
3) Search for 7 Days to Die and click "View", you will be taken to a new page. On it, you will immediately see the recommended hosting plan for 7 Days to Die from our GODLIKE team and its description.
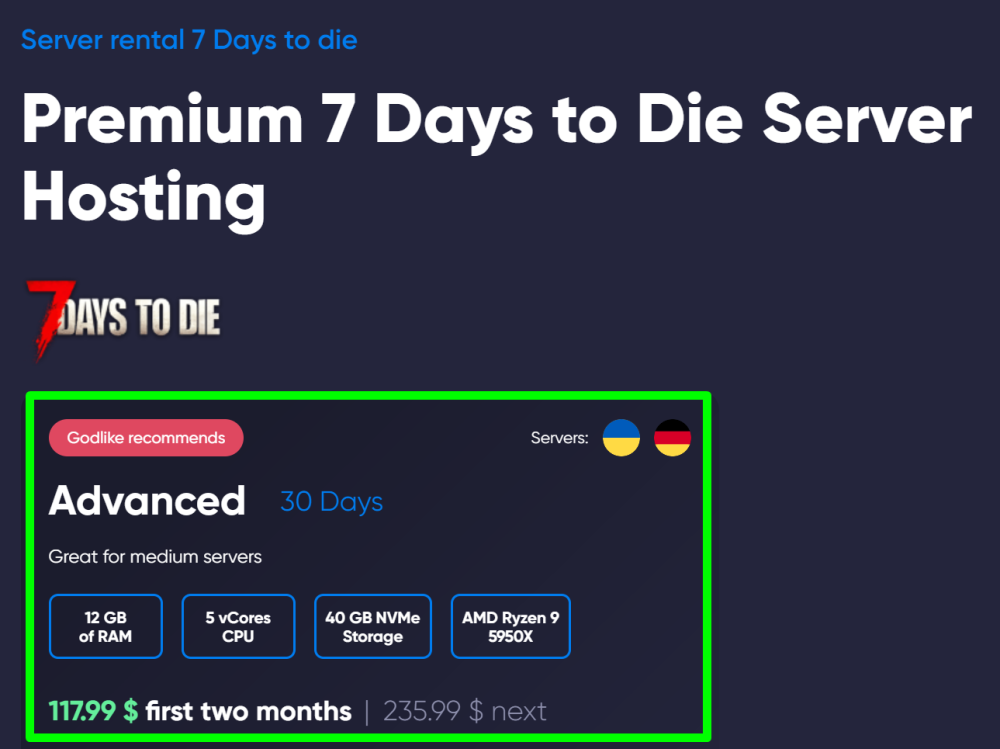
4) If you are interested in this plan, click the "Order now" button to proceed to the payment window and fill in additional information. If you are also interested in other plans, click the "Other plans" button, you will be taken to a new page with different plans for this game.
TIP
We remind you that we always offer free hosting of all kinds of games and different plans for 7 days
Now you know how to create your server and can start your survival in the world of 7 Days To Die! Play together with GODLIKE.
