
 en
en ua
ua es
es de
de pl
pl fr
fr pt
pt it
it nl
nl hu
hu ro
ro sv
sv ja
ja nb
nb sk
sk

 CHAT WITH GODLIKE TEAM


 Sponsorhip
  Our team
  Career
  About Us
  Contact Us
Install Minecraft on your computer
To use the best 24/7 Minecraft server hosting first you need to download the Minecraft launcher from its official website (or update it if you downloaded it earlier), then run MinecraftInstaller.exe (or Minecraft.dmg on MacOS). The installer will download the necessary files and prompt you to launch the launcher when it is finished.
To access the game, you will need to sign in to the Microsoft account where you purchased Minecraft.
Once you are in the Minecraft Launcher, you need to make sure you are playing the latest version of the game. Make sure that MINECRAFT: Java Edition is selected in the left column and that you are running the latest version. This guide assumes that you are running Minecraft version 1.20.1, the latest version at the time of writing.
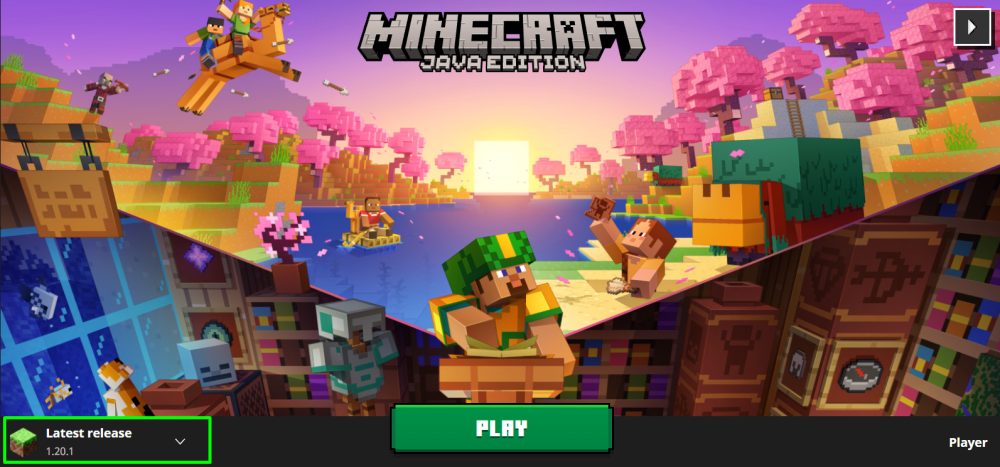
Click the "Play" button. Once you're in the main menu, you can close Minecraft and continue to the next step.
Install or update your Java version
Running a Minecraft server requires a specific version of Java, and you may need to update it before proceeding.

Minecraft 1.20.1 requires Java version 20.. or higher to run. Download the required Java version from the official website. Make sure that "Java 20" is selected, and then download the appropriate file for your device.
Run the installer, after which Java will install the necessary files. The program may ask you to uninstall the previous version. When it is finished, you can close the installer.
Downloading the .JAR server file
After setting up Minecraft and Java, download the official server file from the Minecraft website. Make sure the server version matches the version of Minecraft you have installed, in this case 1.20.1. Save the server.jar file to a convenient folder.
Creating a folder for your server
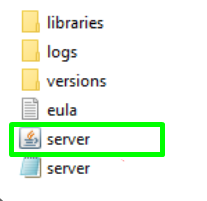
Next, create a new folder. It can be anywhere. Name it whatever you want. It will contain all the necessary files, including the Minecraft world itself.
Now move the server.jar file from its original location to the folder of your server that you created.
Starting the server
To start the Minecraft server, you need your device's console.
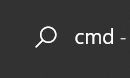
Type cmd in the search bar of your computer (bottom left) and launch the terminal (console).
First, run the change directory command by typing "cd" followed by the path to your Minecraft Server folder. For example, if you are using Windows and the folder is located in the Documents directory, the command will look like this:
cd C:\Users\Your username\Documents\Minecraft Server

The command prompt should update to the new folder location. This tells you that the command prompt is looking for the server.jar file in the correct location.
To start the server for the first time, enter the following command:
java -jar server.jar --nogui
![]()
This will create the necessary files in the Minecraft Server folder you created earlier. However, the server will not start until the End User License Agreement is accepted.
Stop the server by entering the /stop command at the command prompt.

Next, navigate to the Minecraft Server folder, find the eula.txt file, and open it. Change the bottom line from eula=false to eula=true. Save and close the text document.

Restart the server
You are almost done configuring the server. Start the server again with the following command:
java -jar server.jar

This time the server is fully initialized. You may be prompted to allow the program to run through your computer's firewall, which you should agree to.
The graphical user interface (GUI) window of the server will open. It displays the same information as in the command line, as well as a list of active players and technical statistics received by the server. The server must be up and running and accessible from the computer you are running it on.
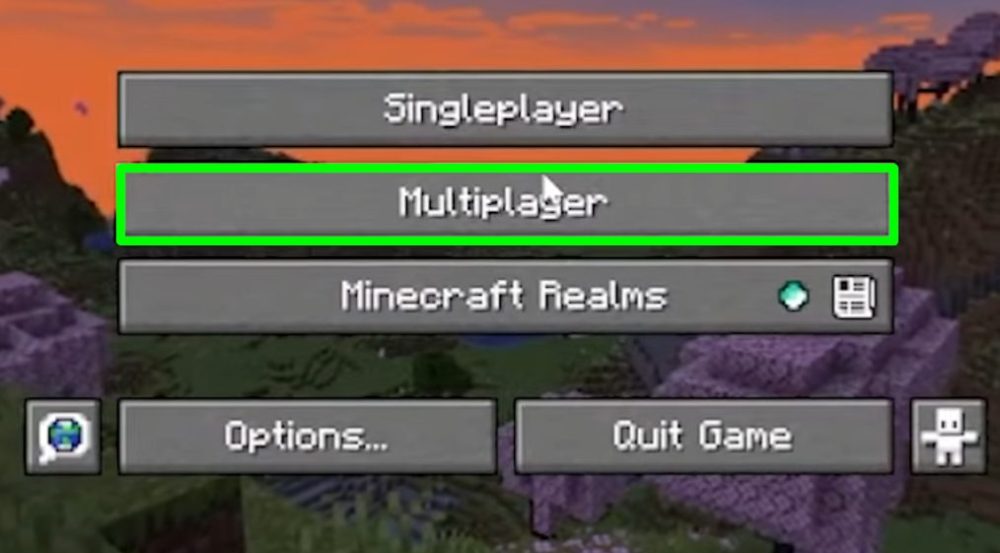
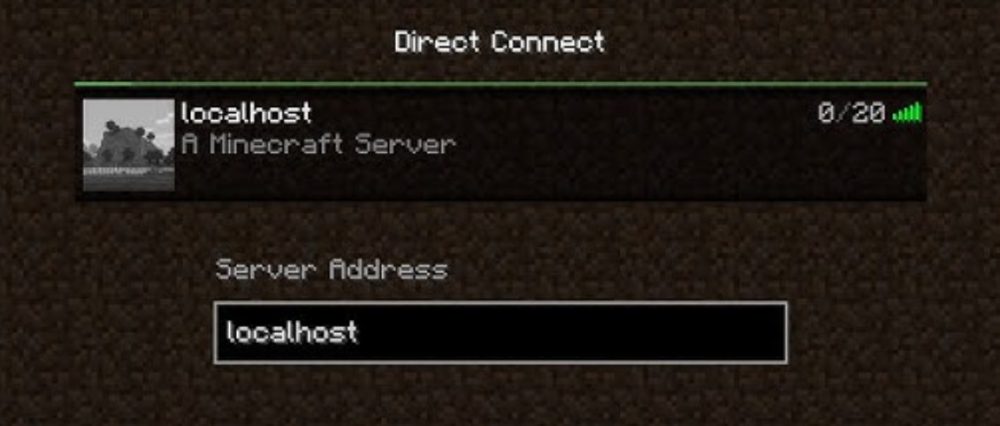
You can check this by launching Minecraft, selecting "Multiplayer" and then "Direct Connection". In the server address field, enter "localhost" and click "Join Server".

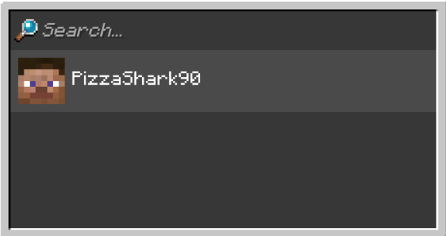
After a successful connection to the server, your username should appear on the "Players" tab in the server's graphical interface.
How to buy a server on our website?
It will be much easier to purchase server hosting and manage it in a convenient panel. Now we will tell you how to get a Minecraft server
TIP
Also, you can get a free server for Minecraft from us!
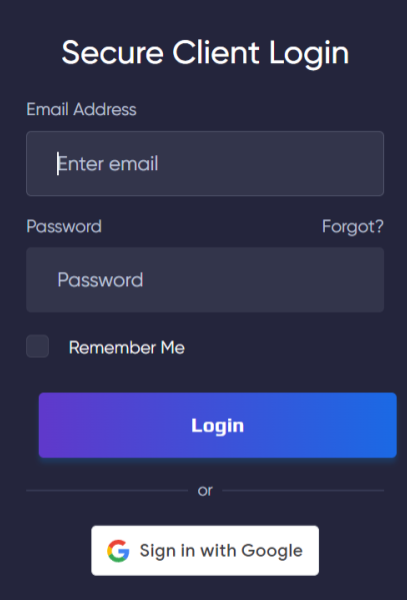
1) Log in to your account or register on the GODLIKE website.
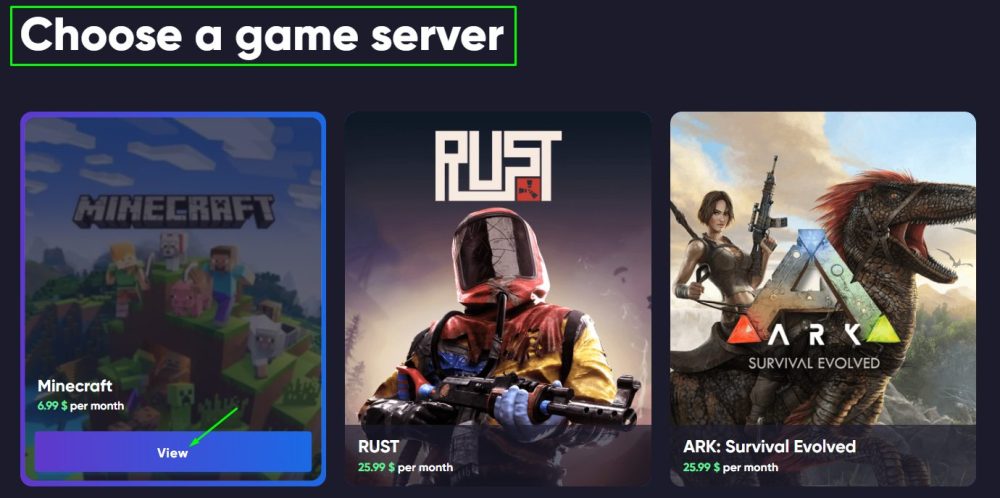
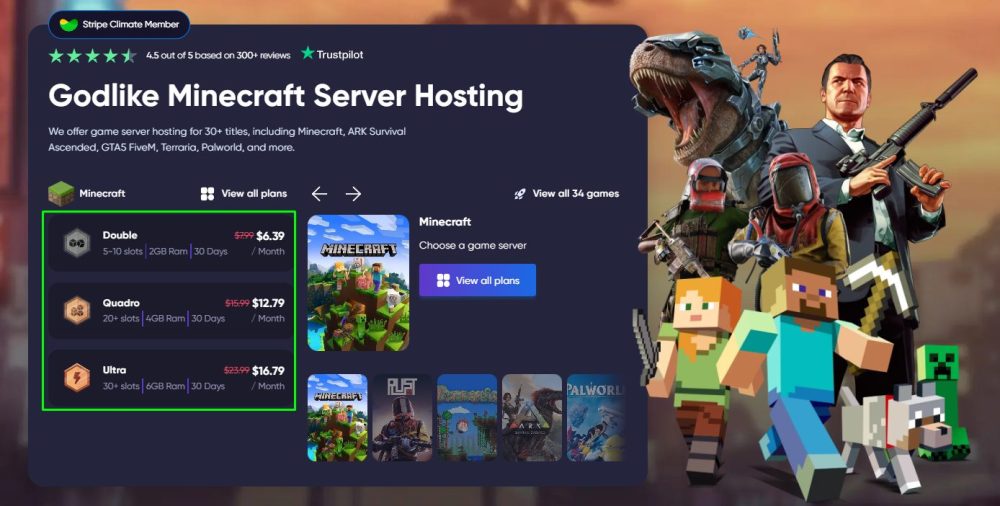
2) From the main page of the site, scroll down. You will see a list of games for ordering servers. Select the Minecraft game, hover over it, and click the View button.
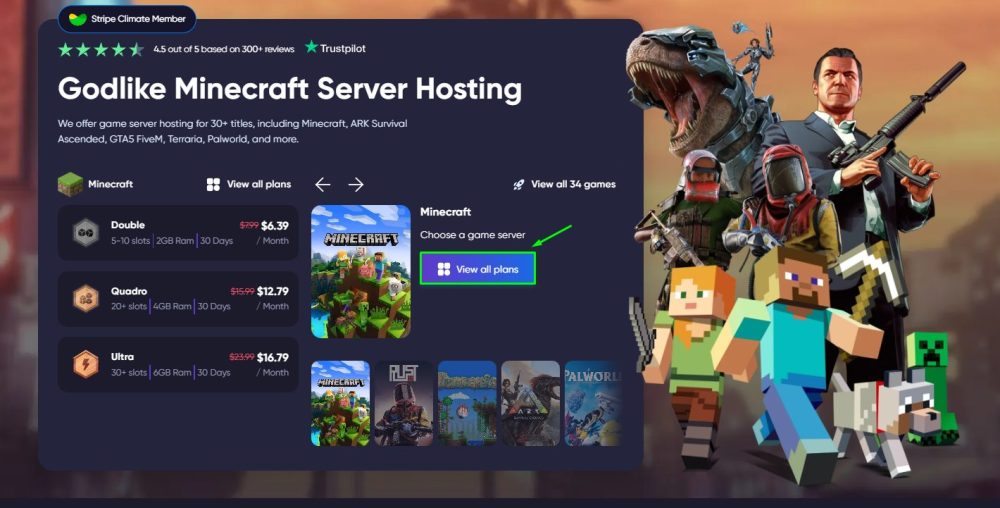
3) After clicking the "View" button, you will be redirected to a new page. On it, you will immediately see the recommended Minecraft hosting plan from our GODLIKE team and its description.
4) If you are interested in this plan, click the "Order now" button to proceed to the payment window and fill in additional information. If you are also interested in other plans, click the "Other plans" button, you will be taken to a new page with different plans for this game.
We remind you that we always offer to get free hosting of all kinds of games and different plans for 7 days
Now you know how to create your own Minecraft server and you can invite your friends along with other players for a fun game! Play together with GODLIKE.
