
 en
en ua
ua es
es de
de pl
pl fr
fr pt
pt it
it nl
nl hu
hu ro
ro sv
sv ja
ja nb
nb sk
sk

 CHAT WITH GODLIKE TEAM


 Sponsorhip
  Our team
  Career
  About Us
  Contact Us
Setting up your own server
Setting up your Arma 3 server hosting helps this article, and these settings will also lay the groundwork for installing multiple servers on the same device.
Setting up your Steam console
Create three empty folders:
1) A folder for the console, for example, "SteamCMD".
2) A folder for management, for example, ...\ArmA3\"Arma3ServerMaster".
3) Folder for files, for example, ...\ArmA3\"Arma3ServerFiles".
Download steamcmd.exe and save it to the console folder:
1) Download SteamCMD for Windows from this link.
2) Unzip the contents of the zip file to the folder you created for steamcmd.
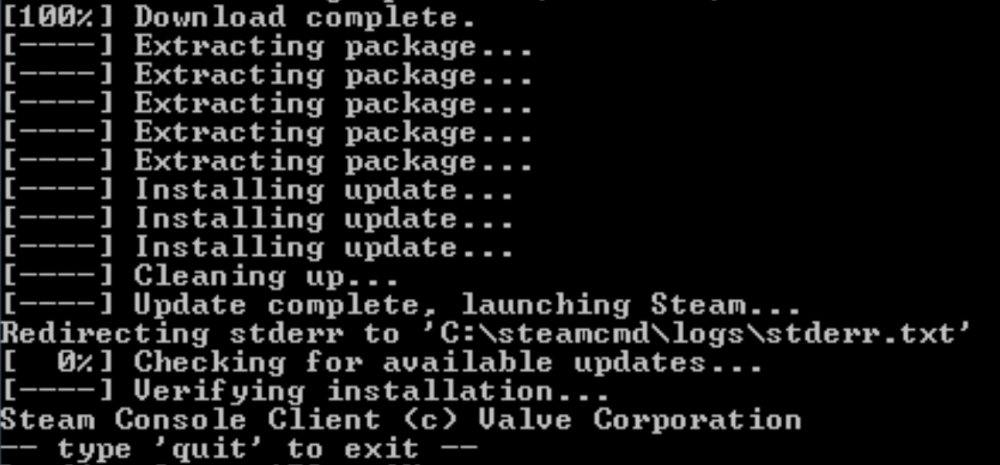
3) Run the steamcmd.exe program (your computer may ask you to confirm that you want to run it).
4) Once launched, this file will be downloaded, installed and updated to the latest version of SteamCMD.
Setting up files for the server
1) Create the file "Arma3server_steamcmd_example.cmd" and save it in the folder you created for the files ("Arma3ServerFiles").
2) Run the file "Arma3server_steamcmd_example.cmd"
3) Immediately after logging in to Steam, the console window will freeze and ask you to enter a validation key.
4) Steam will automatically send you an email (to the email associated with your Steam account) with this validation code, which you will need to enter on the command line.
5) After that, the Update console window should continue to work and install ArmA3 ((DEV or STABLE) version to the target directory specified in the .cmd file), for example (...\ArmA3\"Arma3ServerFiles").
6) Create a shortcut to ArmA3Server.exe in your server folder.
7) Right-click on this shortcut, click Properties, go to the Shortcut section and in the Target line, enter the following parameters (after each command, indent by pressing the space bar):
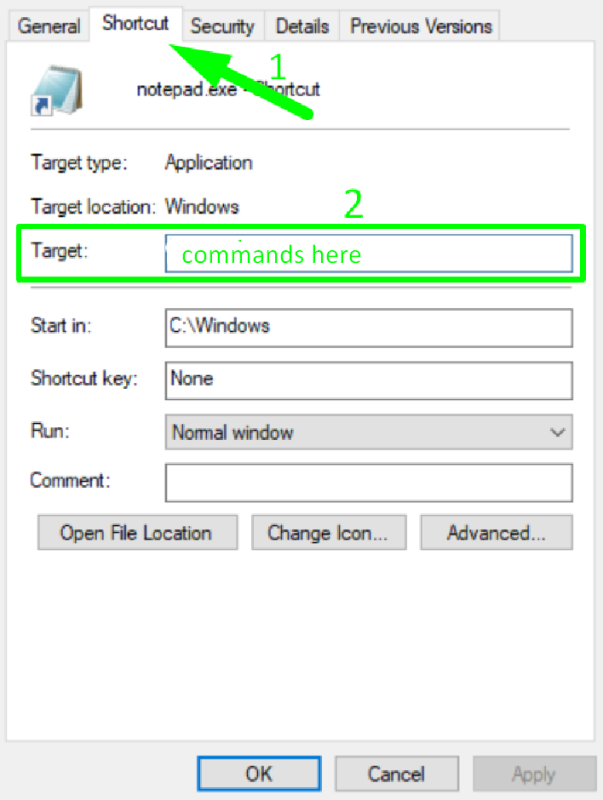
- -port=2302
- "-profiles=..\ArmA3\Arma3ServerMaster"
- -config=CONFIG_server.cfg
- -world=empty
TIP
The Target line should look like this (example): \ArmA3\"Arma3ServerFiles" -port=2302 -config=CONFIG_server.cfg -world=empty
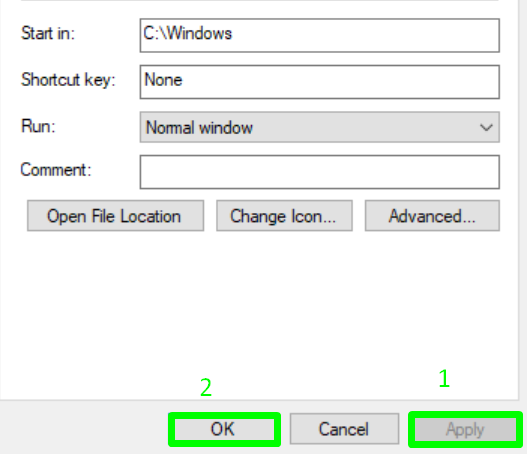
8) When you have entered everything you need, click Apply below, then Ok.
Make sure that you have:
"Network Discovery" is enabled for your network type (settings can be found in [Control Panel\Network and Internet\Network and Sharing Center\Advanced Sharing Settings]. If you have trouble resetting the interface when you reopen it, make sure that all the services required for this function are running: DNS Client, Function Discovery Resource Publication, SSDP Discovery, UPnP Device Host; (when setting up and creating a server, you need stable Internet access), (it may be the case with services, not network discovery).
Also, enable the Windows Media Player network sharing service (makes the server available for connection).
Server host on the device
1) Create a simple notepad document called "CONFIG_server.cfg" and save it in the root folder of your Arma3 server installation "Arma3ServerMaster".
2) Launch your shortcut (which you created earlier), check the server startup. (You will see the console on the desktop in a few seconds).
3) Close the console window, after which you will need to edit the following files, which will be created automatically, in the following path:
...\Arma3\Arma3ServerMaster\Users\Administrator\Administrator.Arma3Profile
...\Arma3\Arma3ServerMaster\Users\Administrator\Arma3.cfg
4) Restart the server
5) Launch your Arma3.exe client (in the same branch as the server, (for example, Stable or DEV), after which you will be able to see your server in the server browser (filters are available to reduce the list of servers), in the game menu.
6) Log in to the server using the password you defined in CONFIG_server.cfg by typing "/" to open the chat window, then enter (#login ADMINPASSWORD) and press enter.
WARNING
Make sure you never forget the # symbol before any server command
7) After logging in, you will be presented with a list of missions, select one of the missions to start the game.
Congratulations, you have hosted your Arma 3 server!
How to buy a server on our website?
It will be much easier to buy a server hosting and manage it in a convenient panel. Now we will tell you how to get an Arma 3 server.
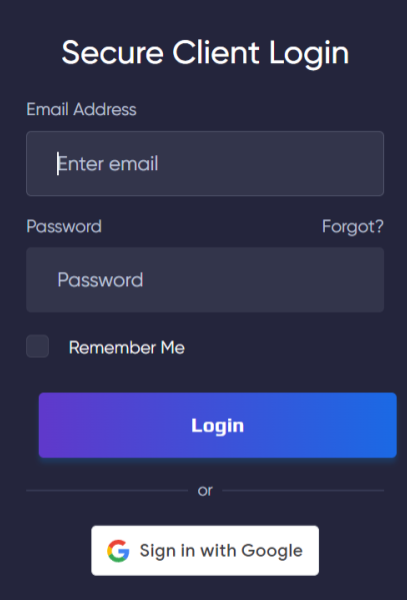
1) Log in to your account or register on the GODLIKE.
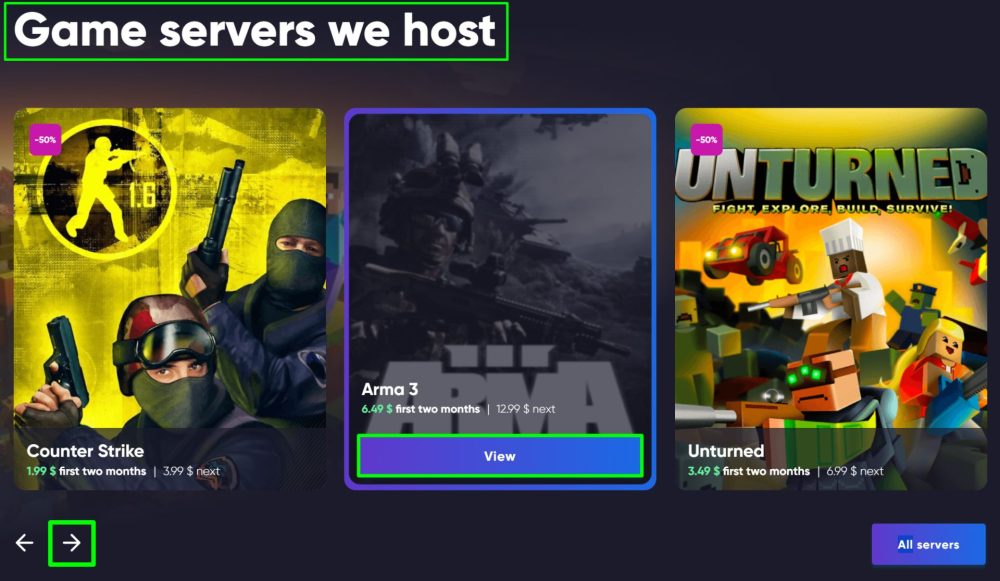
2) From the main page of the site, scroll down. You will see a list of games for ordering servers. Click the arrow to the right and you will see the game Arma 3, hover over it and click the View button.
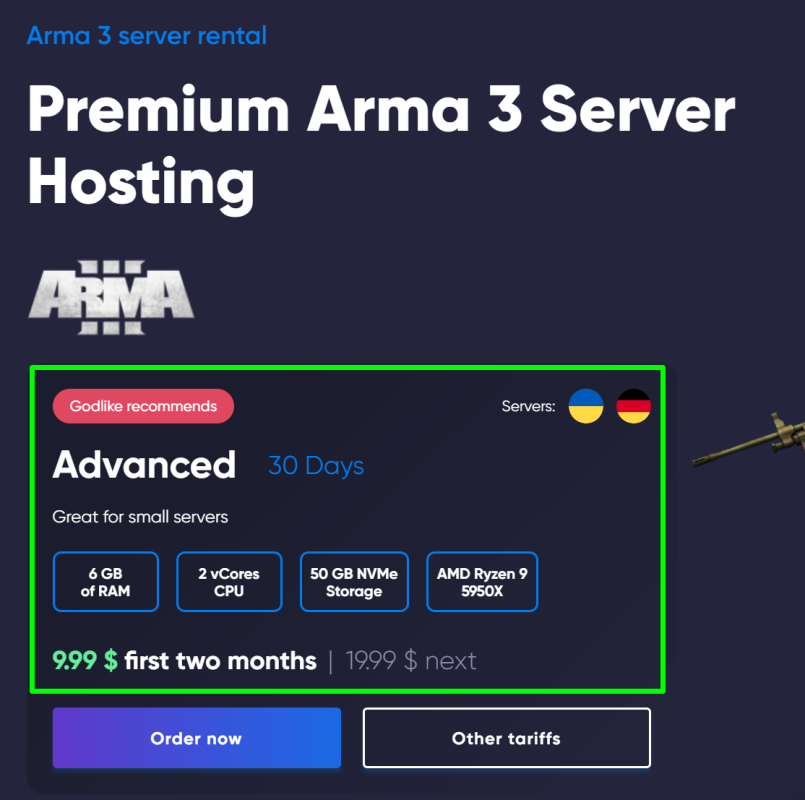
3) After clicking the "View" button, you will be taken to a new page. On it you will immediately see the recommended Arma 3 hosting plan from our GODLIKE team and its description.
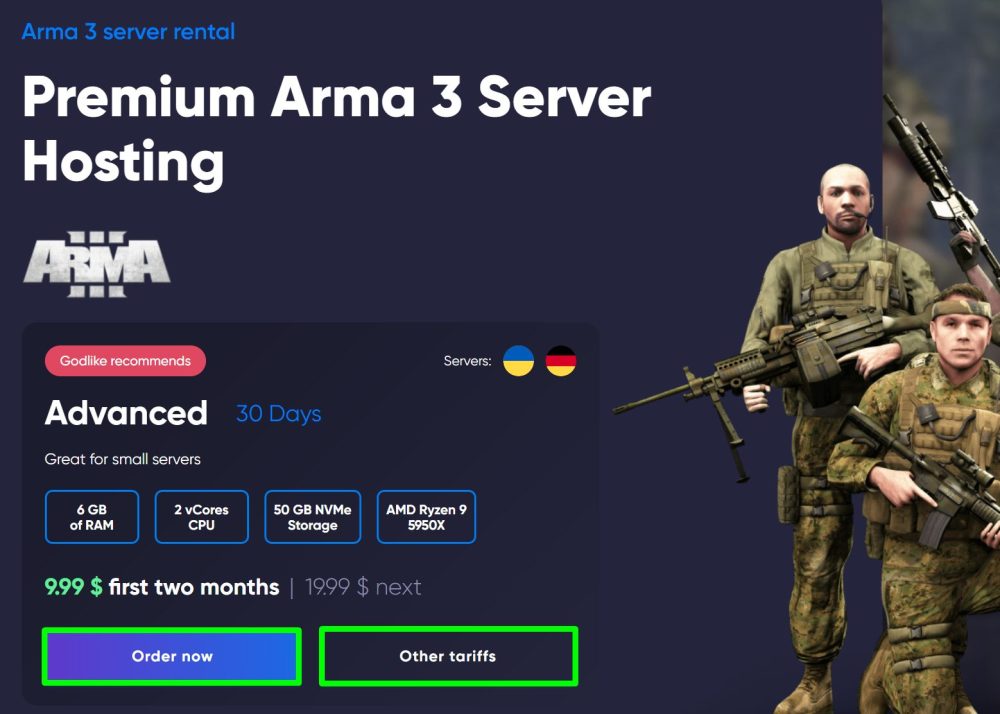
4) If you are interested in this plan, click the "Order now" button to proceed to the payment window and fill in additional information. If you are also interested in other plans, click the "Other plans" button, you will be taken to a new page with different plans for this game.
TIP
We remind you that we always offer to get free hosting of all kinds of games and different plans for 7 days
Now you know how to create your own Arma 3 server, and you can invite your friends along with other players for a fun game! Play together with GODLIKE.
