
 en
en ua
ua es
es de
de pl
pl fr
fr pt
pt it
it nl
nl hu
hu ro
ro sv
sv ja
ja nb
nb sk
sk

 CHAT WITH GODLIKE TEAM


 Sponsorhip
  Our team
  Career
  About Us
  Contact Us
 How to install 7 Days to Die mods
- 2 min read
- 1789
- 1

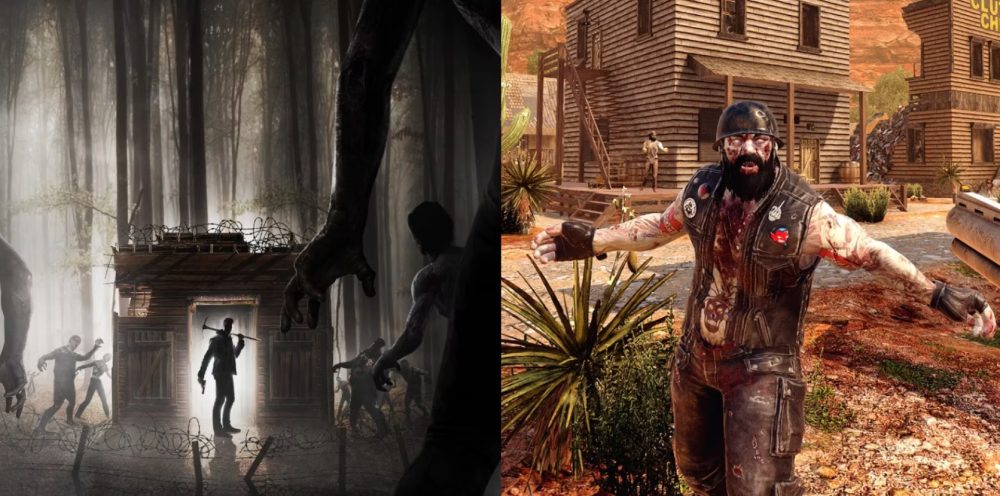
What are 7 Days to Die Mods for?
The 7 Days to Die mods allow you to get a new, unique experience of playing the game. You need to be careful when installing various game mods because, besides being fun, mods can also add inconvenience to the game if not installed correctly. If you aren't sure about setup 7 days to die server, you can check the following article. In this guide, you will learn how to install mods for 7 Days to Die.
How to Add Mods to 7 Days to Die in the GODLIKE panel?
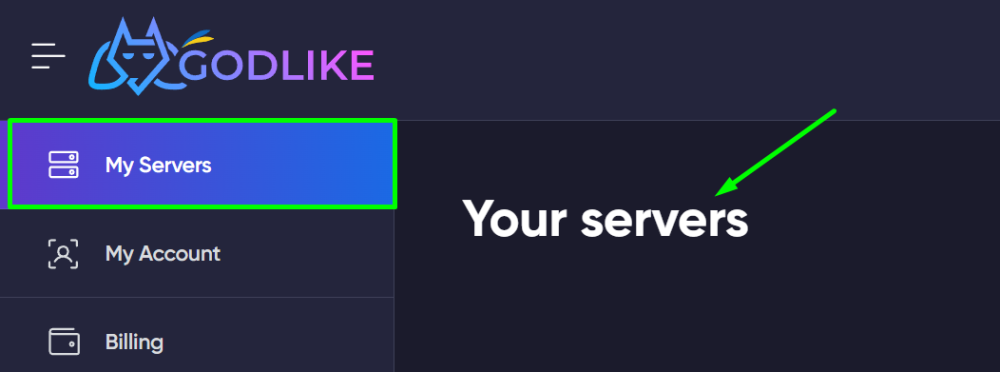
1) Log in to your GODLIKE account.

2) Click on the small circle of your profile photo. It is located at the top right of the page.

3) Go to your panel and click on the "My Servers" section.
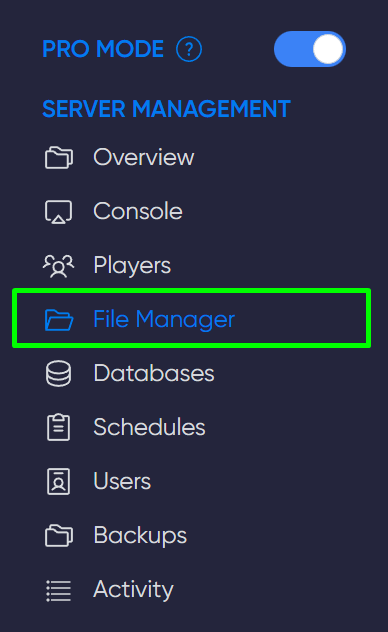
4) Select the required server and select the "File Manager" subsection.
5) Create the "Mods" folder using the yellow "Create Directory" button.

6) Download the required mods using the "Upload" button to the Mods folder. Done.
How to Add Mods to 7 Days to Die manually?
1) Create the "Mods" folder in the game directory.
It is important to check the location where you create the folder. It should be the root folder of the game.
TIP
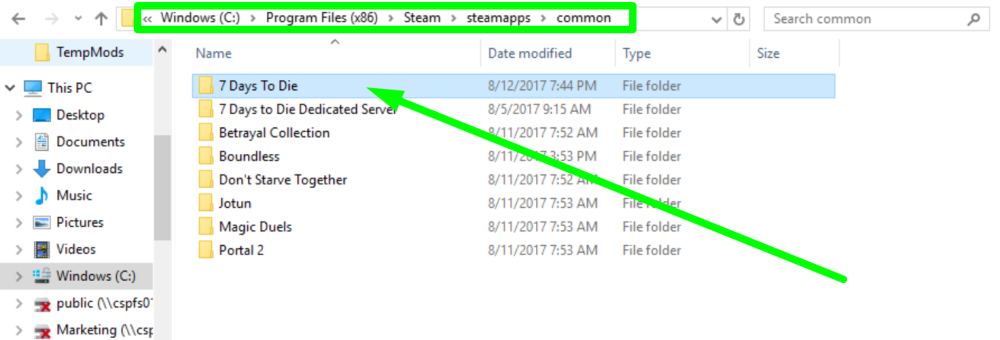
If you purchased the game on Steam, here is an example of the location of the game folder: C:\Program Files (x86)\Steam\steamapps\common\7 Days To Die
2) Download the mods you need using third-party sites.
![]()
3) When you have downloaded the mods, transfer the files to the "Mods" folder.
4) Log in to the game and check that the world is working correctly. You are done.
CAUTION
Some mods require different installation methods. When installing such mods, follow the instructions of the mod authors
Now you know how to install mods for your game. Be careful when downloading and we wish you a pleasant game! Play 7 days to die with GODLIKE.
