
The famous online shooter Quake Live
Explore Quake live from the legendary series that pioneered the online shooter genre comes the most exciting, energetic, and dynamic shooter on the Internet. Play against players from all over the world in more than 100 arenas and dozens of game modes in one of the most competitive shooters on the Internet today.

Walk through more than 100 arenas spanning more than a decade of the community's best creations. From classics to all-new arenas from id Software, you're sure to find your favorite little campsite away from home.
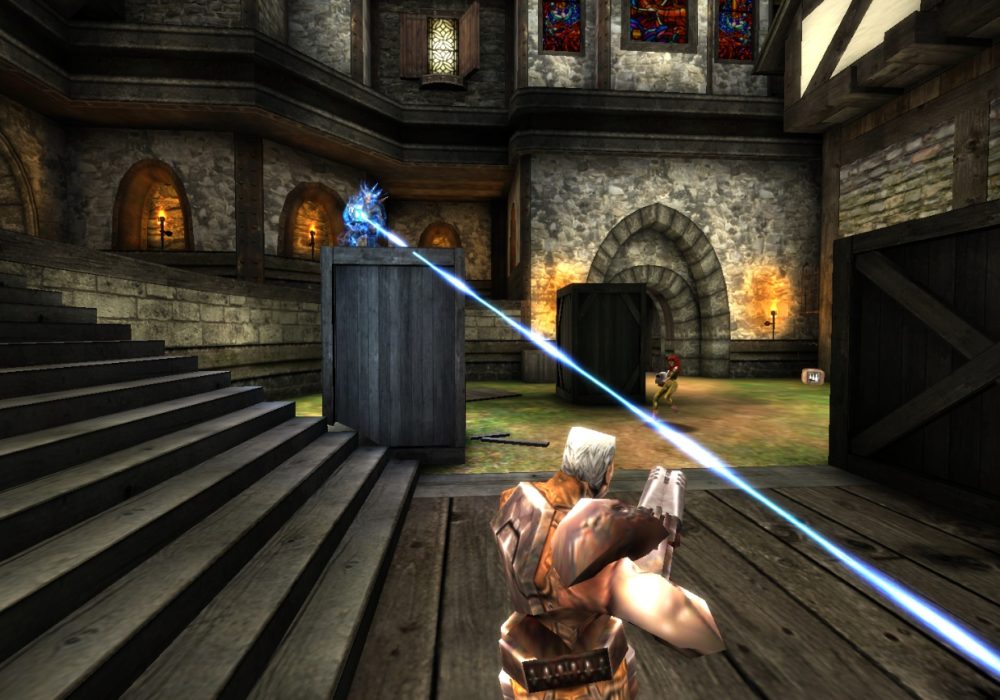
Smash every man, woman, and sinister alien creature to pieces in Free For All, or enjoy classic team play in Capture the Flag, or more modern modes like Domination or Freeze Tag, Quake Live has a mode for every mood.

Interested? Let's move on to the server information:
Server needs
The dedicated server is available in both 32-bit and 64-bit versions and can run on any modern computer that can run the Steam client. We recommend Ubuntu Server 14.04.
To run the 32-bit version of the server on a 64-bit distribution, you will need to install the 32-bit version of all libraries.
To run a 32-bit server on Ubuntu x64, install the necessary components with the following command
sudo apt-get install lib32gcc1 lib32z1 lib32stdc++6
Installing the Steam console and server
SteamCMD is a command-line console (terminal) used to install Steam-related files, as well as the mechanism by which the Quake Live server is installed and updated.
1) Create a folder for SteamCMD.
2) Create a folder for the future server.
3) Download SteamCMD for Windows.
4) Unzip the contents of the zip file to the folder you created for steamcmd.
5) Run the steamcmd.exe program (your computer may ask you to confirm that you want to run it).
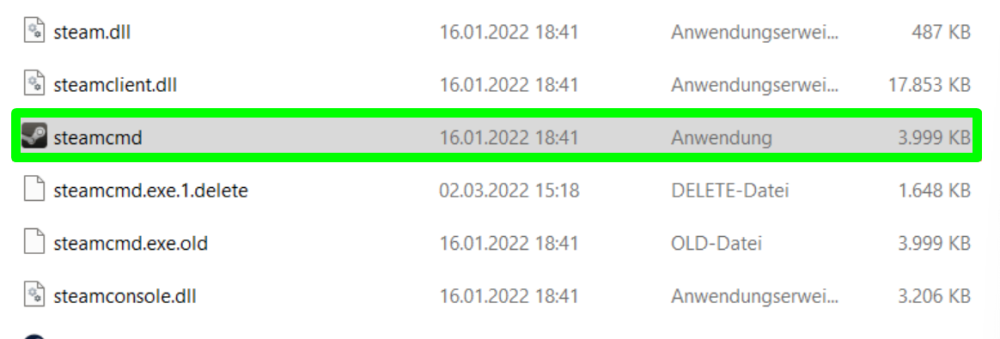
6) Once launched, this file will be downloaded, installed, and updated to the latest version of SteamCMD.
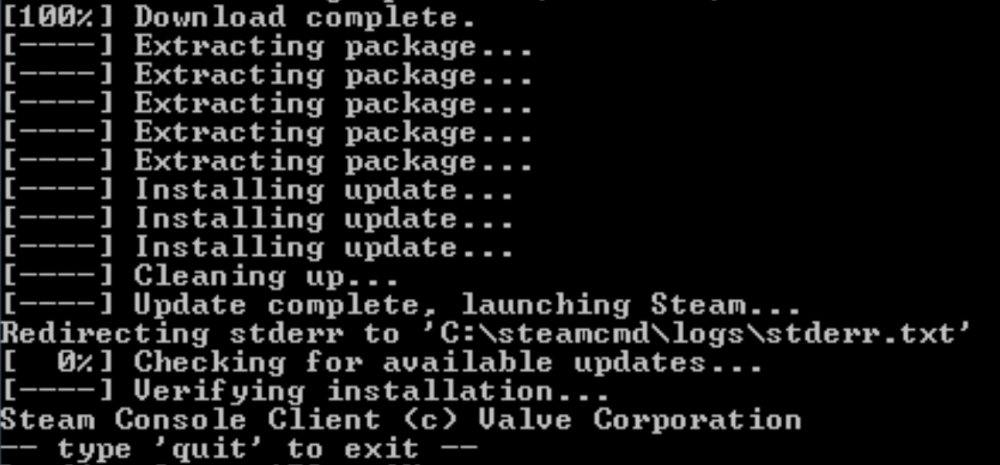
Setting up a dedicated server for the game
1) In the console prompt, enter the following commands one by one (press Enter after each):
force_install_dir "The path to the folder with your server"
login "Your Steam login"
password "password"
app_update 349090 validate
quit
Starting the server
Start the server using the provided scripts run_server_x86.sh and run_server_x64.sh. This will set the correct working directory and LD_LIBRARY_PATH to the correct libsteam_api.so.
TIP
You can add command line options as desired
A standard server or VPS can host many instances of Quake Live, so you may need multiple servers. We recommend managing them with a third-party process management system. Below is an example script that takes a single parameter: a number starting with 0. It starts a server with a unique hostname, port, rcon port, and stats port. This is a great way to quickly start a small cluster of servers on a single computer.
You should change the path to match where you installed the game. Never run the server as root.
#!/bin/bash
gameport=`expr $1 + 27960`
rconport=`expr $1 + 28960`
servernum=`expr $1 + 1`
exec /home/user/steamcmd/steamapps/common/qlds/run_server_x86.sh \
+set net_strict 1 \
+set net_port $gameport \
+set sv_hostname "My Quake Live Server #$servernum" \
+set fs_homepath /home/user/.quakelive/$gameport \
+set zmq_rcon_enable 1 \
+set zmq_rcon_password "mypass" \
+set zmq_rcon_port $rconport \
+set zmq_stats_enable 1 \
+set zmq_stats_password "mypass" \
+set zmq_stats_port $gameport
TIP
If you would like to learn more about setting up a Quake Live server
Now you know how to update and run your own Quake Live server, we wish you a pleasant and convenient experience. Play together with GODLIKE.

 en
en ua
ua es
es de
de pl
pl fr
fr pt
pt it
it nl
nl hu
hu ro
ro sv
sv ja
ja
 CHAT WITH GODLIKE TEAM

