 en
en
GeyserMC a plugin for cross play between Minecraft Java and Bedrock
GeyserMC is a tool that links the Bedrock and Java versions of Minecraft, letting players from both editions play together on the same server.
It bridges the differences between the two platforms so that Bedrock users can connect without needing extra setup, giving server owners an easy way to bring their entire community into one world.
TIP
How to Install GeyserMC on Your Minecraft Server
To download and install GeyserMC for your Minecraft server, follow these steps:
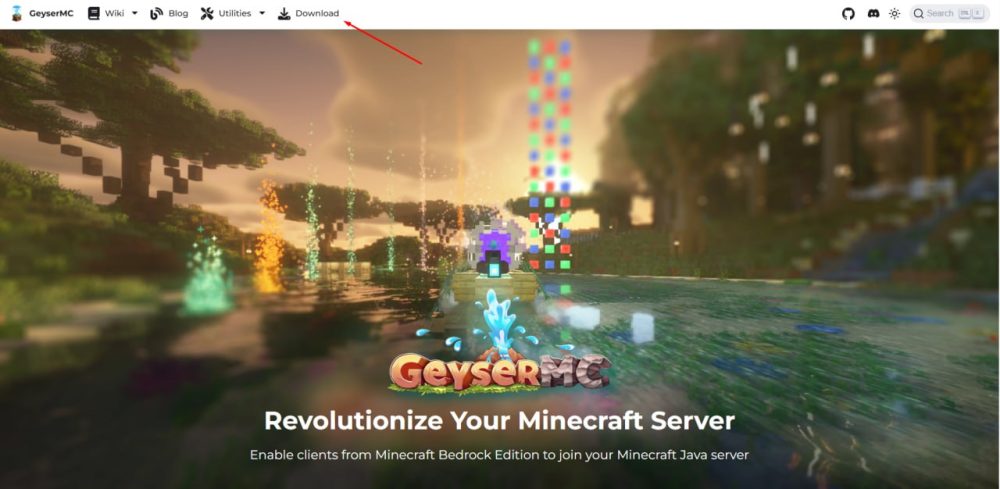
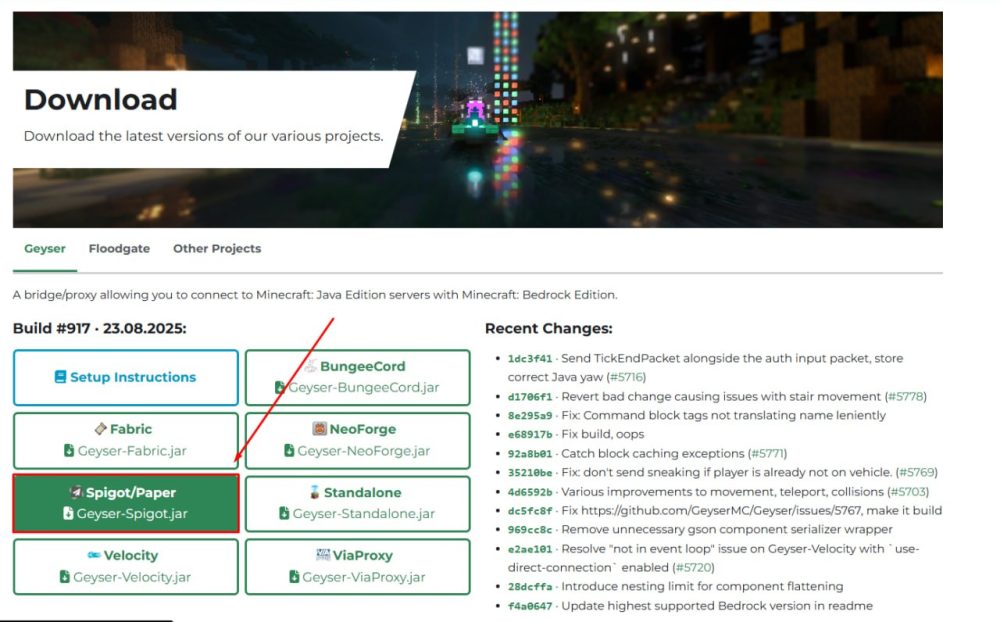
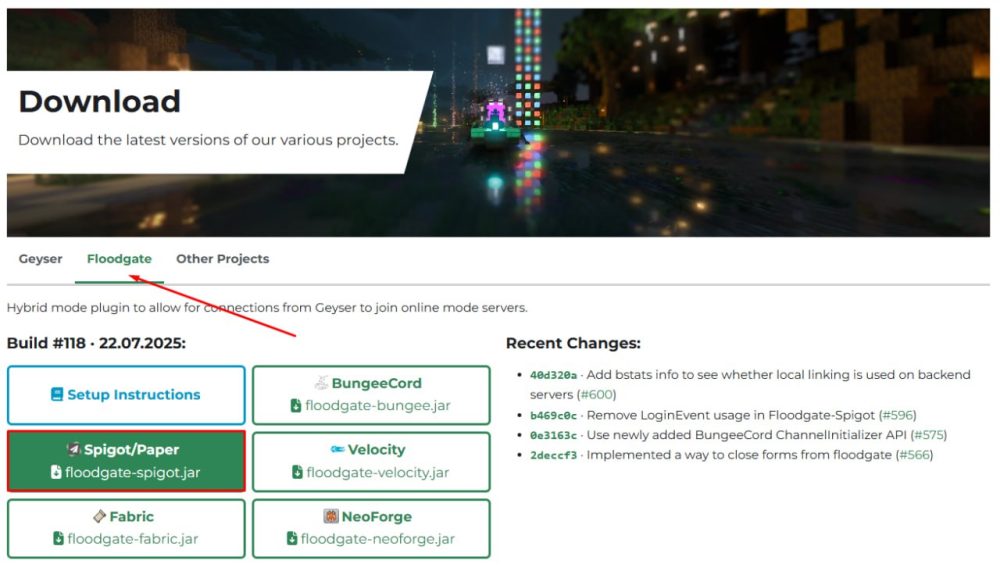
Step 1: Go to the official GeyserMC website, open the Download section, and choose the correct build for your server.
Since we are using Paper, select the Spigot/Paper version (Geyser-Spigot.jar) and download it.
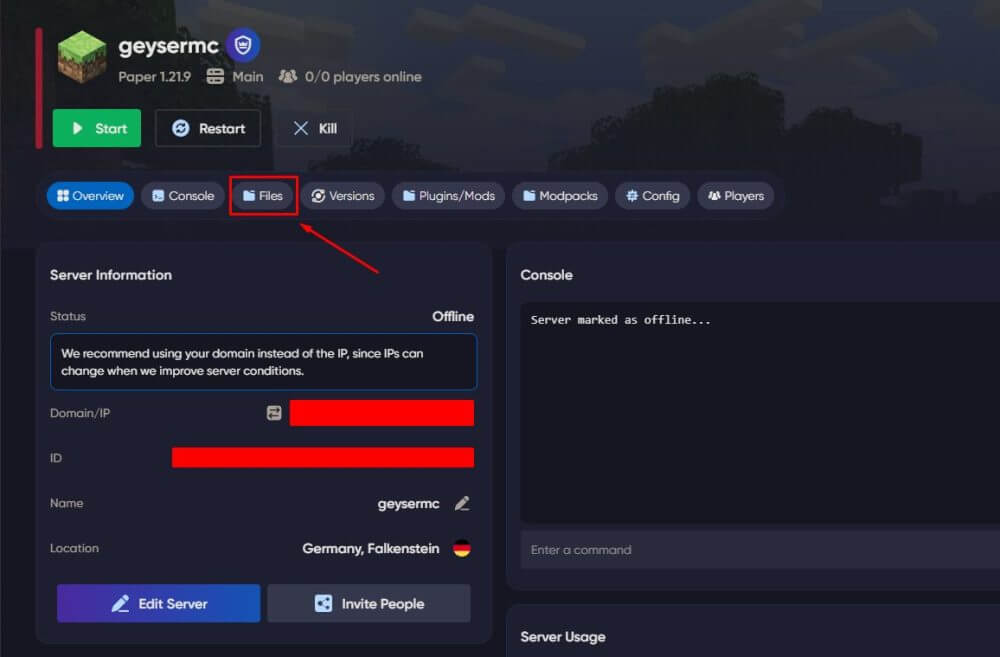
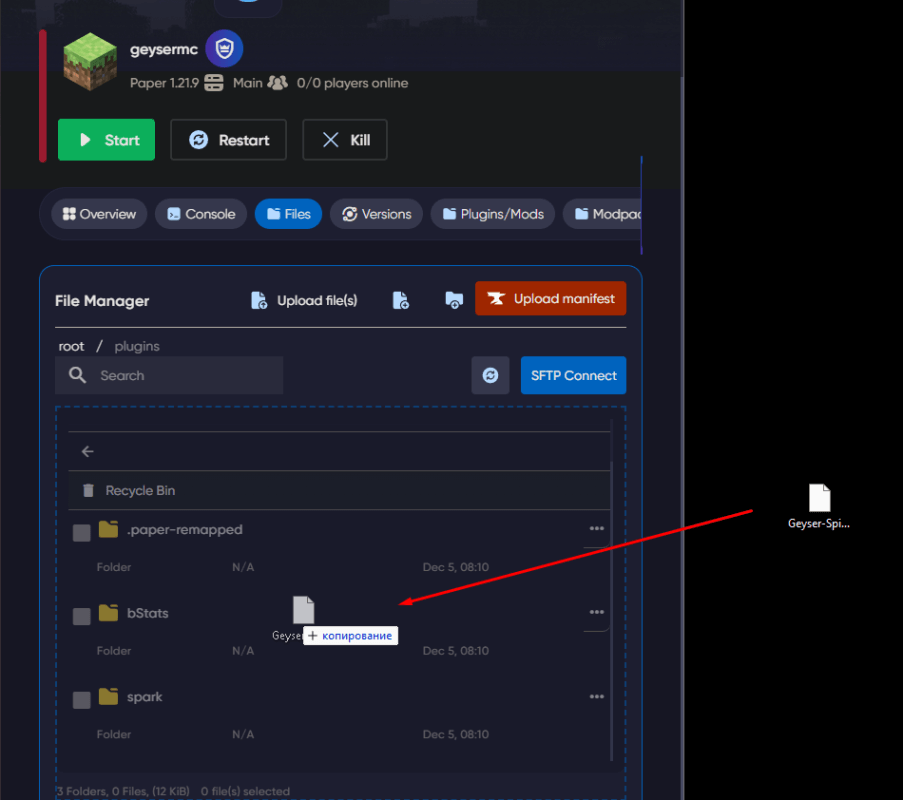
Step 2: Stop your server, open the File Manager, and upload the downloaded Geyser-Spigot.jar file into the plugins folder of your server.
You can easily do this by dragging and dropping the file from your PC into the File Manager.
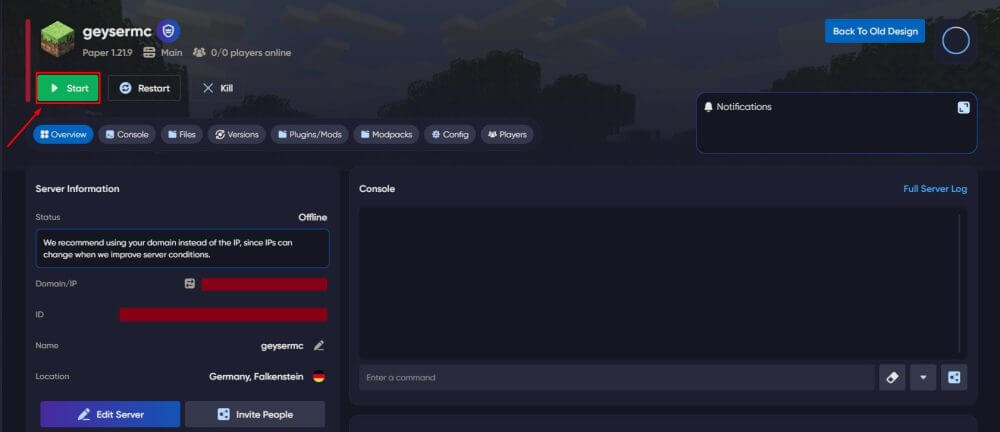
Step 3: Start your server for the first time after uploading the plugin and wait for a full launch.
This will generate the configuration files for GeyserMC in the server directory, which you will later edit to set up the plugin correctly.
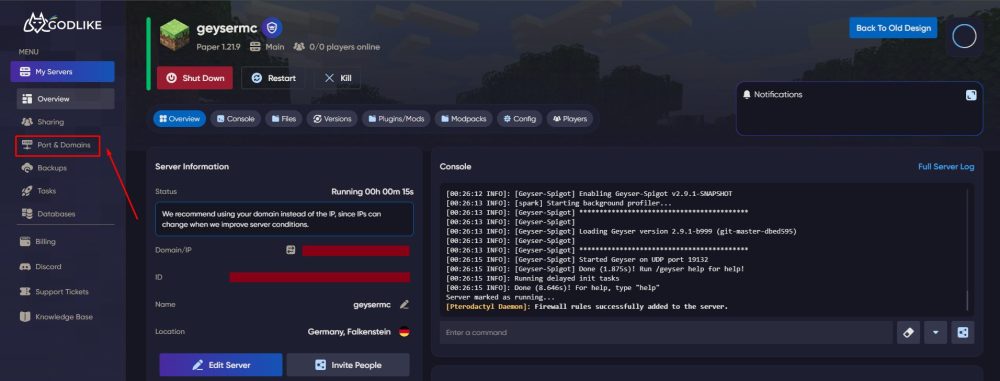
Step 4: After the first full start, go to your server’s network settings and configure a port for GeyserMC.
You can also request a port in the range from 26000 to 27000 which will be used as the dedicated port for your GeyserMC server. Copy this port as you will need it later in the configuration file.
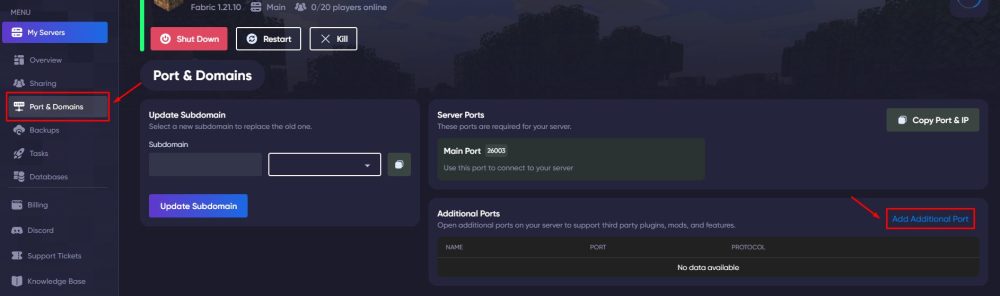
Step 5: Copy the assigned port and then go to your server files.
In the port settings you can add a note to the port so you don’t confuse it with others or accidentally use it for another plugin.

Step 6:Stop your server, go to the server files, and open the plugins folder. Find the Geyser-Spigot directory and locate the config.yml file.
Inside the Bedrock section, replace the default port with the one you assigned earlier for GeyserMC.
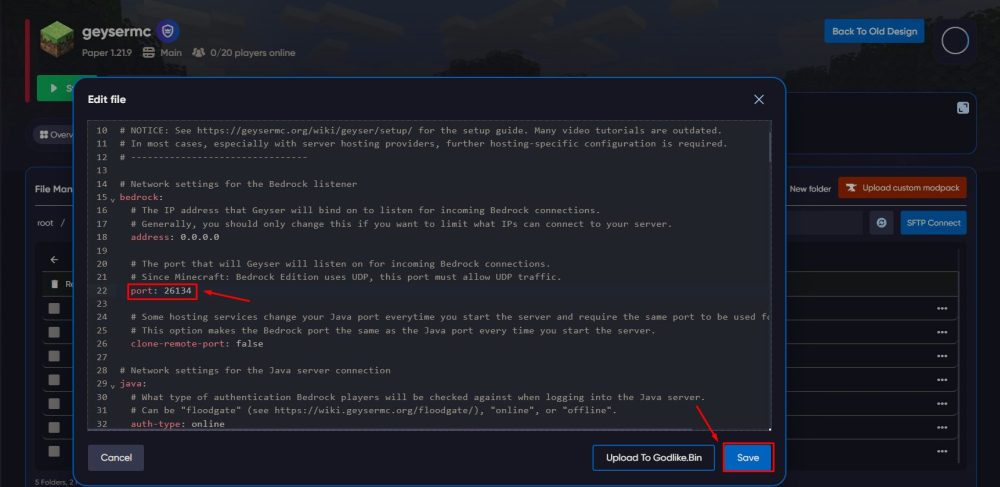
Step 7: Save the configuration file, restart your server, and wait for it to fully load so that the new settings take effect.
How to Connect to a Minecraft Server with GeyserMC
To connect to a Minecraft server using GeyserMC, follow these steps:
Step 1: To connect from Bedrock Edition, open the server overview and copy the IP address of your server.
Then go to the network settings and copy the dedicated port that you previously created for GeyserMC. When adding the server in Minecraft Bedrock, use the copied IP together with this port (not the main Java port). In our case, the IP is taken from the overview page, and the port is 26283 from the network settings.
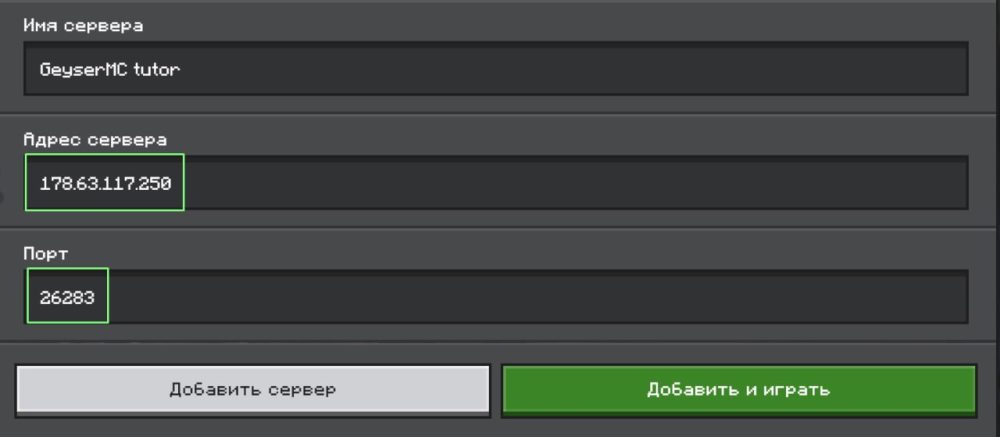
Step 2: In the Minecraft Bedrock client, add a new server. In the server address field enter the copied IP, and in the port field enter the dedicated GeyserMC port.
Write them separately, without using a colon, as shown in the screenshot. For example, IP 178.63.117.250 and port 26283.
TIP
If you already have a Java Edition account and want to play on different devices, connect through your Microsoft account. If you want Bedrock and Java accounts to be recognized as two separate players, go to the GeyserMC website, download the Floodgate plugin, upload it to the plugins folder, and restart the server. After that, the server will treat them as different players.
If everything has been set up correctly, Bedrock players will now be able to connect to your Minecraft Java server through GeyserMC without any issues.