 en
en
Simple Voice Chat - a modification for voice chat in Minecraft
Simple Voice Chat is a modification that adds a fully functional voice chat to Minecraft. Players can talk to each other directly in-game without using third-party programs. The sound is positional: the farther away a player is, the quieter they are heard.
TIP
How to Install Simple Voice Chat on Your Minecraft Server?
To download and install Simple Voice Chat for your Minecraft server, follow these steps:
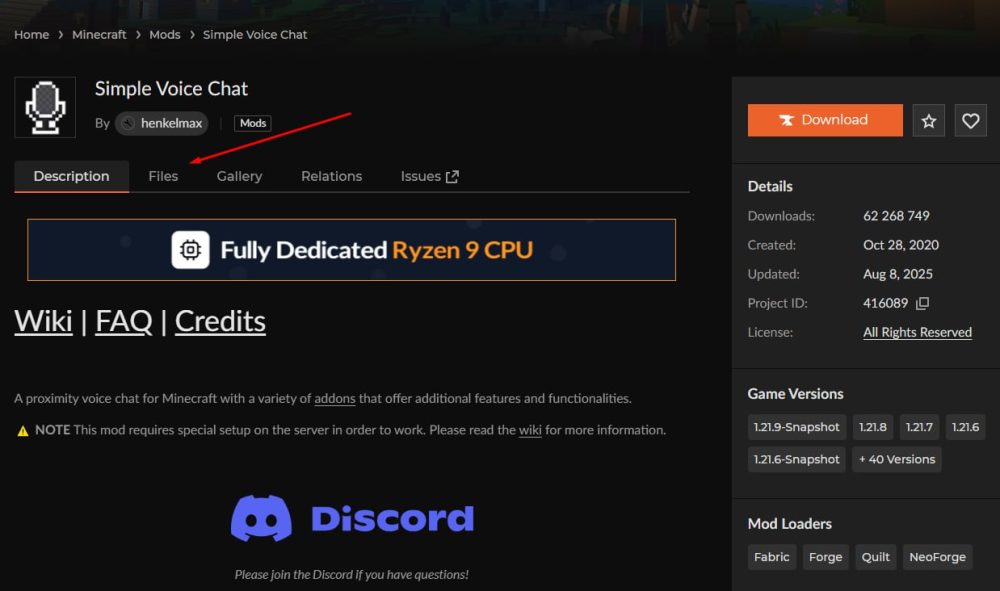
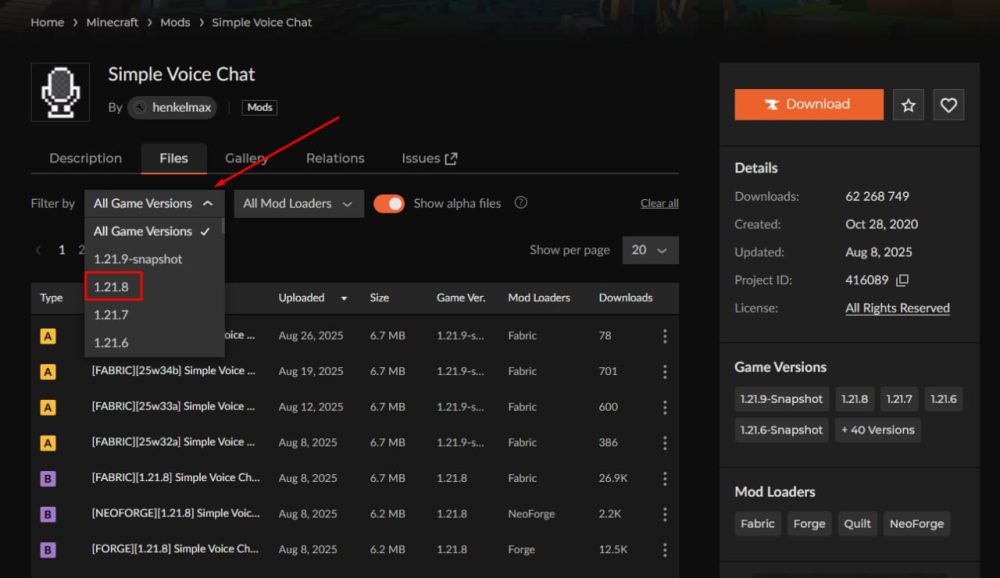
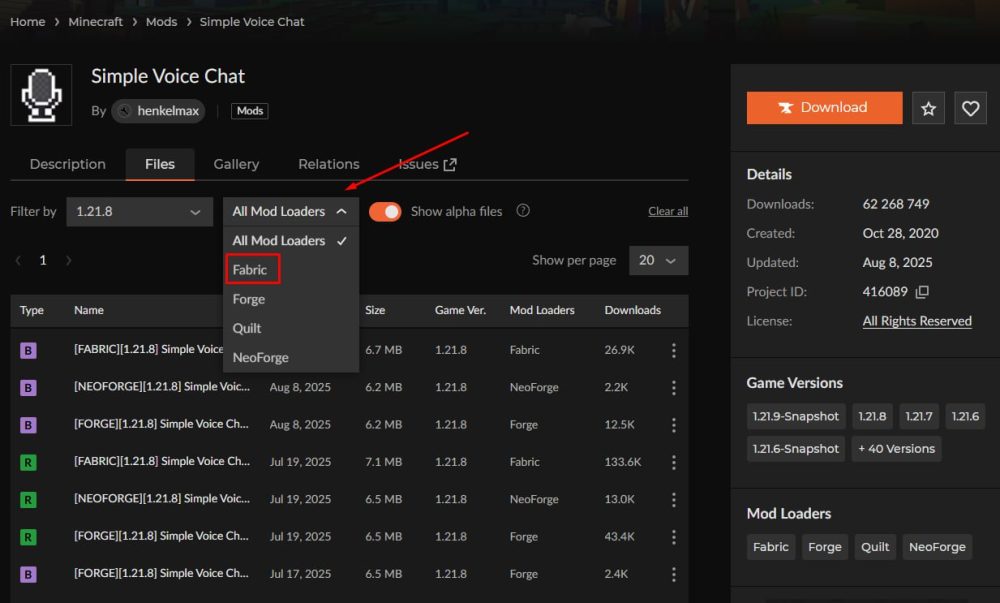
Step 1: Go to the CurseForge page of Simple Voice Chat , open the Files tab, select your Minecraft version, choose the correct mod loader, and download the mod.
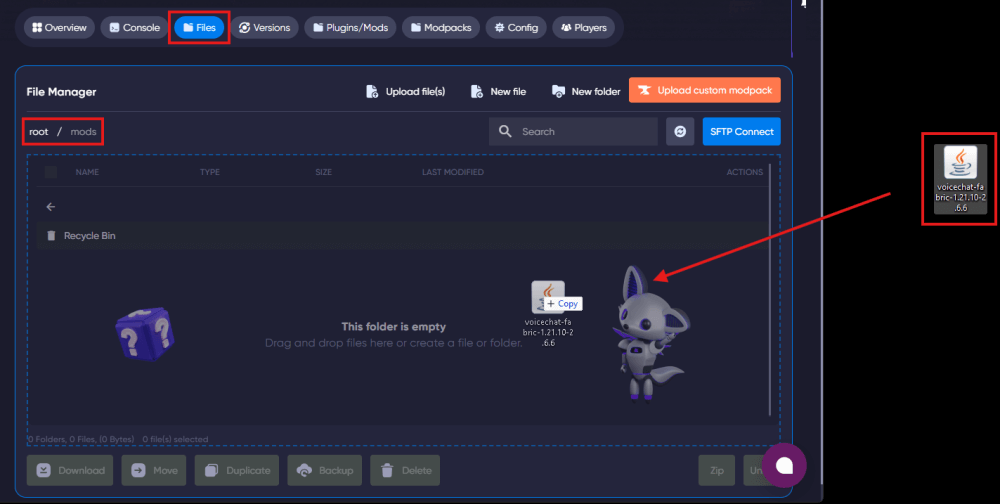
Step 2: Stop your server, go to the File Manager, and upload the downloaded Simple Voice Chat file into the appropriate folder (depending on whether you use it as a mod or a plugin).
You can simply drag and drop the file from your PC into the File Manager, since the file size is small.
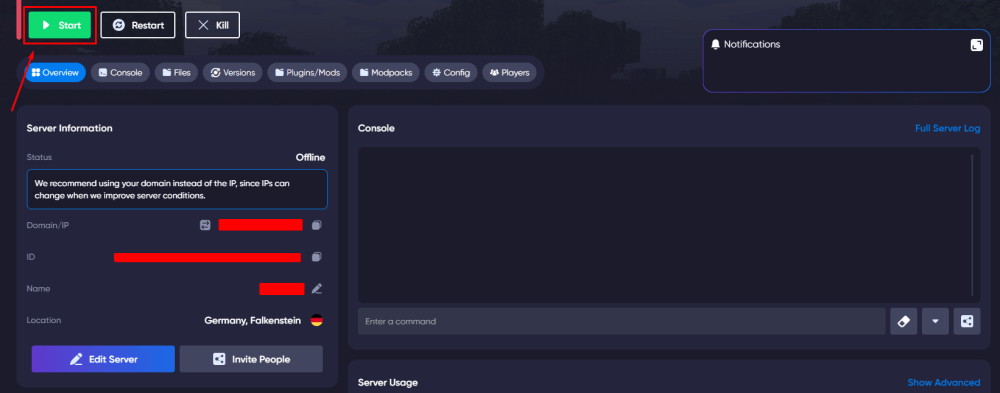
Step 3: Start your server for the first time after uploading the mod and wait for a full launch.
This process will generate the configuration files for Simple Voice Chat in the server directory, which you will later edit to make the mod work correctly.
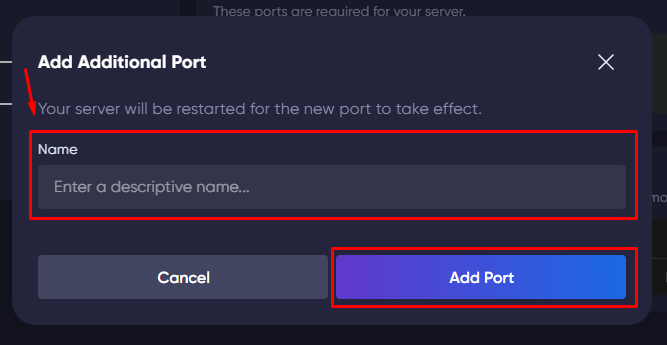
Step 4: After the first full start, go to your server’s "Port & Domains" and configure a port.
For Simple Voice Chat it doesn’t matter which port you open, because you will later change it in the configuration file. Keep in mind that the mod requires a dedicated port in order to work correctly.
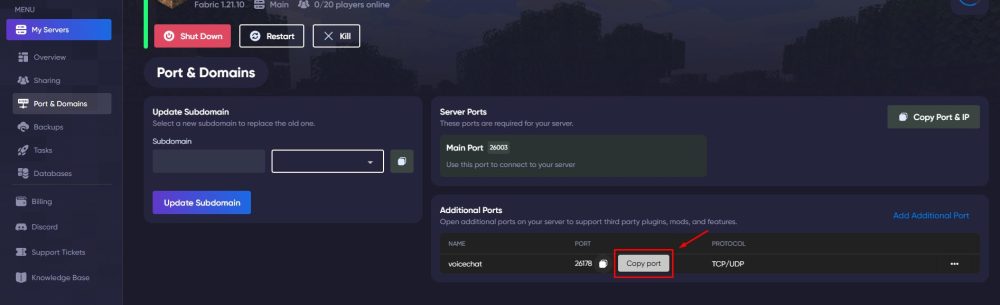
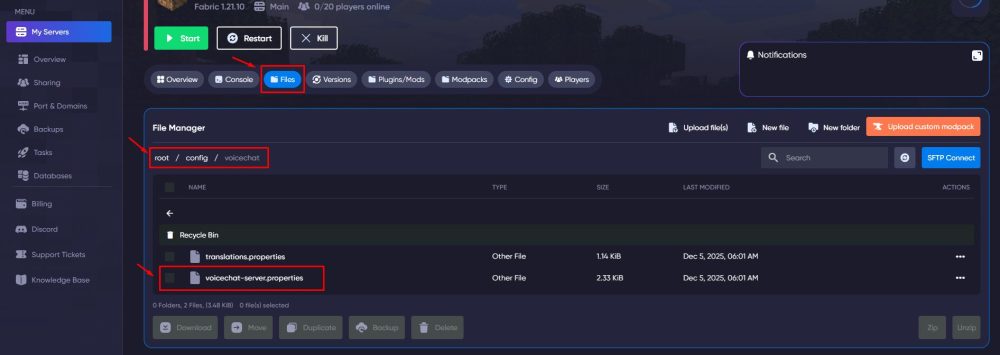
Step 5: Copy the newly assigned port (you can also make a note of it for convenience). After that, go to your server files, open the config folder, and find the voicechat directory.
TIP
If you installed Simple Voice Chat as a mod, the config will be located in the
config/voicechatdirectory. If you installed it as a plugin, the config will be located in theplugins/voicechatdirectory.
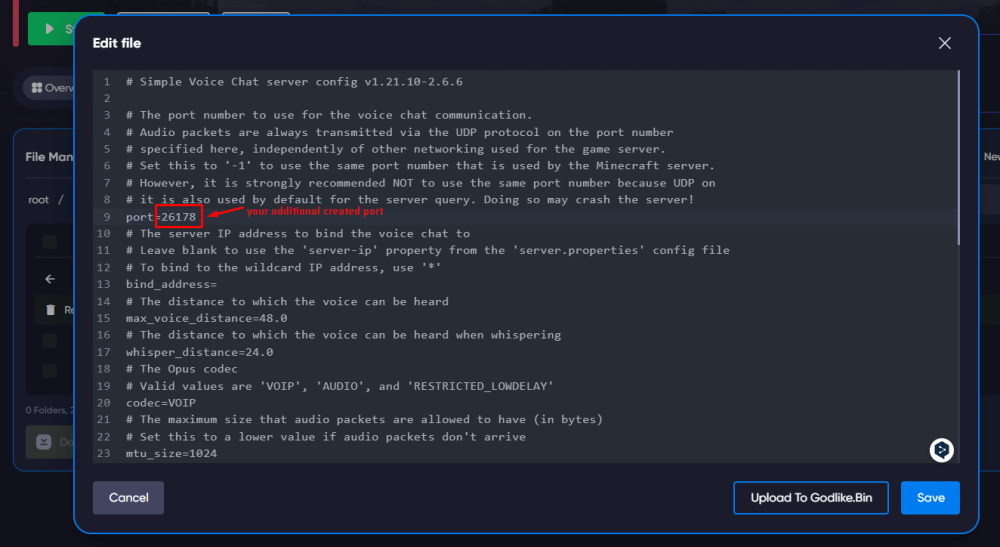
Step 6: Stop the server, go to the server files, and open the configuration folder.
If you are using Simple Voice Chat as a mod, navigate to config/voicechat. If you are using it as a plugin, look for the voicechat folder inside plugins. Open the voicechat-server.properties file and insert the port you obtained earlier into the port= field. The file path is shown at the top in green.
Step 7: Save the configuration file, restart your server, and connect to test.
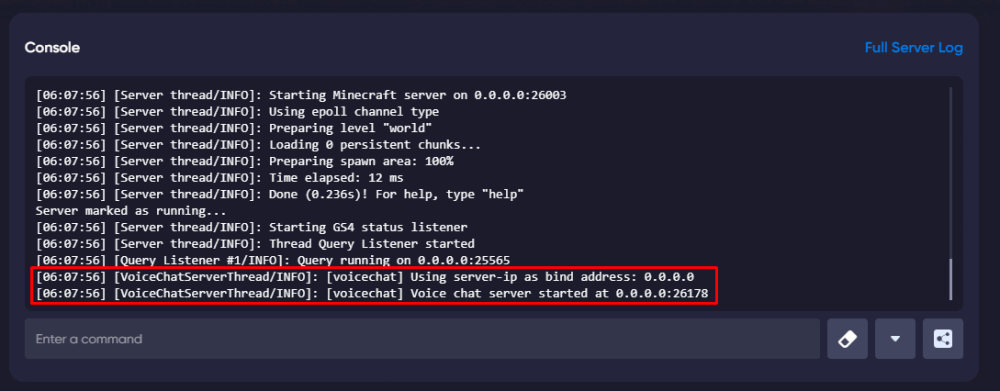
If everything has been set up correctly, the voice chat will now be working.