TL;DR
Armor in Hytale server hosting is a steady power curve, not a one-time upgrade. Your biggest early wins come from (1) wearing any full set, (2) keeping your Armorer’s Workbench tier moving, and (3) swapping to the next ore tier before fights start draining all your food.

Make your own Hytale server with 50% OFF
Hytale Server Hosting
If you want the simplest path: Copper -> Iron -> Thorium -> Cobalt -> Adamantite.
If you see poison enemies, Thorium pays off fast. If you are stepping into colder zones and Outlander fights, Cobalt is the smoother jump. Adamantite is the point where ordinary combat stops feeling like a tax.
Hytale Ores Guide (Early Access): Where Ores Spawn, What to Mine First & Tips
Early Access note
Hytale is in Early Access, so individual numbers can shift patch to patch. The useful part stays the same: armor is mostly about survivability consistency. It lowers how often a normal fight turns into a messy chain of healing, running, and re-engaging.
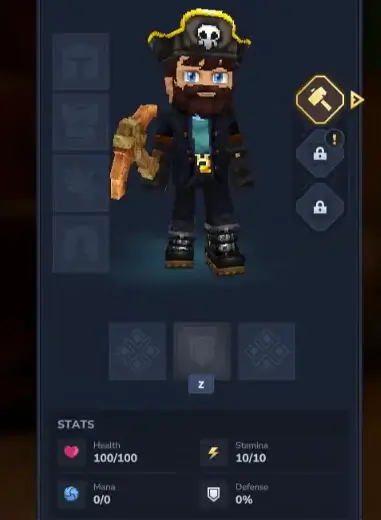
How armor stats work (what matters in real play)
Most armor pieces give you a mix of:
-
Health (more room for mistakes)
-
Physical Resistance (melee hits hurt less)
-
Projectile Resistance (ranged pressure feels less scary)
Higher tiers also start adding small, practical extras. You will see things like poison protection on the tier that asks for venom materials, or minor bonuses that make your combat rhythm easier (not magic, just cleaner fights).
Slots and what to craft first
Hytale armor generally fills four pieces: helm, cuirass, gauntlets, greaves. Shields sit in their own lane.
When resources are tight, upgrade in this order:
1) Cuirass (largest stat chunk)
2) Helm
3) Greaves
4) Gauntlets
That order is not about perfection. It is about getting the biggest survivability jump as soon as possible.
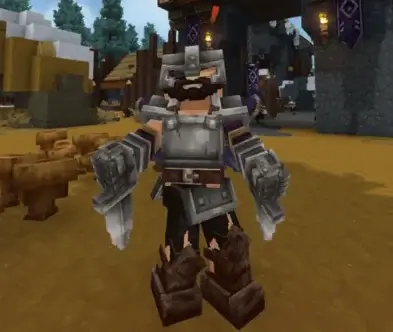
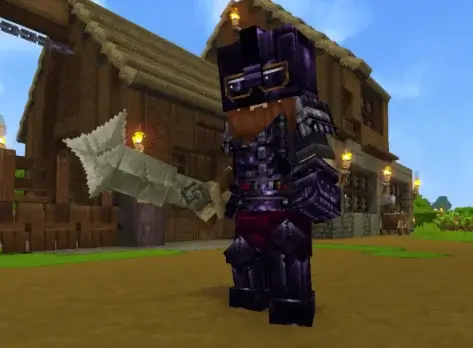
The armor ladder that most players actually use
Below is the practical progression for Early Access. Recipes vary by tier, but the pattern stays consistent: ore ingots + a fabric or leather tier + a specialty drop.
| Set tier |
What it’s for |
What you need besides ingots |
Why it matters |
| Copper |
First real protection |
Plant fiber |
Cheap full-set baseline so early mobs stop chunking you |
| Iron |
Your first “stable” set |
Light leather + linen scraps |
Noticeably smoother exploration and fewer panic heals |
| Thorium |
Safer in poison-heavy content |
Medium leather + linen scraps + venom sacs |
Poison resistance starts to matter, not just raw defense |
| Cobalt |
Strong mid-game general set |
Heavy leather + shadoweave scraps |
Feels like a big step up when zones get harsher |
| Adamantite |
Late-game comfort |
Heavy leather + cindercloth scraps |
You stop feeling under-geared in regular overworld combat |
| Mithril (recipe may exist) |
End-tier crafting target |
Storm leather + void materials |
Often gated by rare drops and build availability in Early Access |
If you are unsure where you are on the ladder, use this simple signal:
If routine fights are costing too much food, your armor tier is behind.
Where the supporting materials come from (without making it a chore)
You do not need to memorize every drop table. You just need to know what kind of content produces the material your next set asks for.
Fibers, scraps, and leathers

Plant fiber and basic scraps show up naturally as you play. Leather tiers typically follow the animals and zones you are already moving through. If a recipe asks for a better leather grade, treat it as the game nudging you toward tougher wildlife and better hunting routes.
Venom sacs

Venom sacs come from poisonous enemies. If you are trying to finish Thorium and you are short on sacs, stop wandering flat ground. Look for caves and areas that naturally spawn venomous creatures, then do short loops until you have what you need.
Shadoweave is tied to Outlander encounters in colder regions. If you are already heading into those zones for progress, you can often collect scraps naturally while doing everything else. If you are farming specifically, focus on repeatable enemy camps instead of random wandering.
Cindercloth scraps

Cindercloth tends to come from volcanic danger. The earlier you accept that and plan around it, the less annoying it feels. Go in with a clean goal (scraps first), fight what reliably drops them, then leave. Trying to combine this with ten other errands is how the run turns into a slog.
Void materials and storm leather (Mithril-tier requirements)
If your build even supports a consistent Mithril push right now, it is usually gated behind rare drops from night or high-risk encounters and harder zone loops. Treat it like a late target you work toward while your Adamantite gear already keeps you safe.
Crafting benches and why your upgrades stall
Armor crafting runs through the Armorer’s Workbench. Early tiers sit comfortably on the first tier, but the moment you step into Thorium and beyond, you will usually need the upgraded bench tiers.
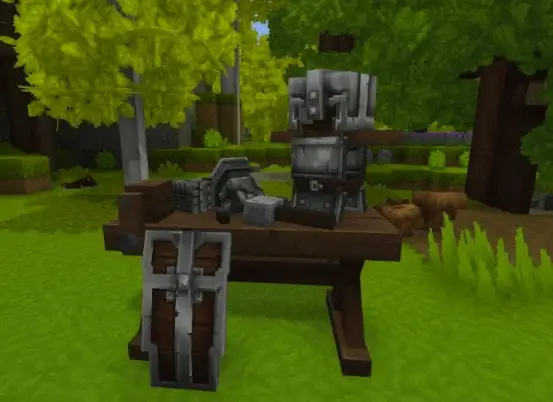
If you feel stuck, it is often not because the ore is rare. It is because you are missing the specialty material that unlocks the next crafting tier. When that happens, stop mining for a bit and solve the material problem directly.
Crafted sets vs dropped pieces
Yes, some enemies can drop armor pieces. In practice, treating dropped armor as your main plan is usually inefficient. It is better to think of drops as occasional “free upgrades” while your real progression stays craft-driven.
If you get a strong drop early, enjoy it. Just do not build your entire plan around repeating low-odds fights.
A clean progression plan that stays evergreen
If you want an early-to-mid plan that stays useful even as patches move numbers around, use this:
Start by crafting a full Copper set as soon as you can.
Move to Iron once you have a steady leather and linen flow.
When you see poison becoming a real problem, commit to Thorium instead of trying to brute-force it.
When you step into colder zones and Outlander fights, shift your focus to Cobalt.
When you are ready for volcanic risk and want late-game comfort, finish Adamantite.
 en
en


