 en
en
Server Administration
Having Arma 3 servers with an administrator on your server is a crucial part of its management because, with the help of one administrator or a whole team, many problems on the server can be prevented, such as overloading, map selection, and more. In particular, the administration can promptly manage players and kick/ban those who disrupt the game process for others or use cheats.
TIP
Learn more about adding a mission to your Arma 3 server
How to add an administrator to an Arma 3 server
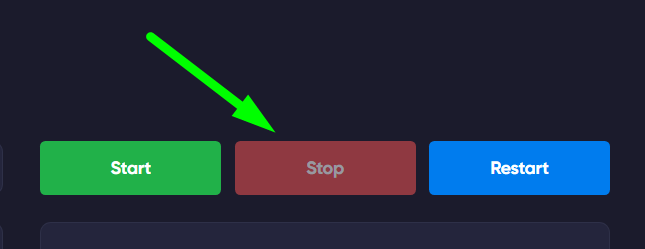
1) Log in to your server's game panel and in the Console section, make sure it is turned off.
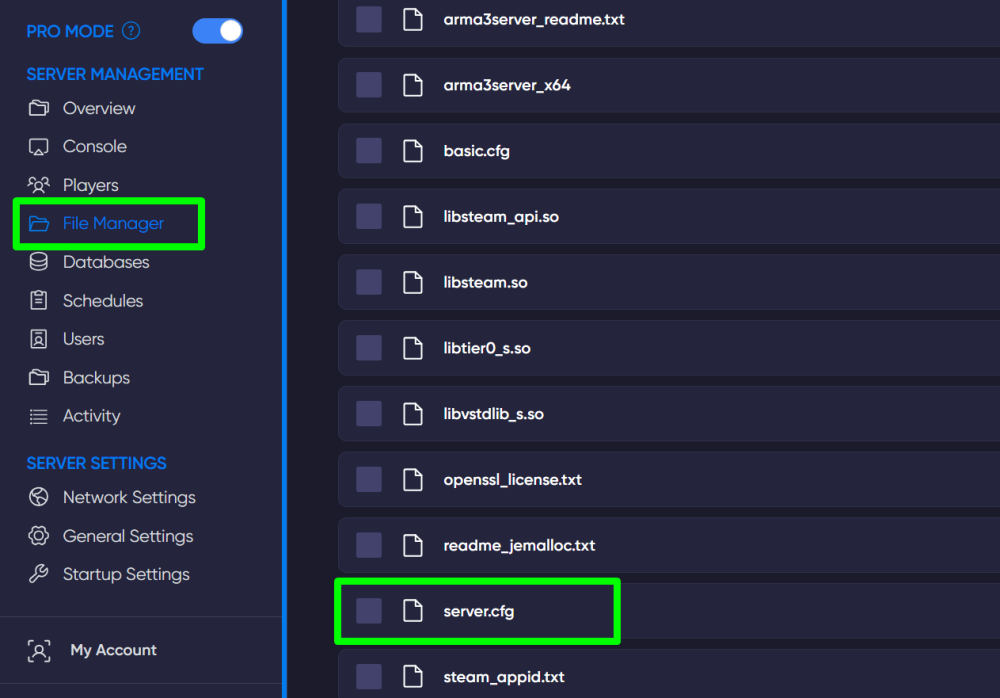
2) Open the File Manager section, find the server.cfg file, and open it.
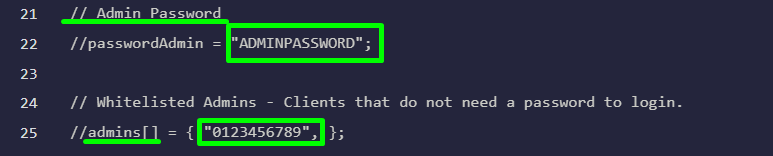
3) In this file, locate the lines Admin Password and admins[]. In Admin password, come up with and enter a password below, replacing ADMINPASSWORD (example), and in admins[], replace 0123456789 (example) with your SteamID.
IMPORTANT
Remove the
//symbols beforepasswordAdminandadmins[]
4) Save the changes to the file, then you can restart the server.
5) Log in to the server, during the game, open the chat using the / key and enter the command #login password, then press Enter.
IMPORTANT
To find out a player's SteamID, copy the link to their profile and use it on this website
Now you know how to add an administrator to your server and configure the management process. We wish you a pleasant and convenient experience. Play together with GODLIKE.