Cutting to the chase of the topic, slimes spawn in 2 specific ways in Minecraft:

Make your own FREE minecraft server
MINECRAFT FREE SERVER
- Swamp: Slimes spawn above ground in Swamp and Mangrove Swamp biomes at night. This is the easiest way to find slimes for beginners.
- Slime Chunks: There are specific underground(below Y=40) 16x16 areas in game called Slime Chunks — places where slimes have higher spawn rate. It’s a great option to build automated farms.
As for the how to get the slimeballs, you just need to kill the slimes. However, keep in mind that only the small slimes drop the slimeballs, bigger ones split into smaller slimes without dropping anything.
That’s about it for the basics, however, just like with any other topic, there is way more to discuss here, so let’s dive deeper into the this sticky topic!
Where do slimes spawn in Minecraft?
Just like it was mentioned earlier, slimes spawn in 2 main places:
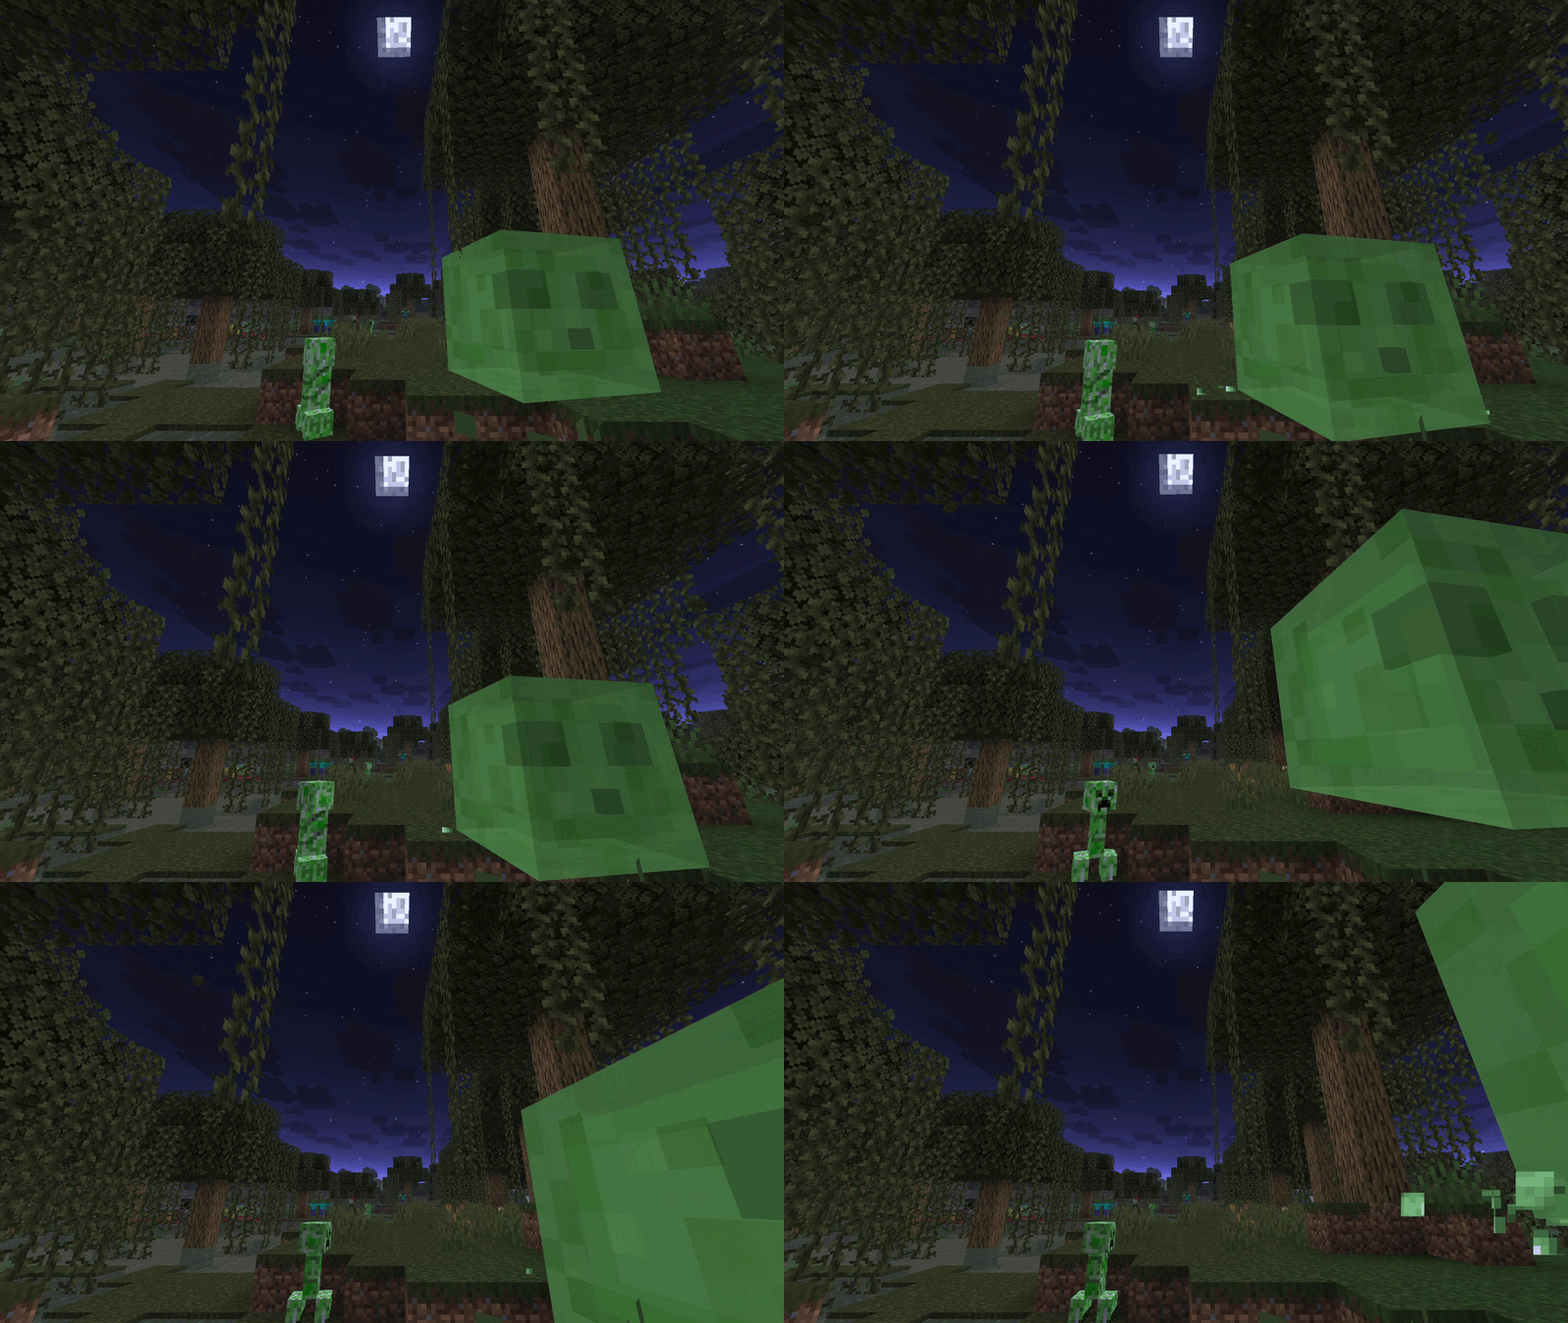
Slimes spawn at night above ground level in Swamp and Mangrove Swamp biomes, like you already know. However, there are other factors that influence the amount of slimes that spawn, how frequently they spawn etc. The height should be between Y=50 and Y=70, the light level must be 7 or lower(the same as for the typical hostile mobs to spawn). Additionally, the moon phase in game has an an influence on spawn rate of slimes in swamp areas:
- Full moon — full life, the highest spawn rate of slimes.
- New moon — slimes do not spawn at all.
- Other phases — spawn rate scale depends on the fullness of the moon. Meaning the close the moon to be full the higher the spawn rate.
As for the other place, it’s the so called “Slime Chunk”. First, let’s break down the name. Chunk in Minecraft, is a 16x16 block area that extends from the bottom of the world to the top of the sky. The slime part of the name, comes from the fact, that the spawn rate of slimes in these chunks is way higher and has fewer restrictions.
In slime chunks, slimes spawn more frequently, but only underground, below Y=40. The key factor why slime chunks are so valuable, is that slimes will spawn regardless of the light level in the area, even in completely lit room.
Because of the unique spawn rate nature of these chunks, they are more rare. To be specific, only 1 in 10 chunks generated is a slime chunk. That makes the chance of a chunk to be a slime chunk roughly 10%.
How to find slime chunk?
There are 2 main ways to find slime chunks in Minecraft — vanilla method and external tools method. One is significantly easier that the other one, but we will cover both, so you will have a choice on how to do it yourself.
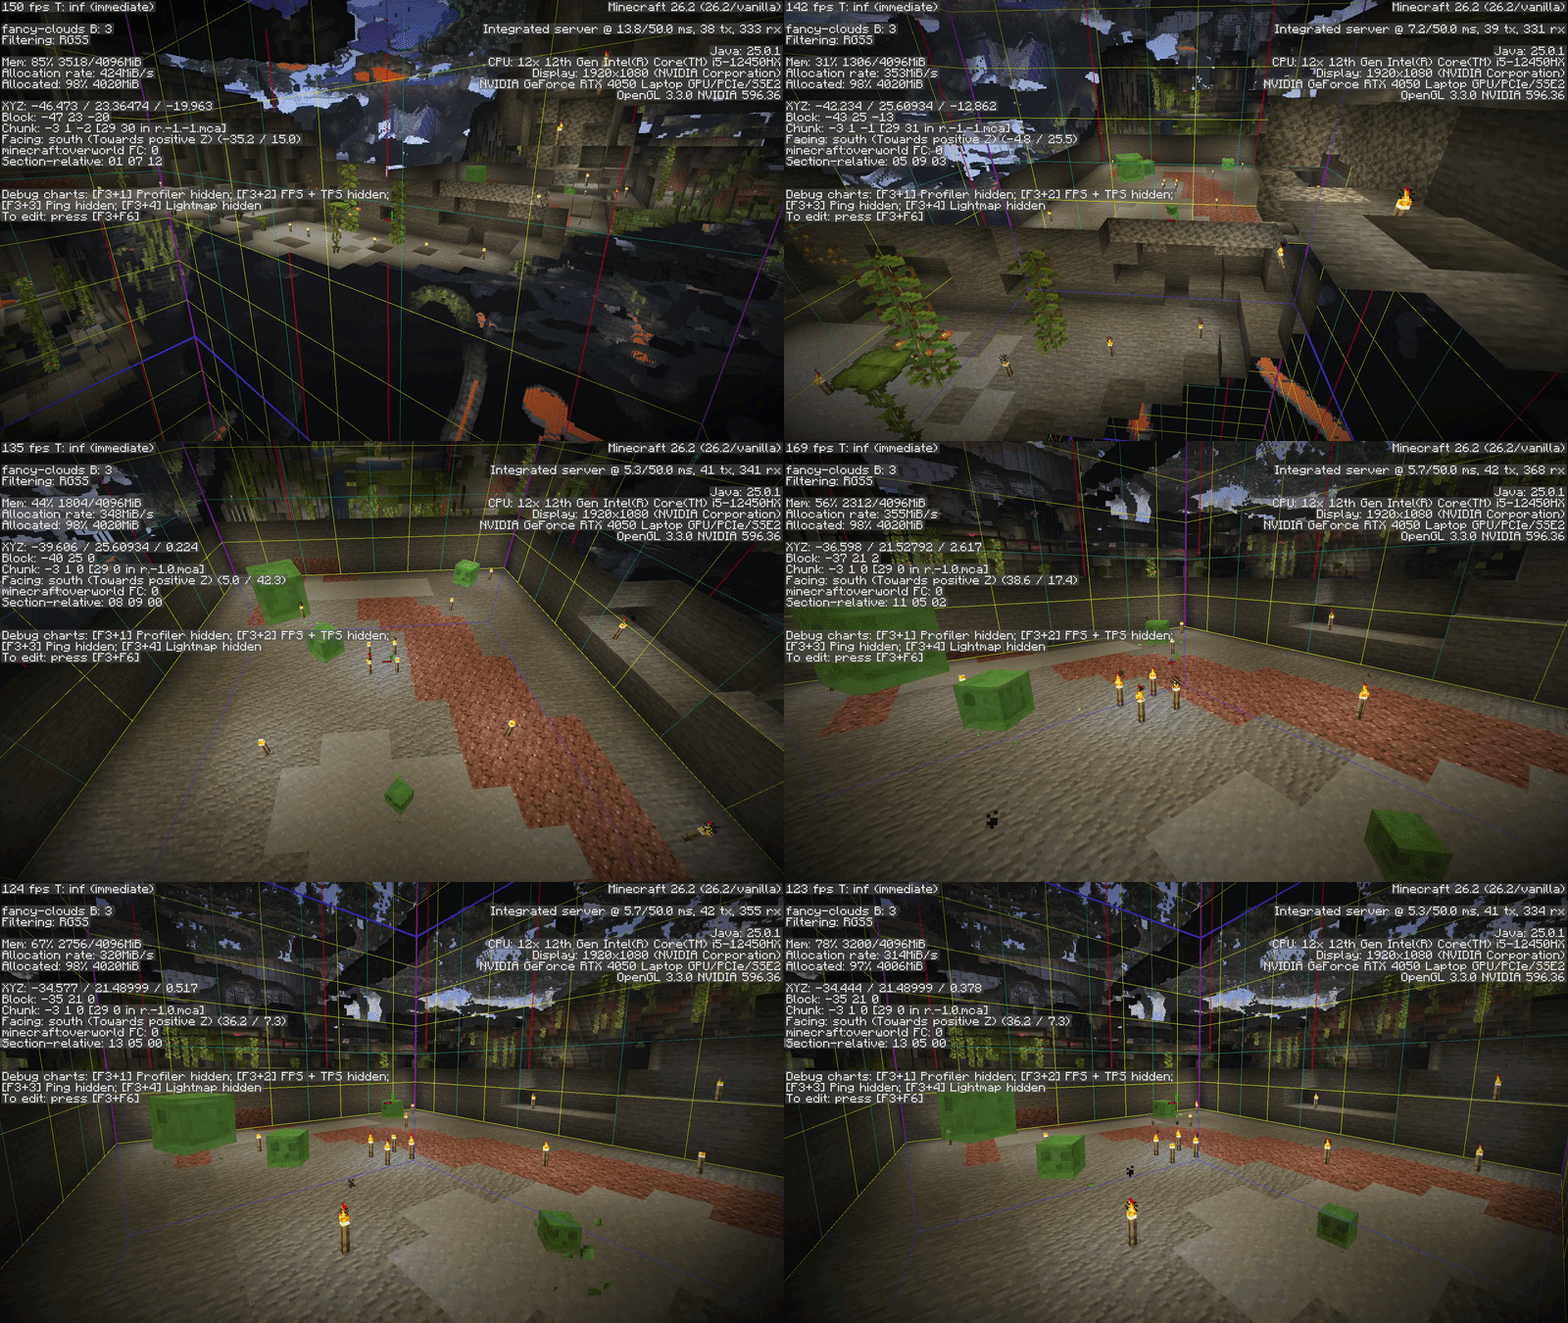
Vanilla method is the longer and more boring one out of the 2 methods, as Minecraft doesn’t natively have any way to tell if this is a slime chunk or not, asides from seeing the slimes spawn before you. Nonetheless, this is the steps you need to follow to find the slime chunk using purely vanilla in-game tools:
- Head underground: Go down below Y=40, like you remember, the slime chunks only work underground below this specific height.
- Find the chunk borders: On Java Edition — press F3 + G on your keyboard. This hotkey will activate the debugging tool, that will show you the chunk borders. For Bedrock Edition, there sadly aren’t any shortcuts like that, and chunk borders will have to be found through coordinates that are divisible by 16.
- Clear large area: Mine out a big flat space that covers a few different chunks. Make sure the space is 3 blocks high, as slimes need a 3x3x3 space to spawn.
- Create sections: Place fences or walls on the borders of each chunk in the cleared area. This will help us determine which 16x16 area of many is the one where slimes spawn, as they won’t be able to wander off to another section.
- Light the area up: Place plenty of light sources to light up the area, preventing any other mobs except for slimes from spawning.
- Wait and watch: Move at least 24 blocks aways from the cleared area. This is required as mobs will not spawn if you are standing right on top of the spawn blocks. Wait a few minutes, go back and see which of the fenced off sections has slimes.
- Result: If there is slimes in one of the chunks — congratulation you found a slime chunk. In case all the section are clear, sadly, it means that you should repeat this process in another area again to find the slime chunk. Be patient and trust, you will find it eventually!
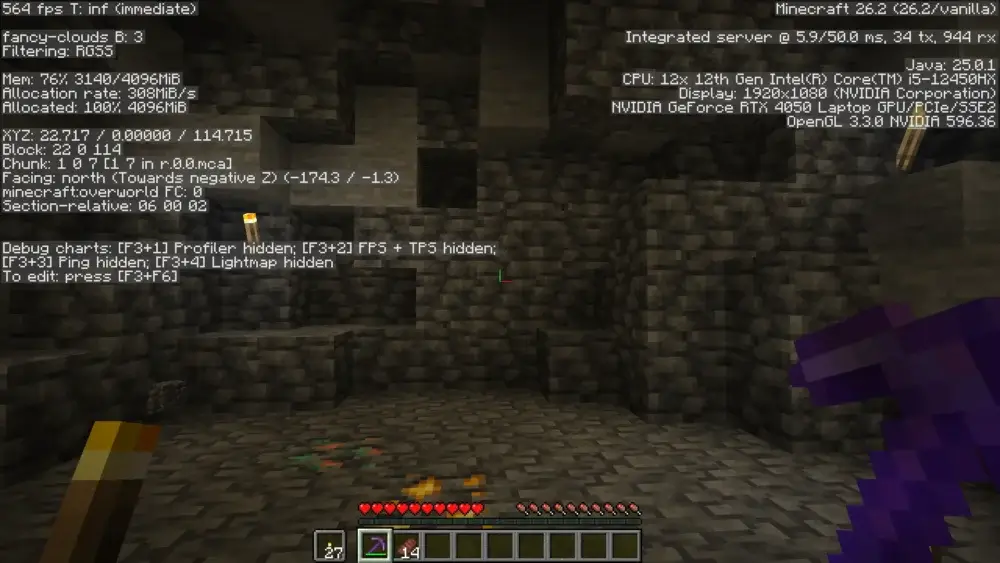
Like you’ve seen for yourself, looking for slime chunks using purely vanilla method is tiring, boring and exhausting. So, Minecraft community made an external tools that help you find those valuable 16x16 underground areas with way less hustle. Using these tools, the process of finding slime chunks is as simple as that:
- Find you world seed: While in game, type the
/seed command in the chat. Even if the cheats are switched off in the world setting, you will still be able to get the world seed and it won’t be considered cheating.
- Use an external tool: Go online and use one of many external tools like “Seed Map” that help you find different point of interest in your Minecraft world and show them on the map based purely off the world seed provided. The tools we personally recommend are: Godlike Seed Map or Chunk Base.
- Enter the data: Once there, paste your world seed(you can copy it from the game’s chat by opening the chat and clicking on the numbers), and choose the exact game version you are playing on currently. Then if necessary, choose that you are interested in finding slime chunks on the panel near the map, and look for the desired places near your in-game coordinates.
- Result: Once you found the slime chunk on the map, look for its coordinates(you are specifically interested in X and Z coordinates, as Y should be below 40 either way) and head there in game. Mine down below Y=40, clear the 16x16 area that matches the slime chunk, light up the room and done, you have yourself a slime chunk.
If you are playing on Java Edition, your slime chunks are entirely tied to your unique world seed. However, in Bedrock Edition, the algorithm is different. Slime chunks generate at the exact same coordinates in almost every single Bedrock world, regardless of the seed. Meaning that if you are playing on Bedrock Edition, external tools will almost always point you to the exact same spots.

How to get slimeballs
Alright, once you found a place where you can find slimes, you can finally get your hands on to the desired slimeballs. You kill one slime and… nothing? Nothing was dropped, furthermore, it split into more slimes? What is going on?
Don’t worry, everything is fine, this is just the way slimes work in Minecraft. Like we mentioned before, only the small slimes drop slimeballs upon defeat. Bigger ones, just split into 2 - 4 smaller slimes. So the process of killing a slime and getting the slimes balls would go as follows: Kill large slime > it splits into 2 - 4 medium slimes > kill all the medium slimes > each medium slime splits into 2 - 4 small slimes > kill all small slimes > each slime drops 0 - 2 slimeballs.
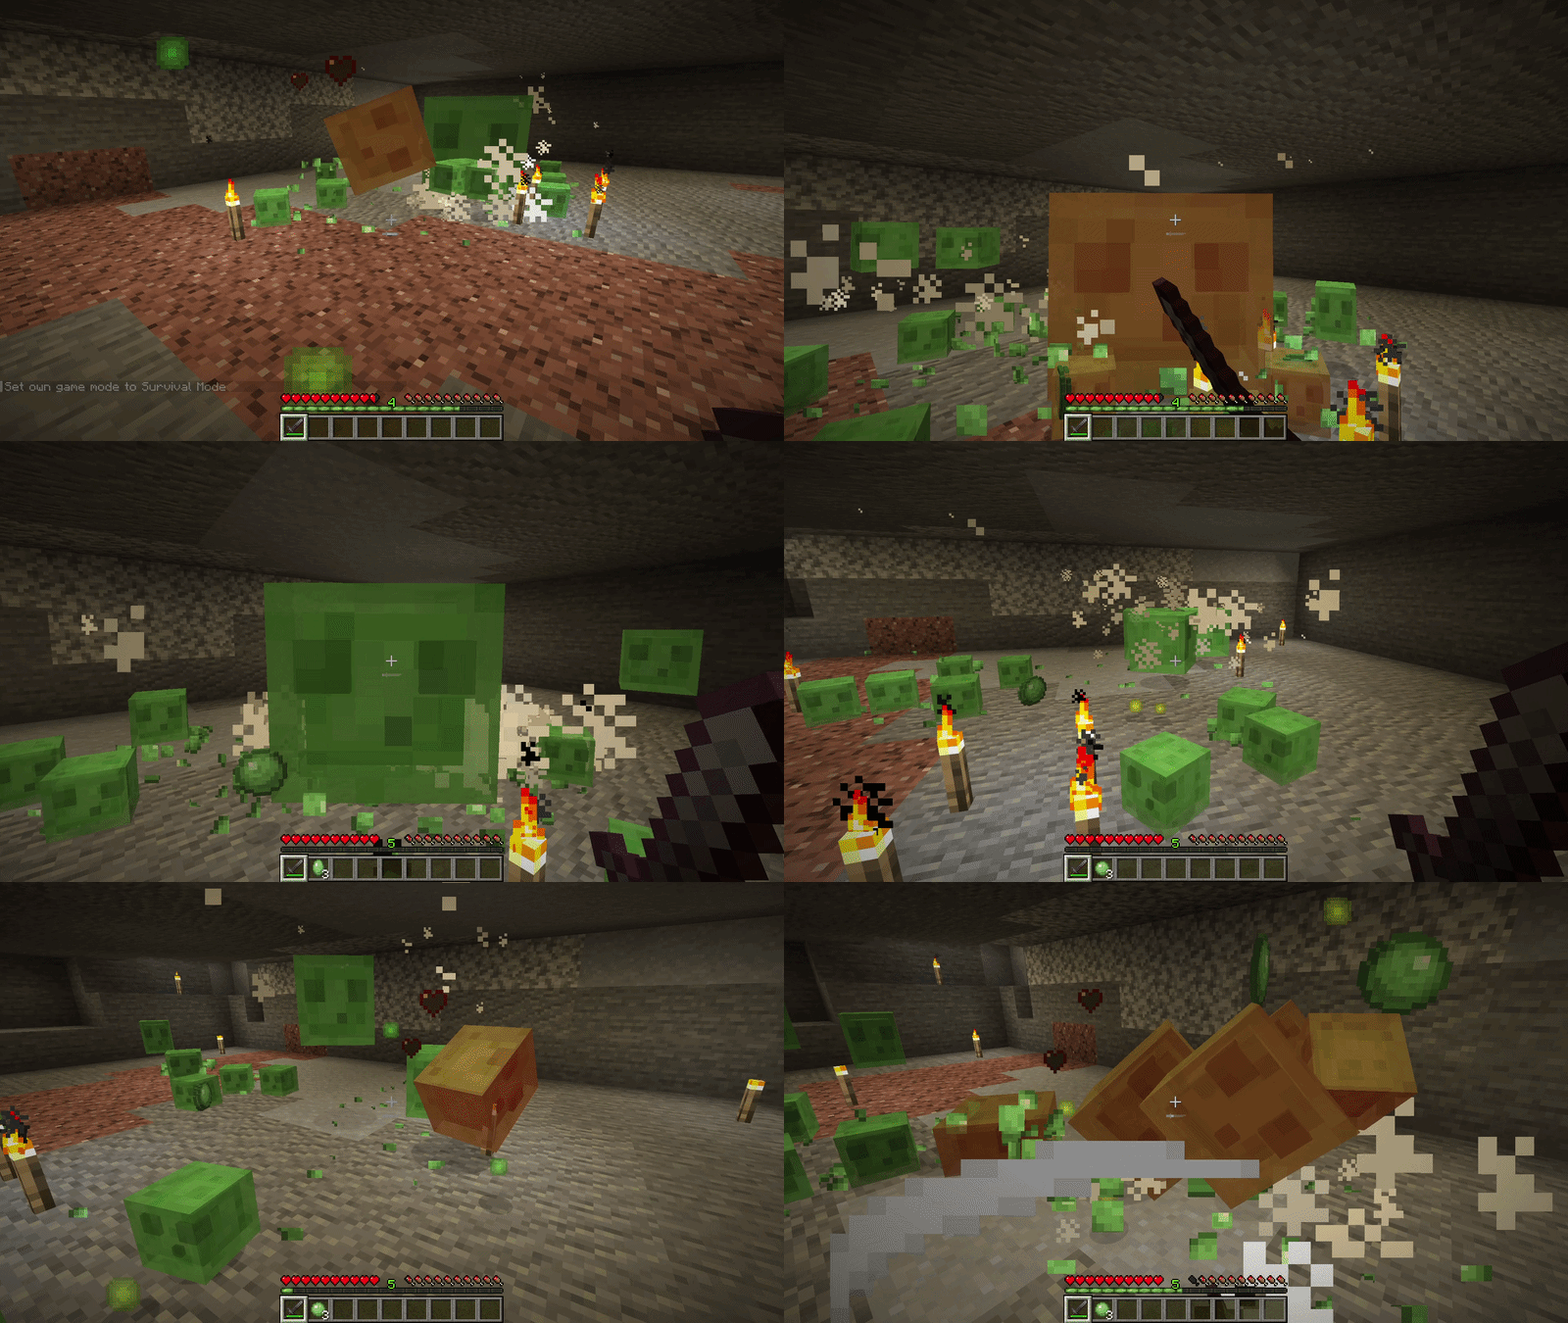
Small slimes, the ones that drop slimeballs, despite their amount do not damage the player, so there is no need to panic or avoid them. You can easily face them headon without a second thought.
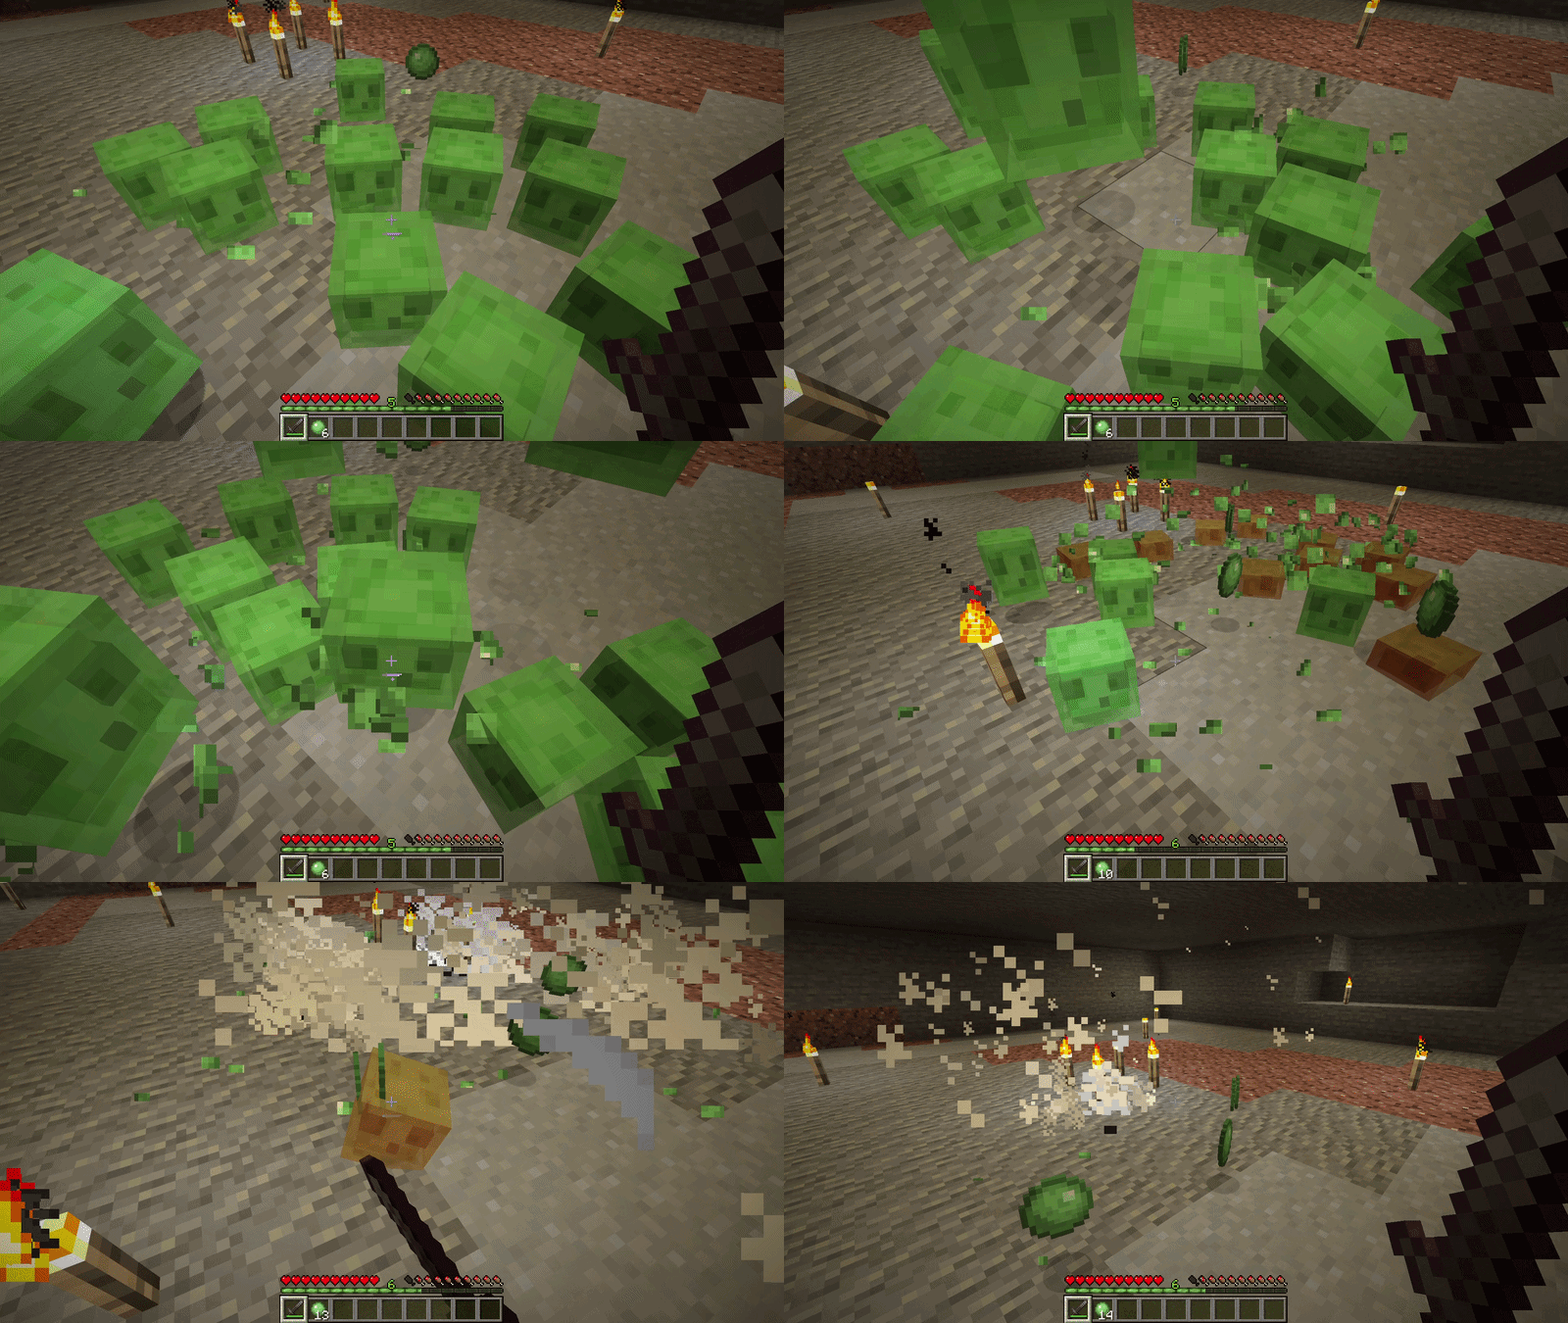
What are slimeballs used for?
Slimes and slimeballs have been in the game for a long time, over 16 years, as they were added on 23rd of July way back in 2010 in alpha version of the game 1.0.11(also known as the 6th “Secret Friday” update). Since then, slimeballs were essential to the player base, as they had many different use cases even to this day, so let’s go over the most popular and important ones:
- Sticky piston: Arguably the most important use case for the slime balls. By combining normal piston and 1 slimeball you can create a sticky piston — which function the same way a normal piston does, but blocks that came into contact with it are now glued to the piston until separated manually by hand or another contraption. This is an essential block for many and many redstone mechanisms, which makes it one of the most if not the most important way to use slimeballs.
- Slime block: Made using 9 slimeballs on the crafting table, yet another block essential to the redstone mechanisms. Used for bouncing, preventing fall damage and mechanisms such as flying machines.
- Lead: Another extremely useful item used to leash and transport passive mobs, making farm management a much more easier task. Those can be crafted using 4 string and 1 slimeball on a crafting table.
- Magma cream: Crafted using an inventory crafting grid or a crafting table by combining 1 blaze powder and 1 slimeball. Magma cream, while less important compared to other items on the list still is nonetheless an essential item for potion brewing, fire resistance potion to be specific.
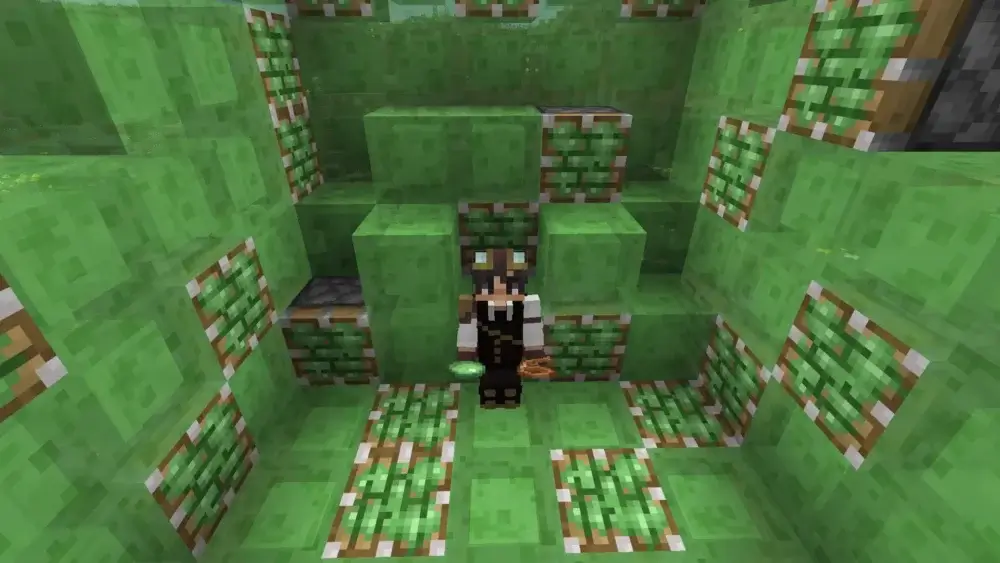
Basic slime farm
Knowing all the information we provided, it’s quite easy to put together the basic slime farm. Hence, let’s walk through everything you need to account for and do in order to have yourself a basic, yet nonetheless fully functional slime farm.
- Location: Ideally, the farm should be in a verified slime chunk, below Y=40, just like we mentioned prior.
- Setup: Dig out the entire 16x16 chunk(keeping everything below Y=40 of course). Create platform for slime to spawn on every 3 to 4 blocks vertically to maximize spawnable surface area.
- Lighting: The farm must be fully lit with any of the light sources available for you. This is crucial, as the lighting will prevent other mobs asides from slimes from spawning, which ultimately makes the farm all the more effective.
- Collection: Use Iron Golems placed behind fences to lure the slimes off the platforms into a kill chamber — drop to the magma blocks with hopper minecarts underneath them.
This setup will make the farm fully automated and effective as you utilize entirety of the slime chunk below Y=40, the room is fully lit so only slimes can spawn, golems lure the mobs into one place and the kill chamber makes all the work for you: slowly killing the slimes upon the contact with magma and collecting slimeballs with automated constantly running hopper minecarts underneath.
Troubleshooting: why aren’t slimes spawning?
The are a few main reasons as to why slimes do not spawn on what seems to be the right place, let’s go over each one of them in more detail and find a solution together.
| Reason |
Solution |
| Wrong Y-Level |
You are above Y=40 in a slime chunk, or outside Y=50-70 in a swamp biome. Make sure to go within the required range of coordinates. |
| Player Distance |
You are too close (within 24 blocks) or too far away (over 128 blocks, where mobs instantly despawn). Depending on your position relatively to the farm, either get closer or a bit further. |
| Mob Cap Reached |
This is the №1 issue. If the caves surrounding your slime chunk (within a 128-block radius) are dark, they will fill up with zombies and skeletons. The game hits its mob limit, and slimes can't spawn. Thus, to solve this issue, you will need to put in a bit more effort and light up all the nearby caves to prevent unwanted mobs from spawning. |
| Wrong Moon Phase |
If you are hunting down slime in the swamp biomes, the issue might be with the Moon phase. As you remember, if it’s a New Moon, slimes won’t spawn at all and the closer to the Full Moon the higher the spawn rate of slimes will become. So, you will need to come back later, when the moon is closer to full or completely full. |
| Not Enough Space |
Large slimes need a 3x3x3 space to spawn. If the ceiling is too low, spawn rates drop significantly. Thus, you will need to make the spawning space bigger for the slimes to actually spawn / spawn more. |
| Peaceful Mode |
Slimes are hostile mobs and will not spawn on Peaceful difficulty. If you intentionally or accidentally set a peaceful difficulty, you will need to change this in the settings of the world. |
Java Edition VS Bedrock Edition: important differences
Despite most of the aspects regarding slimes and their spawn conditions and rate being the same, there are some important differences between Java and Bedrock Edition of the game.
- Slime chunk generation: In Java Edition slime chunks are entirely tied to your specific world seed and generated at random, just like the world itself. In Bedrock Edition on the other hand, slime chunks are largely independent of the world seed, as they generate at the exact same coordinates in almost every single Bedrock Edition world.
- Spawn rate: Bedrock Edition has different mob cap and spawning sphere mechanics compared to the Java Edition. This difference can make certain types of slime farms that work perfectly in Java Edition feel slower and less effective on Bedrock Edition. So when deciding on which type of slime farm to build and searching for a tutorial, always specify your edition of the game.
Asides from that, there aren’t any differences between the 2 editions of the game.
Conclusion
That sums up our guide on slimes, slimeballs and slime chunks. Thank you for sticking through to the end, we hope that this information was useful and interesting. Thank you for reading and good luck managing this sticky business!








 en | USD
 CHAT WITH GODLIKE TEAM