

 en
en
How to install Forge Minecraft?
What is Minecraft Forge?
While the standard Minecraft experience is undoubtedly captivating, the true allure of the game lies in its modding potential. By incorporating mods, one can transcend the ordinary gameplay, introducing novel blocks, items, and even entirely new dimensions. For fans of hardcore modpacks like RLCraft, running them smoothly on RLcraft server hosting ensures the best multiplayer experience with stability and performance. However, the integration of these mods requires more than merely placing them into a designated folder and launching the game. To unlock the vast array of available modifications, Minecraft Forge, a modding API, must be installed. Although it's exclusive to the Java Edition, the process is straightforward. Thus, we have crafted this guide to help you embark on your modding journey.
Use modded Minecraft server hosting with Forge, a modding API for Minecraft. Users who download and install Minecraft Forge can install mods (modifications) to Minecraft Instances.
How to download Minecraft Forge?
- Navigate to the official Minecraft Forge website.
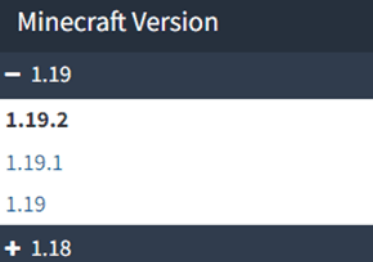
- Within the menu on the left, identify the Minecraft version you intend to use.
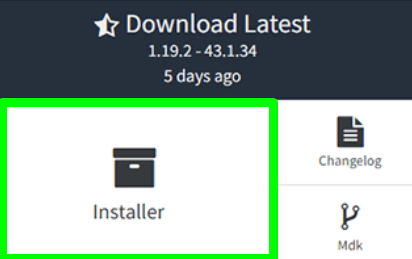
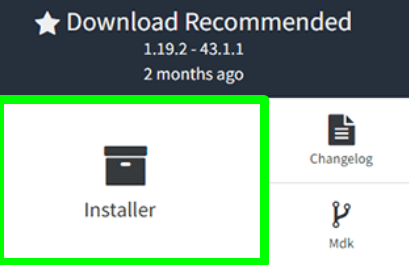
- After selection, click on the Installer button for either the latest or the recommended version.
- Save the file in a secure location, as it will be needed momentarily.
Installing Forge
With the requisite .jar file in your possession, you are prepared to install Forge on your Minecraft client. Should you encounter difficulties in opening the file, ensure that you have the latest iteration of Java installed.
Windows
- Locate and open the Minecraft Forge .jar file.
- Within the application, confirm that "Install client" is selected.
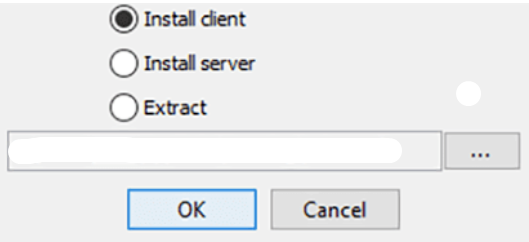
- Verify the correctness of the install directory, then click Ok.
- After a brief period, you should receive a notification confirming a successful installation.

MacOS
- Find your Forge .jar file and open it.
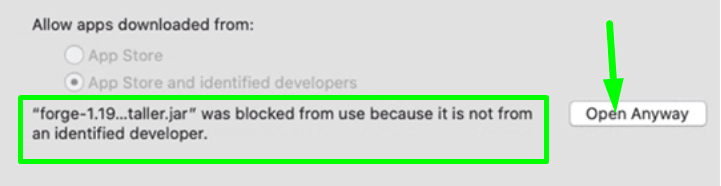
- If the file fails to open, navigate to System Preferences, then to Security and Privacy.
- In the General section, locate the app and click "Open Anyway."
- Once opened, ensure that "Install client" is selected.
- Confirm the accuracy of the install directory, then click Ok.
- Within a few moments, a message should appear, indicating a successful installation.
Accessing the Profile
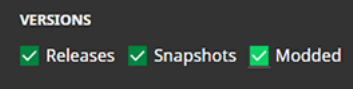
You should now be equipped to select your Forge profile and press Play to commence your adventure! If your profile is not visible, enter the Installations tab at the top of the launcher and ensure that the Modded option near the top-right is checked.
CurseForge App
In certain scenarios, you may prefer utilizing the CurseForge application to install and manage Minecraft Forge. This app streamlines the process, enabling you to install any version of Forge with minimal effort.
- Download and install the CurseForge application for your operating system.
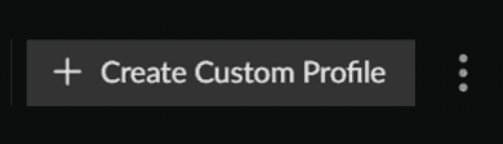
- Within the application, click on the "Create Custom Profile" button.
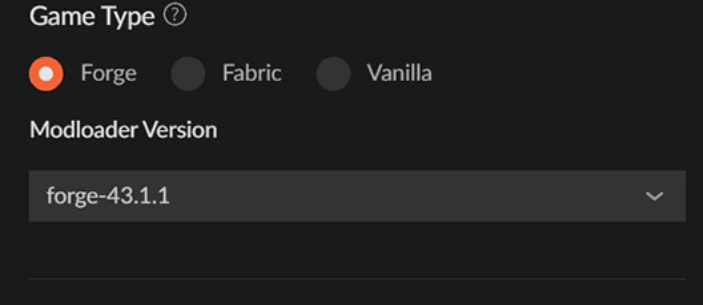
- Enter your preferred name and Minecraft version.
- Set the Game Type to Forge, then optionally select a specific Forge version.
- Click Create to finalize the setup process.
- You can now choose your custom profile and click Play.
Common Complications
Encounter a Java/JDK error when opening the .jar file:
This typically indicates that Java is not correctly installed on your system. To resolve this, ensure that you have the latest version of Java installed. If problems persist, restart your computer and attempt the process again.
Unidentified developer error on MacOS:
By default, MacOS prevents the opening of files from unidentified sources. To bypass this, go to the Security & Privacy tab in System Preferences, allowing you to open the file. This option will become available after the initial failure, enabling you to relaunch and proceed with the Forge installation.
Unable to locate the modded profile in the launcher:
In some instances, modded profiles may be concealed within the Minecraft launcher, as they are not officially supported by Mojang. To reveal your profiles, enter the Installations tab at the top of the launcher and check the Modded box. This action will make all modded profiles visible and selectable for gameplay.
Installing Forge in Godlike host panel
First, navigate to the General Settings tab and find Change Server Type. Once there set up the change server type menu for installing forge.

Once the Change Server Type menu has been configured, press the Change Server Type button, this will prompt you to make a backup and it is advised to do so.
Once the server has started again and finished running the installer you can go on to install mods!
How to install Forge mods Minecraft?
Refer to this guide.

